
声明
见名知意,实战SpringBoot Admin,实战!实战!实战!该文章环绕SpringBoot Admin的重点功能(邮件通知、可视化)来讲解。
先锋
在写该文章之前,我也是查阅了一些关于SpringBoot Admin的文章的,一言难尽,不太理想啊(无法解决实际问题)…嗐…就让我来做这个先锋吧
前提
- Spring Cloud 版本:Finchley.RELEASE(支持SpringBoot 2.x.x以上版本)
- SpringBoot Admin版本:2.0.1
- SpringBoot版本:2.0.2.RELEASE
- Centos版本:7.x
SpringBoot Admin
介绍
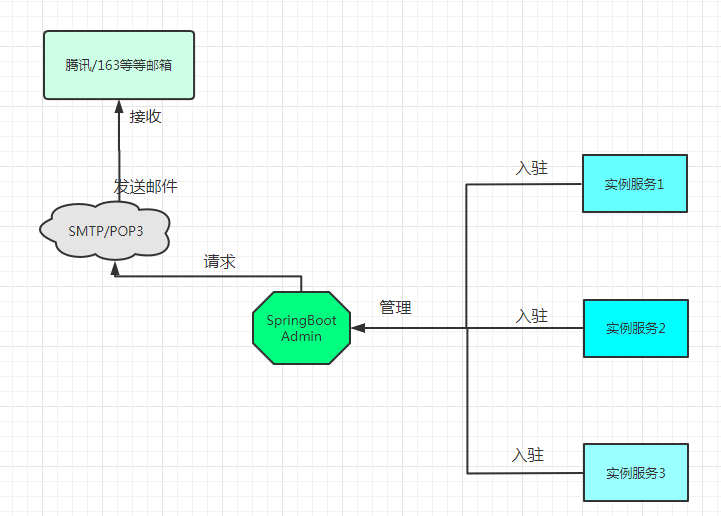
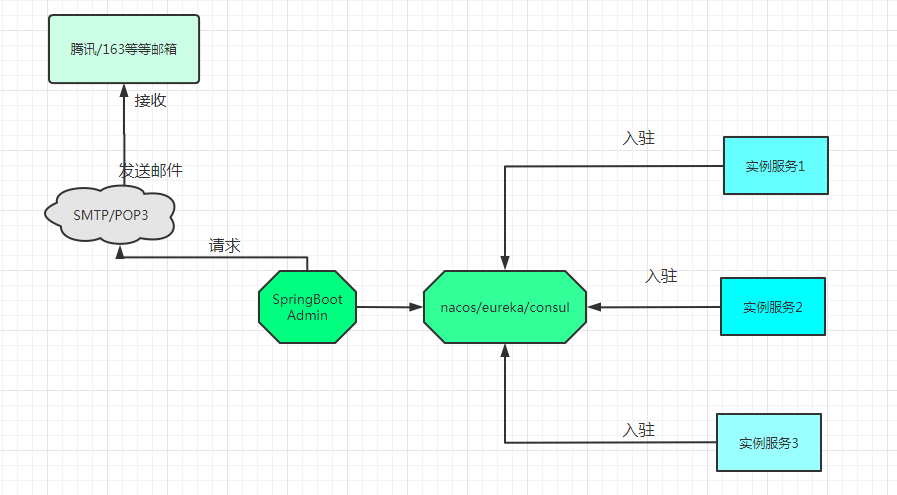
SpringBoot Admin是一个社区项目.用于管理和监控SpringBoot应用程序,注册到SpringBoot Admin服务端可以通过HTTP的方式或使用SpringCloud(eureka、consul、nacos)等
这个图是我自己画的,只是简单的画了一下,画的不太好,请见谅

服务端的搭建
<!--SpringBoot Admin服务端 --> <dependency> <groupId>org.jolokia</groupId> <artifactId>jolokia-core</artifactId> <jolokia.version>1.5.0</jolokia.version> </dependency> <dependency> <groupId>de.codecentric</groupId> <artifactId>spring-boot-admin-starter-server</artifactId> <version>2.0.1</version> </dependency> <!-- SpringBoot Admin的ui界面 --> <dependency> <groupId>de.codecentric</groupId> <artifactId>spring-boot-admin-server-ui</artifactId> <version>2.0.2</version> </dependency> <!--安全,保护SpringBoot Admin,使用时详细讲解--> <dependency> <groupId>org.springframework.boot</groupId> <artifactId>spring-boot-starter-security</artifactId> <version>2.0.2.RELEASE</version> </dependency> 配置文件的配置(yml格式)
#端口号 server: port: 28820 spring: #微服务实例名称 application: name: POWERSERVICE-DOCKER --- #设置SpringBootAdmin的属性 spring: boot: admin: ui: title: 'power-monitoring' #设置security的用户名和密码 security: user: name: admin password: admin12345 --- #设置SpringBoot Admin的邮箱通知 spring: mail: #邮箱服务器地址 host: smtp.exmail..com #邮箱用户名 username: xxxxx #邮箱密码 password: xxxxx port: 465 #stmp的方式开启 properties: mail.smtp.auth: true mail.host: smtp.exmail..com #设置smtp格式的SSL方式的端口号 smtp.socketFactory.port: 465 #使用SSL的方式发送 mail.smtp.socketFactory.class: javax.net.ssl.SSLSocketFactory #发送邮箱 boot: admin: notify: mail: #邮箱发件人 from: xxxxx #邮箱接收人,多个地址逗号隔开 to: - xxxxx 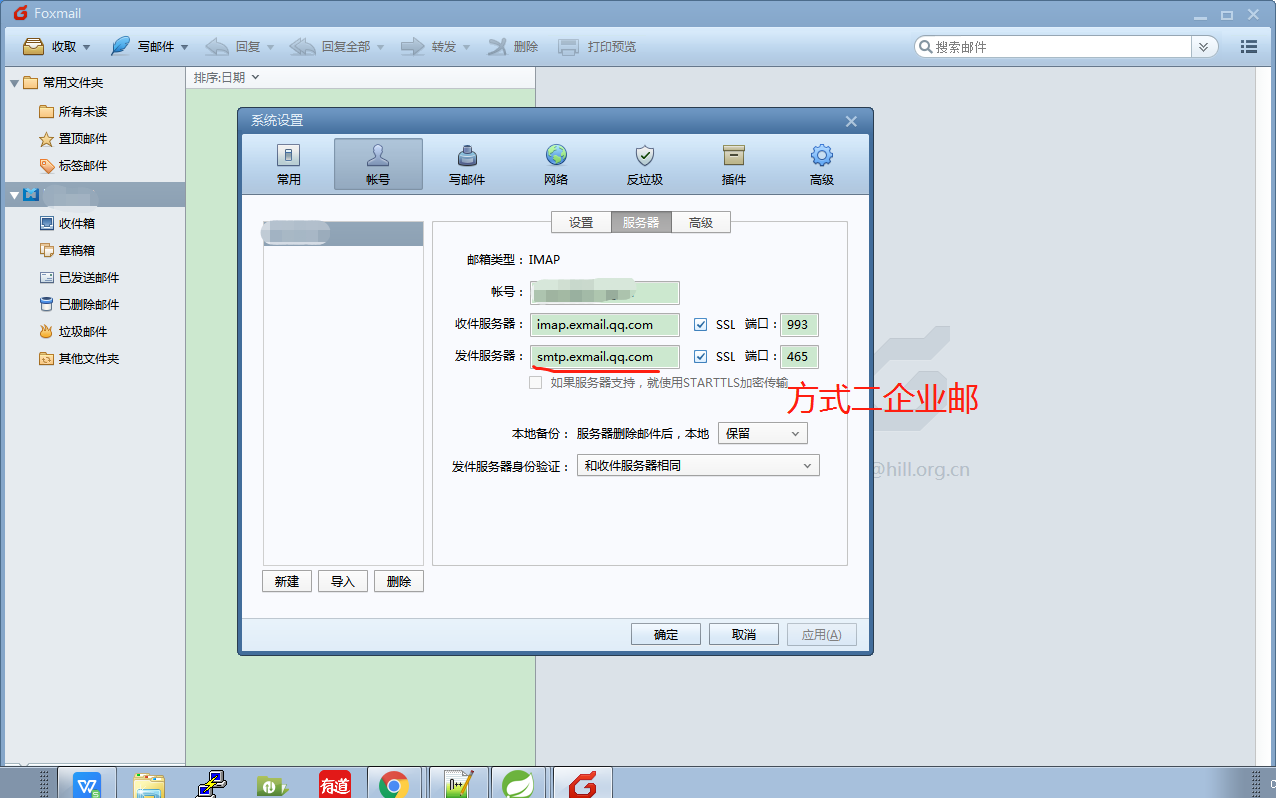
配置SpringBoot Admin服务端启动类
@EnableAutoConfiguration @Configuration @EnableAdminServer @SpringBootApplication(exclude = DataSourceAutoConfiguration.class) public class Admin_power extends WebSecurityConfigurerAdapter {
private final String contextPath; public Admin_power(AdminServerProperties adminServerProperties) {
this.contextPath = adminServerProperties.getContextPath(); } @Override protected void configure(HttpSecurity http) throws Exception {
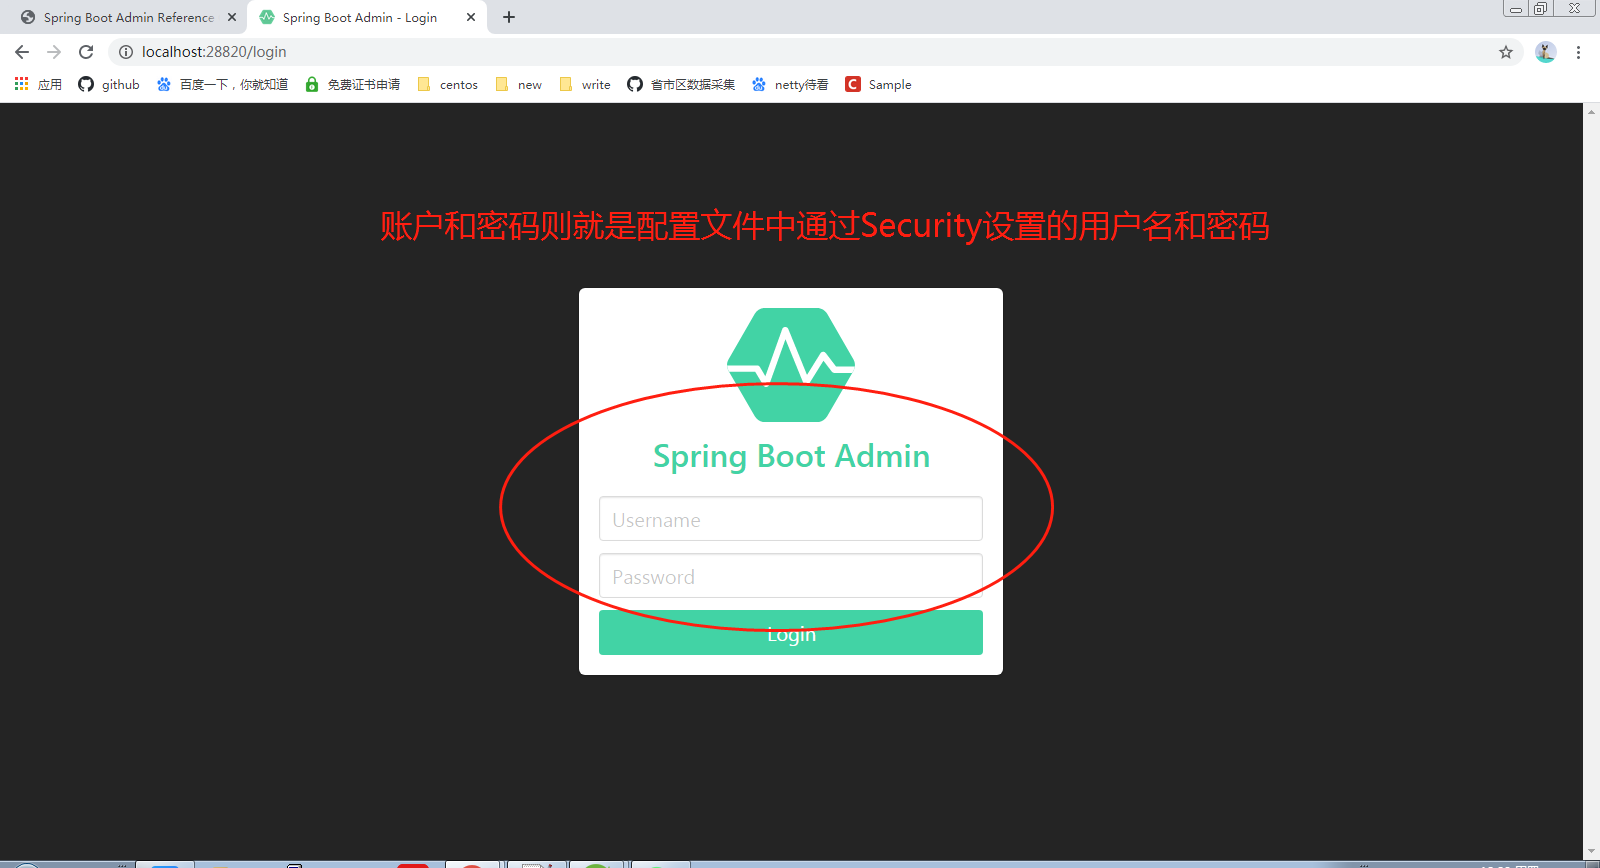
// 跨域设置 客户端通过instances注册(为后续docker做准备) http.csrf().csrfTokenRepository(CookieCsrfTokenRepository.withHttpOnlyFalse()) .ignoringAntMatchers(contextPath + "/instances"); http.authorizeRequests().antMatchers(contextPath + "/assets/").permitAll(); // 静态资源 http.authorizeRequests().anyRequest().authenticated(); //认证 // spring-boot-admin-server-ui http.formLogin().loginPage("/login").permitAll(); http.logout().logoutUrl("/logout").logoutSuccessUrl("/login"); // basic认证 http.httpBasic(); } public static void main(String[] args) {
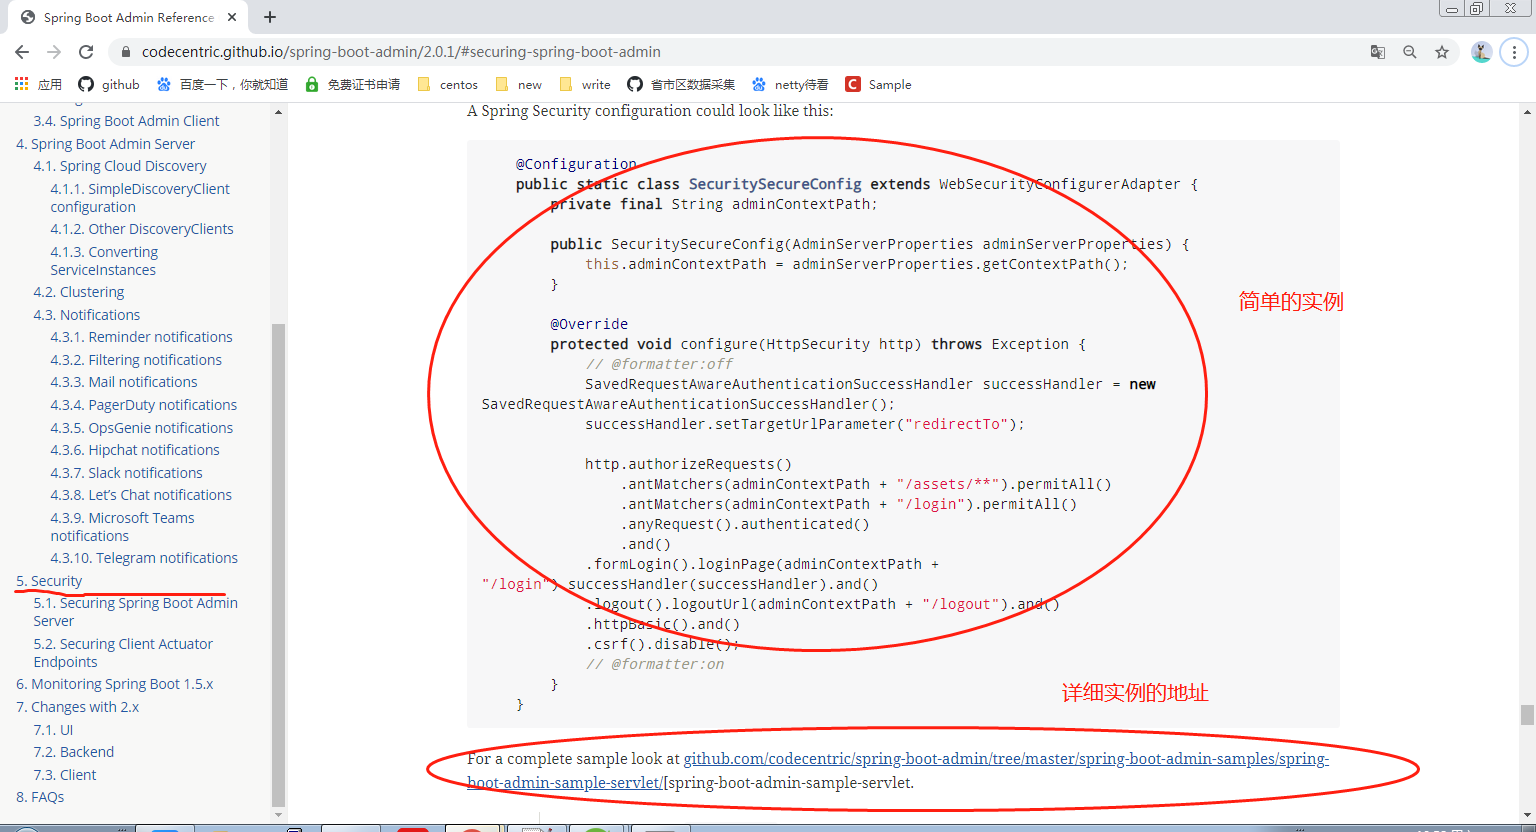
SpringApplication.run(Admin_power.class, args); } } 启动类配置解释: 与Security搭配使用(实现拦截功能,登录功能),代码不是我自己编写的,SpringBoot Admin官方提供
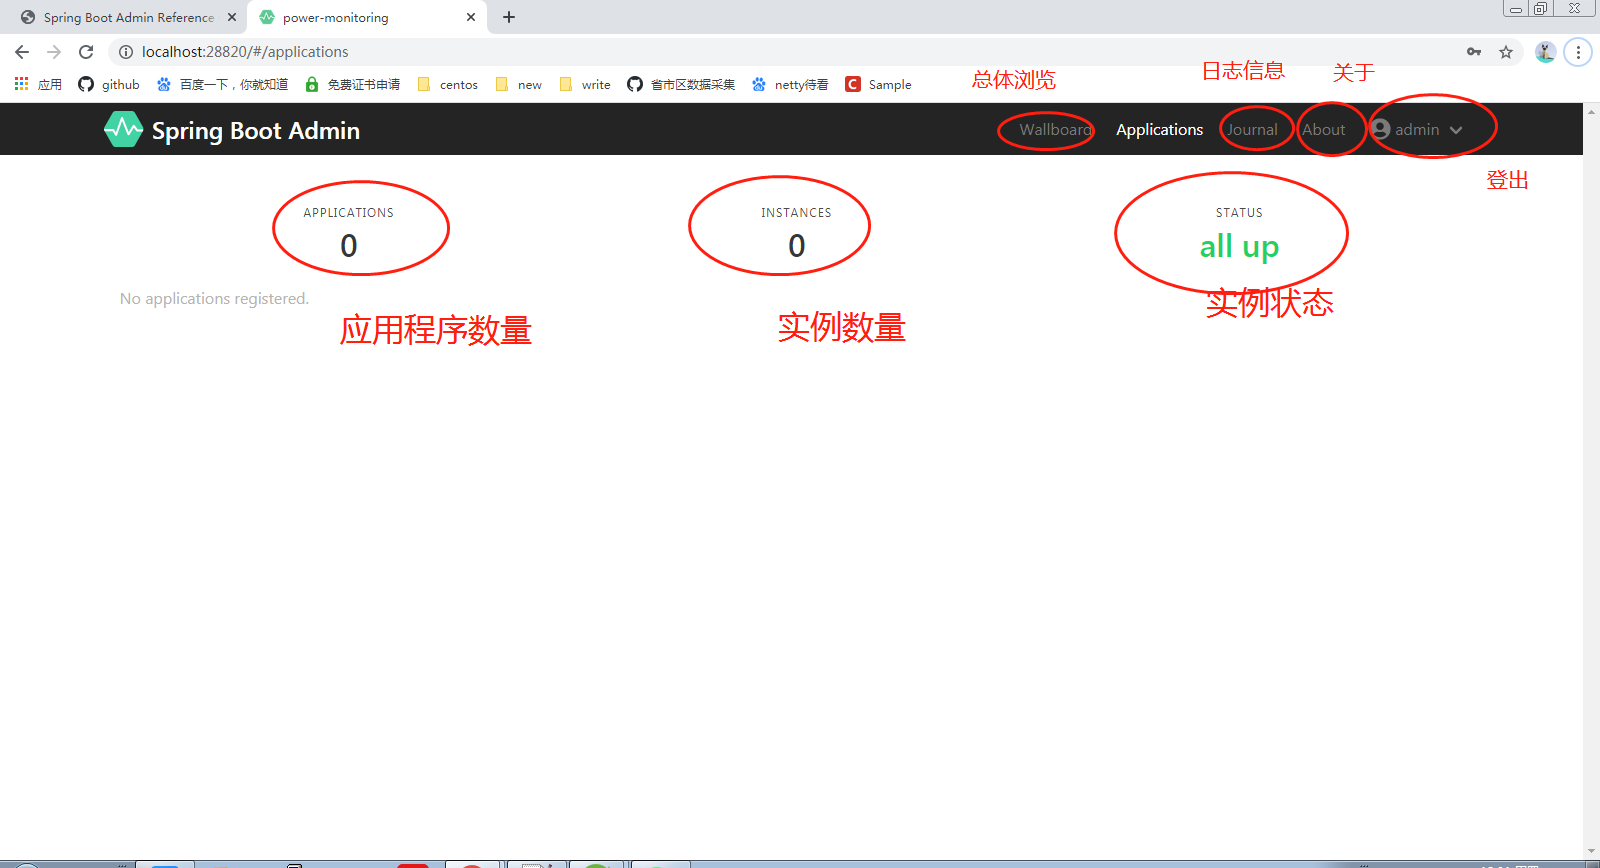
本地测试
到这里的话,就代表SpringBoot Admin服务端已经配置好了(注意项目自己创建),先在本地测试下,如果没问题的话就部署到云端
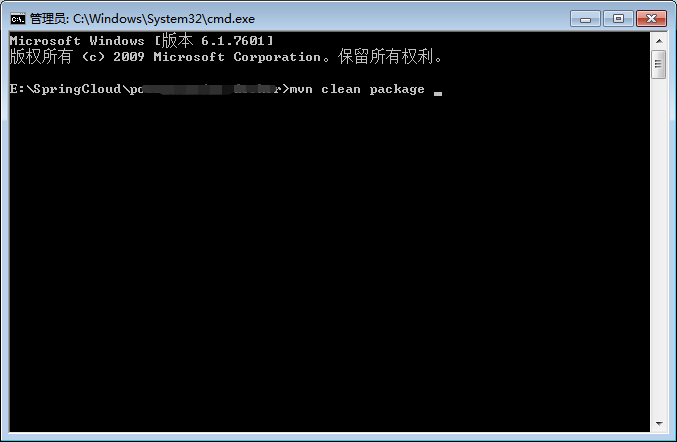
打包发布
我打包的话是通过cmd命令的(jar包)
将打好的jar包上传到云端服务器中
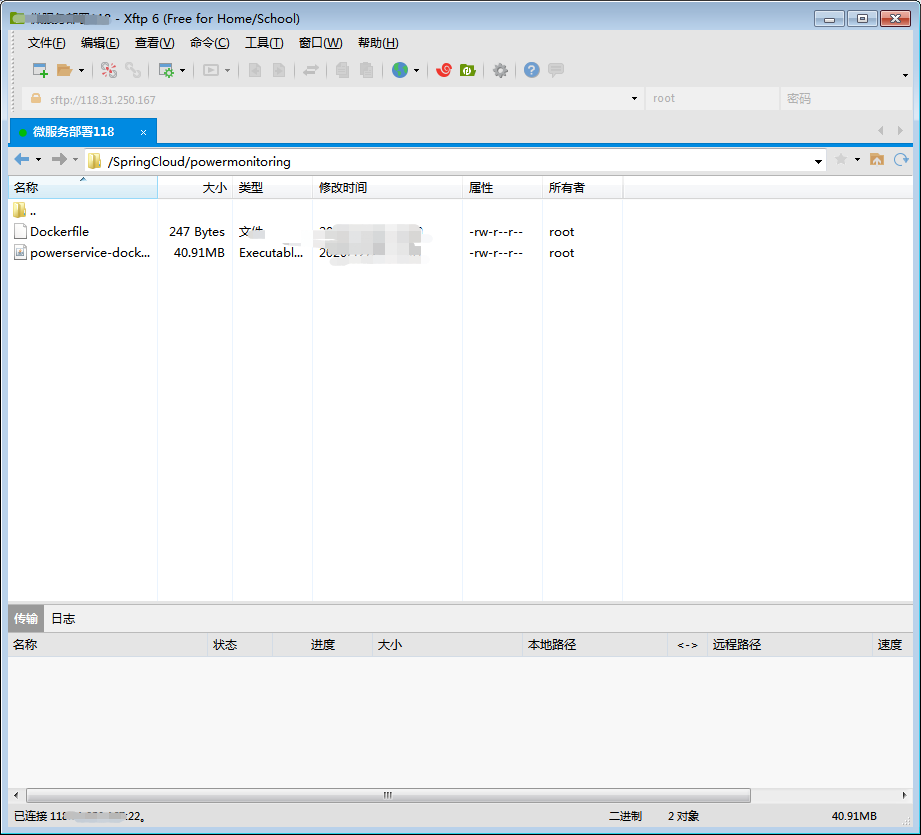
通过docker来进行打包命令(步骤:打包>>>生成镜像>>>运行镜像),打包过程就不演示了,详细可以查看docker官网中的命令讲解
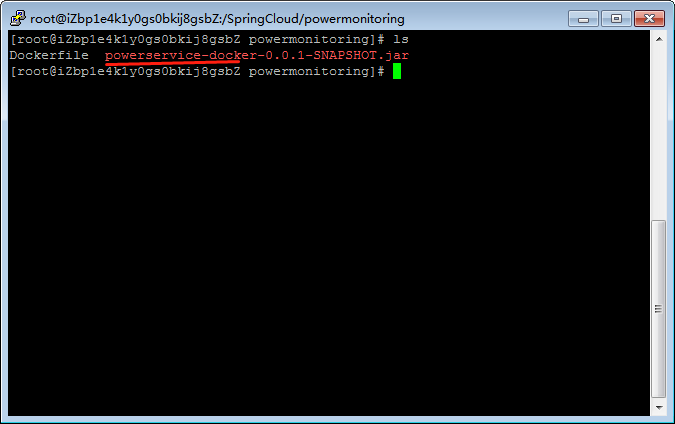
我生成的镜像包的名称命名为”powdockeradmin”,接下来开始运行镜像包
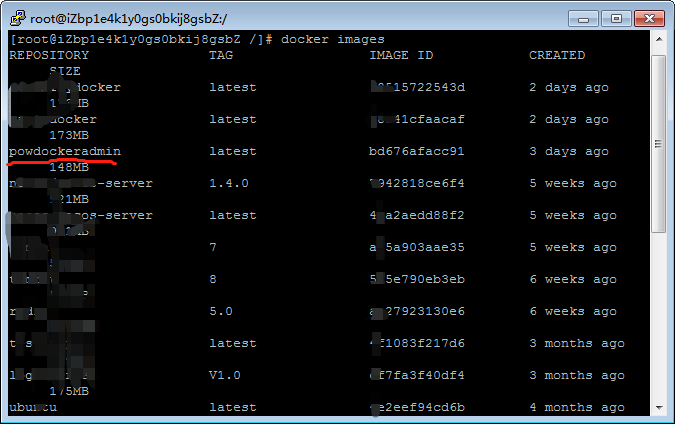
docker run -d -p 28820:28820 powdockeradmin 运行镜像 docker ps 查看运行的镜像 docker logs --since 10m 容器id 查看指定容器的日志 需要注意: 端口号是对外映射的,我这里在是提前开放好公网出方向的端口了,所以如果你们无法访问的话,查看一下是否没有开放端口

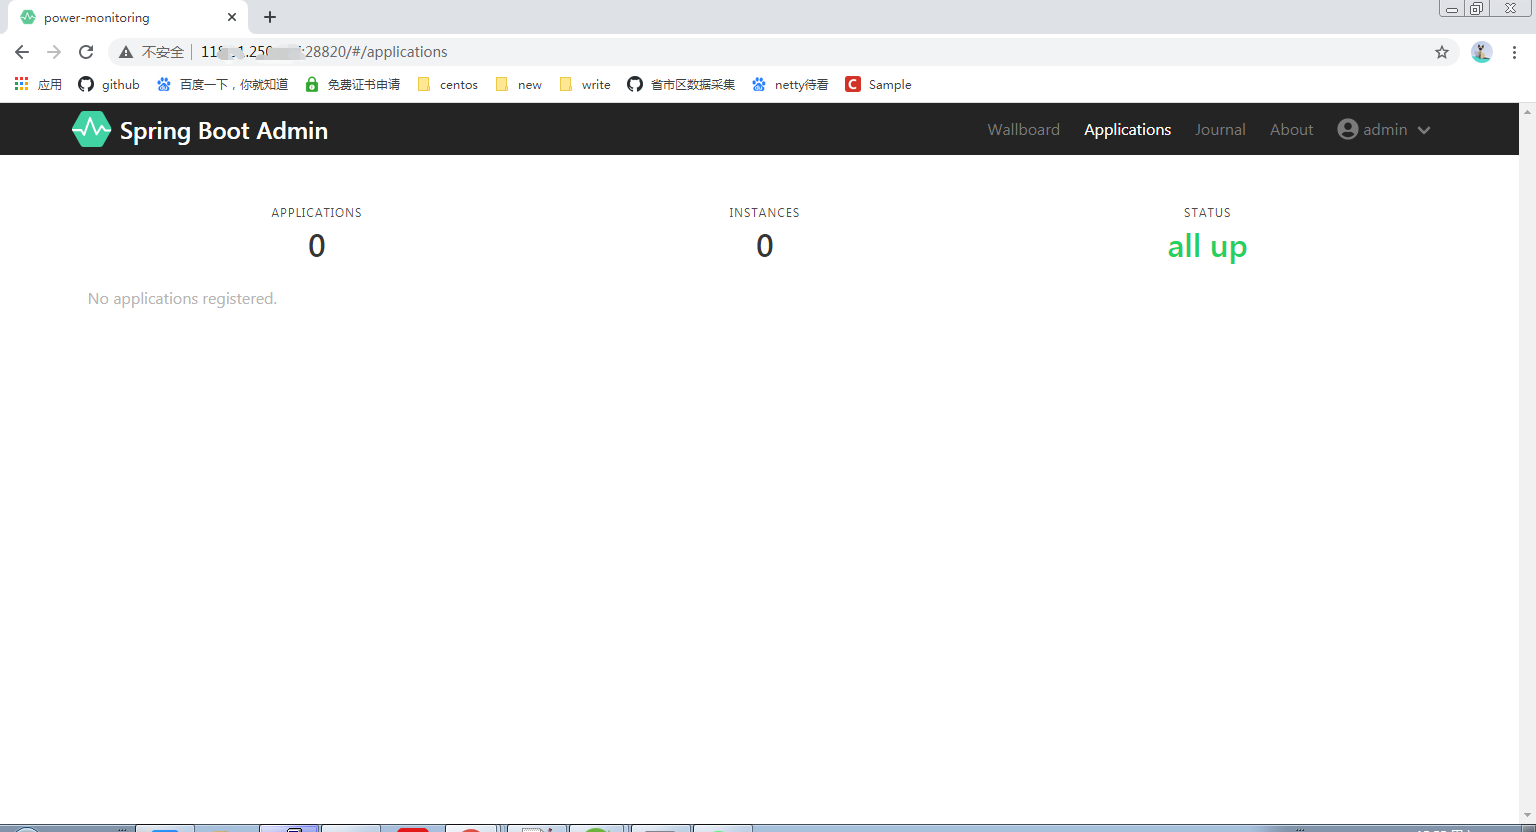
外网测试
外网测试也是通的,这也就意味着SpringBoot Admin的服务端已经拿下了,接下来就需要配置客户端了
客户端的搭建
#监控服务配置 spring: boot: admin: client: #服务入驻SpringBoot Admin的地址 url: - SpringBoot Admin服务端的地址 #要注册的服务网址 instance: service-url: 注册服务端的服务网址(docker地址) 地址+端口 username: admin password: admin12345 management: endpoints: web: exposure: include: '*' 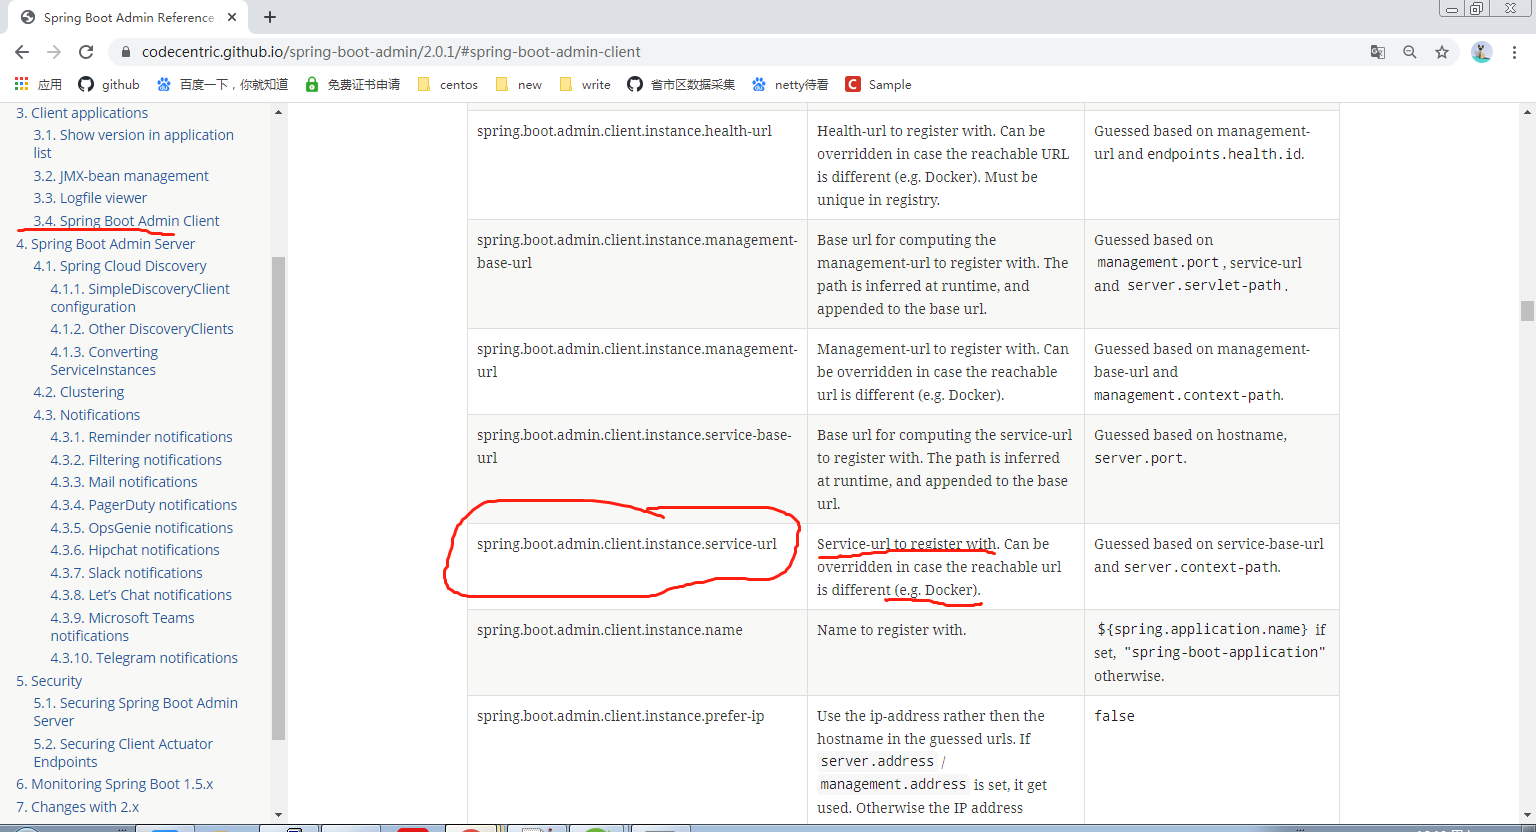
pom.xml文件的依赖
<!-- SpringBoot Admin客户端 --> <dependency> <groupId>org.jolokia</groupId> <artifactId>jolokia-core</artifactId> </dependency> <dependency> <groupId>de.codecentric</groupId> <artifactId>spring-boot-admin-starter-client</artifactId> <version>2.0.1</version> </dependency> <!-- SpringBoot Admin的ui界面 --> <dependency> <groupId>de.codecentric</groupId> <artifactId>spring-boot-admin-server-ui</artifactId> <version>2.0.1</version> </dependency> 我这里是创建了两个客户端的实例服务,并将它们都上传到服务器中,并且打包成镜像运行了起来,镜像启动之后,可以通过以下命令获取容器在docker中ip地址,然后配置到instance下的service-url属性上
docker inspect 容器id 查看容器的详细信息 spring: boot: admin: client: #服务入驻SpringBoot Admin的地址 url: - SpringBoot Admin服务端地址 #要注册的服务网址 instance: service-url: http://192.168.0.5:28840 username: admin password: admin12345 management: endpoints: web: exposure: include: '*' 参数的指南
尾声
到了这里,也就意味着文章的完结了,如果文章中有疑惑或认为不对的地方都可以通过评论提出来,我会吸取您的宝贵意见,最后记得点赞哦,谢谢
发布者:全栈程序员-站长,转载请注明出处:https://javaforall.net/198827.html原文链接:https://javaforall.net


