
Have you been looking for a quick and easy way to add images to your Photobucket account? Now you can with the Photobucket Uploader extension for Firefox.
您是否一直在寻找一种快速简便的方法将图像添加到您的Photobucket帐户? 现在,您可以使用适用于Firefox的Photobucket Uploader扩展程序。
Setup
建立
After installing the extension, you will notice a small “Photobucket Icon” in the lower right corner. For those who are curious, there is no toolbar button to worry with. At this point you are ready to go!
安装扩展程序后,您会在右下角看到一个小的“ Photobucket图标”。 对于那些好奇的人,没有工具栏按钮值得担心。 至此,您可以开始了!
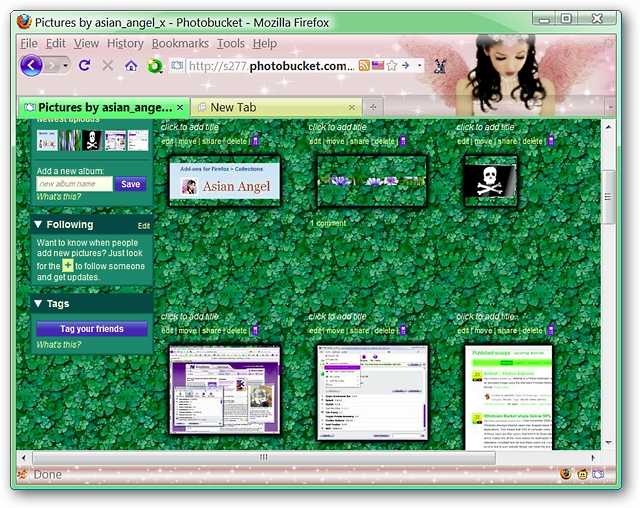
Here is a quick look at the Photobucket account being used for our example…
这是我们示例中使用的Photobucket帐户的快速浏览…

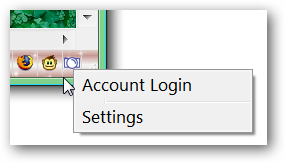
You can use the “Status Bar Icon” to login to your Photobucket account and access the settings.
您可以使用“状态栏图标”登录到您的Photobucket帐户并访问设置。
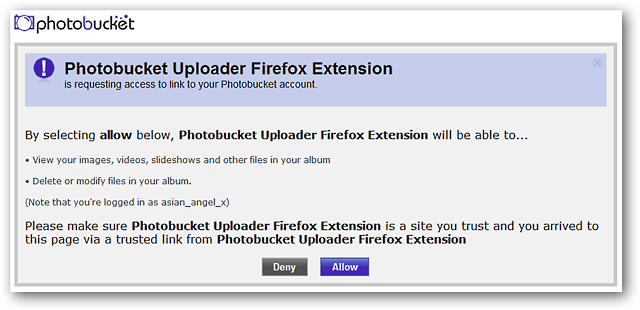
This is the message window that you will see once you have logged into your account. You will be asked whether you want to allow the extension access to your account or not. Click “Allow” to proceed.
这是您登录帐户后将看到的消息窗口。 系统将询问您是否要允许扩展访问您的帐户。 单击“允许”继续。
Options
选件
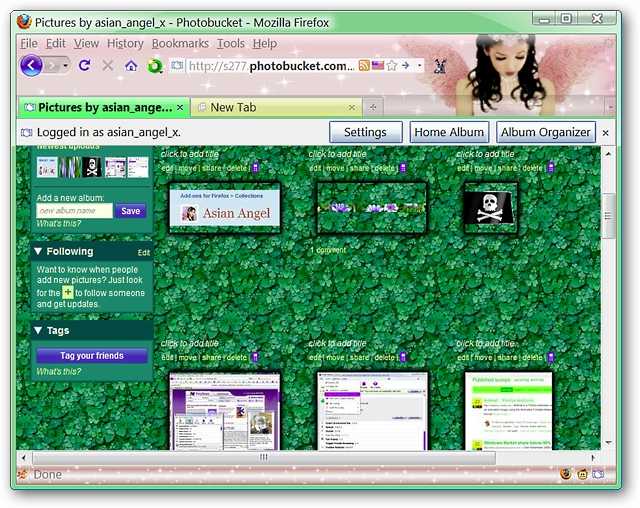
Once you have clicked “Allow” you will notice the following message bar at the top of your browser window. You can access your “Settings, Home Album, or Album Organizer” from here.
单击“允许”后,您将在浏览器窗口顶部看到以下消息栏。 您可以从此处访问“设置,家庭相册或相册管理器”。
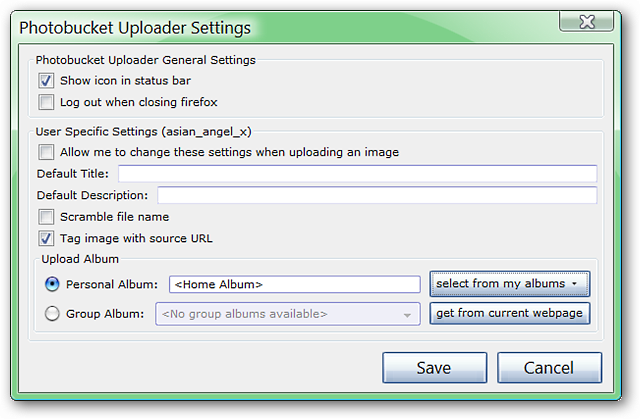
Here is a look at the “Options Window”…choose the settings that best suit your personal needs.
这是“选项窗口”的外观……选择最适合您个人需要的设置。
Photobucket Uploader in Action
实用的Photobucket上传器
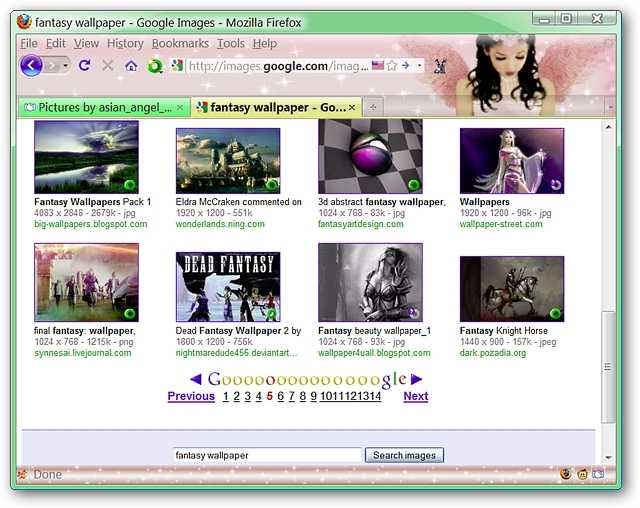
Time to try things out! We decided to do an image search at Google for fantasy wallpapers and chose the one in the lower left corner.
是时候尝试一下了! 我们决定在Google上搜索图片以查找幻想壁纸,然后选择左下角的图片。
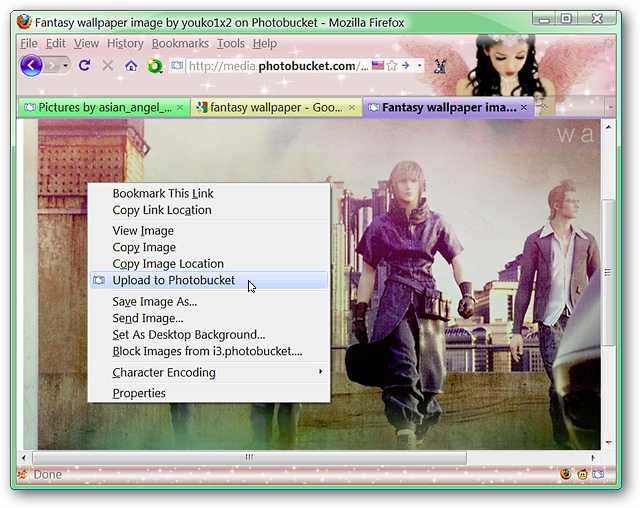
After opening your chosen image in a new tab (or window), access the “Context Menu” and select “Upload to Photobucket”.
在新选项卡(或窗口)中打开所选图像后,访问“上下文菜单”并选择“上传到Photobucket”。
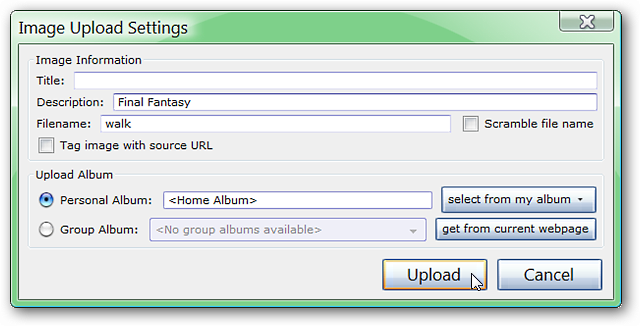
As soon as you have selected “Upload to Photobucket” you will see the following window. You will be able to enter in any information that you wish to have associated with the image (including the original source URL). Click “Upload” once you have finished entering the desired information.
选择“上传到Photobucket”后,您将看到以下窗口。 您将能够输入希望与图像关联的任何信息(包括原始源URL)。 输入所需信息后,单击“上传”。
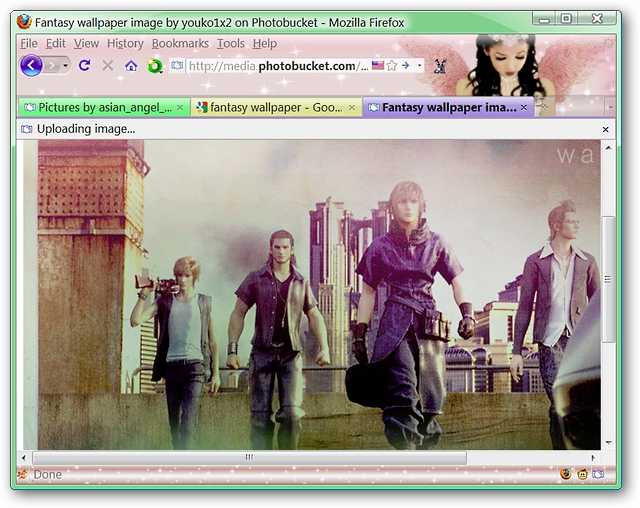
Once you have clicked “Upload” the message bar will appear stating the current progress of your upload…
单击“上传”后,将显示消息栏,说明您的当前上传进度…
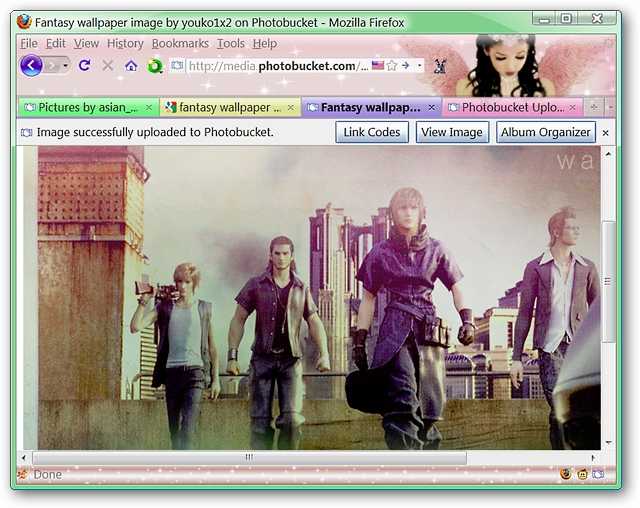
And when the upload has finished you will be able to choose from “Link Codes, View Image, & Album Organizer”. We clicked on “View Image” and a new tab opened in the background…
上传完成后,您将可以从“链接代码,查看图像和相册管理器”中进行选择。 我们单击了“查看图像”,然后在后台打开了一个新标签页…
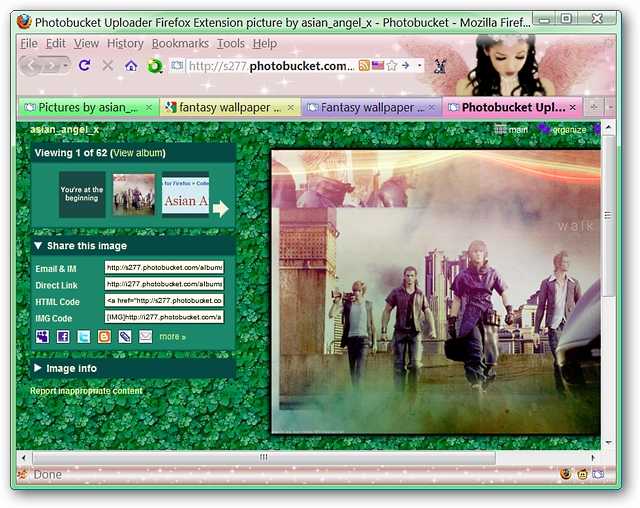
Once we focused the newly opened tab, this is what it looked like…a nice view of our new image and easy access to all of the links (very nice!).
一旦我们聚焦了新打开的选项卡,就看起来像是…新图像的漂亮视图,并且可以轻松访问所有链接( 非常好! )。
Conclusion
结论
Photobucket Uploader provides a quick and easy way to upload images to your Photobucket account while using Firefox. Have fun!
Photobucket Uploader提供了使用Firefox时将图像上传到您的Photobucket帐户的快速简便的方法。 玩得开心!
Links
链接
Download the Photobucket Uploader extension (Mozilla Add-ons)
下载Photobucket Uploader扩展程序(Mozilla附加组件)
翻译自: https://www.howtogeek.com/howto/4666/upload-images-to-photobucket-the-easy-way/
发布者:全栈程序员-站长,转载请注明出处:https://javaforall.net/200590.html原文链接:https://javaforall.net


