
初次做SpringBoot,要解决页面跳转的问题,这个问题我弄了大半天,弄好后,其实也不算个事,写出来给大家提个醒!其实不要使用spring boot的@RestController注解,直接使用spring原来的注解@Controller就可以了。示例如下:
@Controller
public class ActionController {
@RequestMapping(value = “/action”,method = RequestMethod.GET)
public String index(){
return “login”;
}
}
如果你的项目如什么都没有配,那么你想跳到login.html时,语句必须是 return “login.html” ,否则它会报错 。因为找不到login文件。
为什么呢?因为@RestController注解,相当于@Controller+@ResponseBody两个注解的结合, @Responsebody后,返回结果直接写入HTTP response body中,不会被解析为跳转路径,所以你总是看到是打印字符串的效果,不是跳转效果。
=========================================================
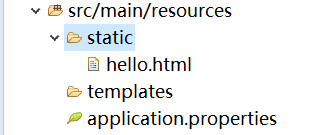
请看更详细的解答:SpringBoot里面没有我们之前常规web开发的WebContent(WebApp),它只有src目录,在src/main/resources下面有两个文件夹,[static]和[templates],springboot默认static中放静态页面,而templates中放动态页面,见下图:

静态页面:
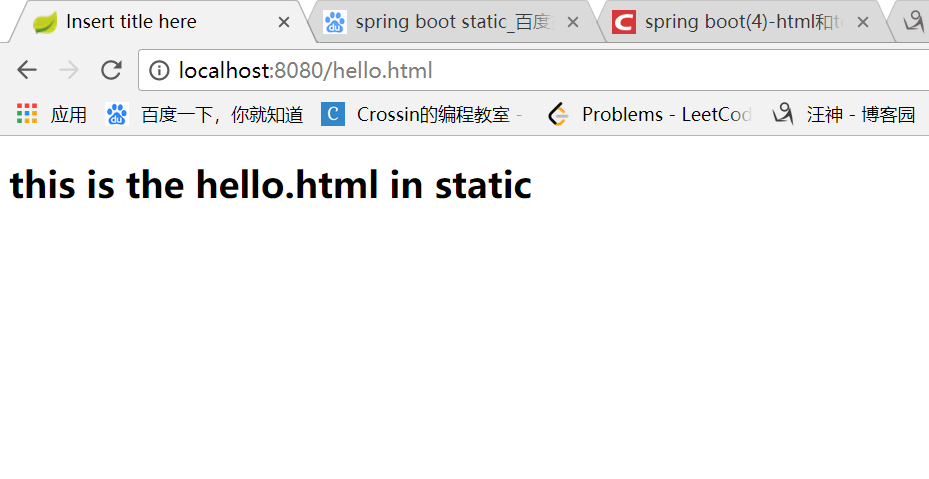
静态页面可以直接访问。这里我们直接在static放一个hello.html,然后直接输入http://localhost:8080/hello.html便能成功访问(好像可以新建一个public文件夹,也可以放静态文件)。
也可以通过controller跳转:
@Controller
public class HelloController {
@RequestMapping(“/Hi”)
public String sayHello() {
return “hello.html”;
}
}
然后输入http://localhost:8080/Hi就可以成功访问
动态页面:
动态页面需要先请求服务器,访问后台应用程序,然后再转向到页面,比如访问JSP。spring boot建议不要使用JSP,默认使用Thymeleaf来做动态页面。
要在pom中要添加Thymeleaf组件
org.springframework.boot
spring-boot-starter-thymeleaf
但你加上了上面的thymeleaf后,你必须重启工程,即使是你配置了热启动后,也要重启工程,才可以看到效果 。
我们先在tempates文件夹中也新建一个hello.html但内容不同,然后先试一下直接访问该页面。输入http://localhost:8080/hello.html:
结果显然访问的是静态问价夹里面的那个hello.html
然后我们现在再试一下用controller:
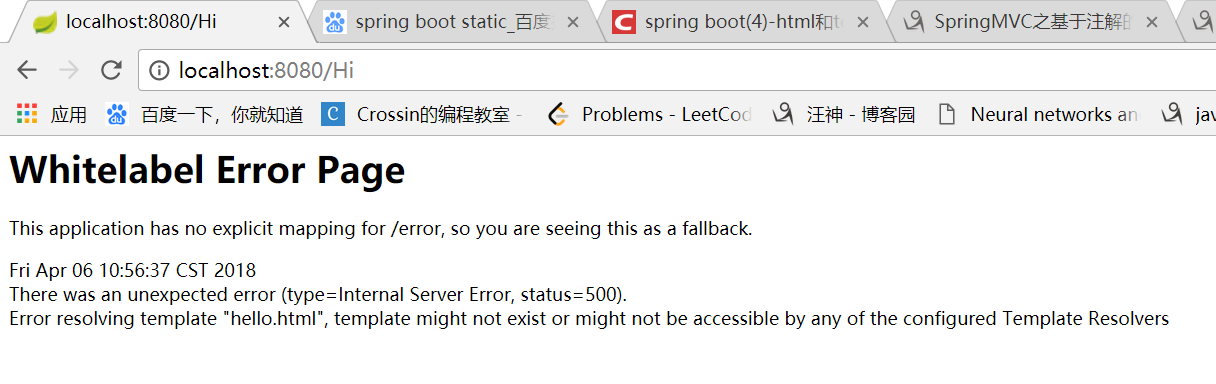
似乎无法访问到hello.html了。。。这是因为:静态页面的return默认是跳转到/static/index.html,当在pom.xml中引入了thymeleaf组件,动态跳转会覆盖默认的静态跳转,默认就会跳转到/templates/index.html,注意看两者return代码也有区别,动态有或没有html后缀都可以。
也就是我们要这样改controller:
@Controller
public class HelloController {
@RequestMapping(“/Hi”)
public String sayHello() {
return “hello”;//在没有配置的情况下,return “hello”; 或者return “hello”都可以,它们都会到templates/index.html去。
}
}
然后就可以成功跳转了
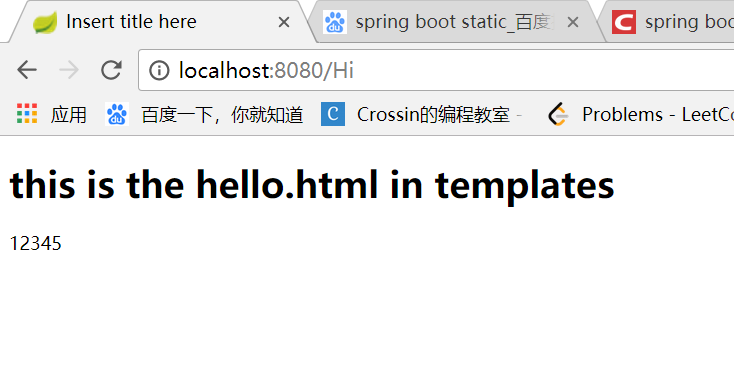
然后我们看看返回一点数据在前端利用Thyemleaf来拿:
@Controller
public class HelloController {
@RequestMapping(“/Hi”)
public ModelAndView sayHello() {
ModelAndView modelAndView = new ModelAndView();
modelAndView.setViewName(“hello”);
modelAndView.addObject(“key”, 12345);
//System.out.println(“test”);
return modelAndView;
}
}
———————
Templates/hello.html
———————
this is the hello.html in templates
效果:
如果不想返回视图,则用@RestController
如果用了静态模板你还想返回static中的页面,那么就要用重定向:
如果在使用动态页面时还想跳转到/static/index.html,可以使用重定向return “redirect:/index.html”。
几点tips:
1.拦截的url最后不要跟视图重合,否则会抛出Circular view path异常,我之前就是
@Controller
public class HelloController {
@RequestMapping(“/hello”)
public String sayHello() {
return “hello.html”;
}
}
然后就报错说会有个循环视图的错误,反正以后注意就是。
2.每次改完都要重新停止应用,再重新启动很烦~但springboot有个叫热部署的东西,就是说在项目中修改代码可以不用重新停止应用再重新启动,可以自动重启,这里我们用的是devtools:
方法见网址:https://www.cnblogs.com/cx-code/p/8686453.html,摘录如下:
sts热部署,即是在项目中修改代码不用重新启动服务,提高效率。
方法如下:
1.在pom文件中引入 devtools 依赖:
org.springframework.boot
spring-boot-devtools
true
2.在application.properties 文件中码上以下内容:
spring.thymeleaf.cache=true //缓存
spring.devtools.restart.enabled=true //开启
spring.devtools.restart.additional-paths=src/main/java //监听目录
3.原理
———————————–
如何使用thymeleaf [taim li:f] 来达到以前jsp获取Model值这样的效果(thymeleaf是什么?你自行百度),那么,你得在maven中加依赖:
org.springframework.boot
spring-boot-starter-thymeleaf
然后,在配置文件:application.yml或application.property中加配置:
spring.thymeleaf.prefix:classpath: /templates/
spring.thymeleaf.suffix: .html
spring.thymeleaf.mode: HTML
spring.thymeleaf.encoding: utf-8
spring.thymeleaf.cache: false
再写控制类时把Model加在参数中:
它就会跳转到/templates/index.html这个网页上去了。
你的index.html如果想显示”我是一个兵”,”来自老百姓”的值的话,网页应该这样写:
AAAAindex.jspsdfasd
Today is: 13 february 2011.
@{${aaa}}
${aaa}
${bbb}
——————————————-
发布者:全栈程序员-站长,转载请注明出处:https://javaforall.net/211436.html原文链接:https://javaforall.net


