
Gitlab的概念
GitLab 是一个用于仓库管理系统的开源项目,使用Git作为代码管理工具,并在此基础上搭建起来的Web服务。安装方法是参考GitLab在GitHub上的Wiki页面。Gitlab是目前被广泛使用的基于git的开源代码管理平台, 基于Ruby on Rails构建, 主要针对软件开发过程中产生的代码和文档进行管理, Gitlab主要针对group和project两个维度进行代码和文档管理, 其中group是群组, project是工程项目, 一个group可以管理多个project, 可以理解为一个群组中有多项软件开发任务, 而一个project中可能包含多个branch, 意为每个项目中有多个分支, 分支间相互独立, 不同分支可以进行归并。
定义
GitLab是由GitLabInc.开发,使用MIT许可证的基于网络的Git仓库管理工具,且具有wiki和issue跟踪功能。使用Git作为代码管理工具,并在此基础上搭建起来的web服务。
用到的git指令
git init :初始化.git文件夹
git add 文件名:从本地工作区添加文件入暂存区
git add -A:从本地工作区添加全部文件入暂存区
git commit -m “添加的备注” 文件名:暂存区给文件备注确认,记录为一个版本
git commit -m “添加的备注” 文件名:暂存区全部文件备注确认,记录为一个版本
git log:查看历史版本记录
git status:查看文档修改记录,红色为未add内容,绿色为可以commit内容
git push 地址名 本地分支:远程库分支:将暂存区代码推入远程库
git remove add 地址名 地址url:远程库操作
git branch -M 分支名:创建分支
gitlab的安装与配置
gitlab-ce.repo源包
vim /etc/yum.repos.d/gitlab-ce.repo [gitlab-ce] name=Gitlab CE Repository baseurl=https://mirrors.tuna.tsinghua.edu.cn/gitlab-ce/yum/el$releasever/ gpgcheck=0 enabled=1 #yum makecache或者这样装wget安装
wget https://mirrors.tuna.tsinghua.edu.cn/gitlab-ce/yum/el7/gitlab-ce-15.2.2-ce.0.el7.x86_64.rpm改主机域名
[root@localhost ~]# hostnamectl set-hostname gitlab.example.com [root@localhost ~]# bash [root@gitlab ~]# 配置 hosts
[root@gitlab ~]# cat /etc/hosts 192.168.100.17 gitlab.example.com 安装gitlab依赖软件 及获取 GPG 密钥
yum install -y curl policycoreutils openssh-server openssh-clients postfix rpm --import /etc/pki/rpm-gpg/RPM-GPG-KEY-CentOS-7 安装 postfix 并启动
yum install postfix systemctl start postfix systemctl enable postfix 安装gitlab-ce
curl -sS https://packages.gitlab.com/install/repositories/gitlab/gitlab-ce/script.rpm.sh | sudo bash yum -y install gitlab-ce 手动配置ssl证书
1.创建私有密钥
[root@gitlab ~]# mkdir -p /etc/gitlab/ssl [root@gitlab ~]# openssl genrsa -out "/etc/gitlab/ssl/gitlab.example.com.key" 2048 Generating RSA private key, 2048 bit long modulus ...+++ ........................................+++ e is 65537 (0x10001) 2.创建私有证书
[root@gitlab ~]# cd /etc/gitlab/ssl [root@gitlab ssl]# ls gitlab.example.com.key [root@gitlab ssl]# openssl req -new -key "/etc/gitlab/ssl/gitlab.example.com.key" -out "/etc/gitlab/ssl/gitlab.example.com.csr" You are about to be asked to enter information that will be incorporated into your certificate request. What you are about to enter is what is called a Distinguished Name or a DN. There are quite a few fields but you can leave some blank For some fields there will be a default value, If you enter '.', the field will be left blank. ----- Country Name (2 letter code) [XX]:CN CN 国家 State or Province Name (full name) []:SX SX 省份 Locality Name (eg, city) [Default City]:XA XA 城市 Organization Name (eg, company) [Default Company Ltd]: 空格 Organizational Unit Name (eg, section) []: 空格 Common Name (eg, your name or your server's hostname) []:gitlab.example.com Email Address []:@.com 邮箱地址 Please enter the following 'extra' attributes to be sent with your certificate request A challenge password []: 密码 An optional company name []: 空格 [root@gitlab ssl]# ls gitlab.example.com.csr gitlab.example.com.key 3.创建CRT签署证书
[root@gitlab ssl]# openssl x509 -req -days 365 -in "/etc/gitlab/ssl/gitlab.example.com.csr" -signkey "/etc/gitlab/ssl/gitlab.example.com.key" -out "/etc/gitlab/ssl/gitlab.example.com.crt" Signature ok subject=/C=CN/ST=SX/L=XA/O=Default Company Ltd/CN=gitlab.example.com/emailAddress=@.com Getting Private key [root@gitlab ssl]# ll /etc/gitlab/ssl/ 总用量 12 -rw------- 1 root root 1273 8月 8 15:52 gitlab.example.com.crt -rw------- 1 root root 1070 8月 8 15:52 gitlab.example.com.csr -rw------- 1 root root 1679 8月 8 15:50 gitlab.example.com.key 4.利用openssl签署pem 证书
root@gitlab ssl]# openssl x509 -req -days 365 -in "/etc/gitlab/ssl/gitlab.example.com.csr" -signkey "/etc/gitlab/ssl/gitlab.example.com.key" -out "/etc/gitlab/ssl/gitlab.example.com.crt" Signature ok subject=/C=CN/ST=SX/L=XA/O=Default Company Ltd/CN=gitlab.example.com/emailAddress=@.com Getting Private key [root@gitlab ssl]# [root@gitlab ssl]# openssl dhparam -out /etc/gitlab/ssl/dhparams.pem 2048 Generating DH parameters, 2048 bit long safe prime, generator 2 This is going to take a long time ..............................+..............................................................................................................................................................................................................................+.+..........................................................+...........................................................................................................................................+...........................................................................................................................................................................................................................................................+.....................................................................................+.........................................5.更改ssl下的所有证书权限
[root@gitlab ssl]# chmod 600 * [root@gitlab ssl]# ll 总用量 16 -rw------- 1 root root 424 8月 8 15:53 dhparams.pem -rw------- 1 root root 1273 8月 8 15:52 gitlab.example.com.crt -rw------- 1 root root 1070 8月 8 15:52 gitlab.example.com.csr -rw------- 1 root root 1679 8月 8 15:50 gitlab.example.com.key6.配置证书到gitlab配置文件中
[root@gitlab ssl]# vim /etc/gitlab/gitlab.rb external_url 'https://gitlab.example.com' 改为https开头 nginx['redirect_http_to_https'] = true 取消#号更改注释并为true 1397行 # nginx['ssl_certificate'] = "/etc/gitlab/ssl/gitlab.example.com.crt" 更改路径 # nginx['ssl_certificate_key'] = "/etc/gitlab/ssl/gitlab.example.com.key" 更改路径 # nginx['ssl_dhparam'] = /etc/gitlab/ssl/dhparams.pem 更改路径 # Path to dhparams.pem, eg. /etc/gitlab/ssl/dhparams.pem 7.更改完之后初始化命令执行
[root@gitlab ssl]# gitlab-ctl reconfigure .... .... .... Running handlers: [2022-08-09T15:04:10+08:00] INFO: Running report handlers Running handlers complete [2022-08-09T15:04:10+08:00] INFO: Report handlers complete Infra Phase complete, 3/818 resources updated in 13 seconds gitlab Reconfigured! # 出现这个表示配置没有问题! [root@gitlab ssl]# gitlab-ctl status [root@gitlab ssl]#gitlab-ctl restart ok: run: alertmanager: (pid 16197) 0s ok: run: gitaly: (pid 16212) 0s ok: run: gitlab-exporter: (pid 16225) 0s ok: run: gitlab-kas: (pid 16227) 0s ok: run: gitlab-workhorse: (pid 16236) 1s ok: run: grafana: (pid 16243) 0s ok: run: logrotate: (pid 16253) 1s ok: run: nginx: (pid 16260) 0s ok: run: node-exporter: (pid 16269) 1s ok: run: postgres-exporter: (pid 16281) 0s ok: run: postgresql: (pid 16371) 0s ok: run: prometheus: (pid 16384) 1s ok: run: puma: (pid 16399) 0s ok: run: redis: (pid 16405) 1s ok: run: redis-exporter: (pid 16411) 0s ok: run: sidekiq: (pid 16419) 0s [root@gitlab conf]# [root@gitlab conf]# gitlab-ctl restart sidekiq ok: run: sidekiq: (pid 17327) 0s8.对nginx配置
[root@gitlab ssl]#cd /var/opt/gitlab/nginx/conf [root@gitlab conf]# ls gitlab-health.conf gitlab-http.conf nginx.conf nginx-status.conf [root@gitlab conf]# vim gitlab-http.conf server_name gitlab.example.com; rewrite ^(.*)$ https://$host$1 permanent; #需要添加的配置 9.重启gitlab
[root@gitlab ssl]# gitlab-ctl restart ok: run: alertmanager: (pid 15710) 0s ok: run: gitaly: (pid 15723) 1s ok: run: gitlab-exporter: (pid 15736) 0s ok: run: gitlab-kas: (pid 15738) 0s ok: run: gitlab-workhorse: (pid 15747) 1s ok: run: grafana: (pid 15755) 0s ok: run: logrotate: (pid 15765) 1s ok: run: nginx: (pid 15775) 0s ok: run: node-exporter: (pid 15781) 1s ok: run: postgres-exporter: (pid 15792) 0s ok: run: postgresql: (pid 15800) 0s ok: run: prometheus: (pid 15803) 0s ok: run: puma: (pid 15895) 0s ok: run: redis: (pid 15904) 1s ok: run: redis-exporter: (pid 15910) 0s ok: run: sidekiq: (pid 15918) 0s 在Windows系统里C:\Windows\System32\drivers\etc\hosts 添加以下
192.168.100.17 gitlab.example.com然后ping gitlab.example.com 是否能通
浏览器登录 gitlab 机器配置要大于4g内存,否则很容易启动不了,报502


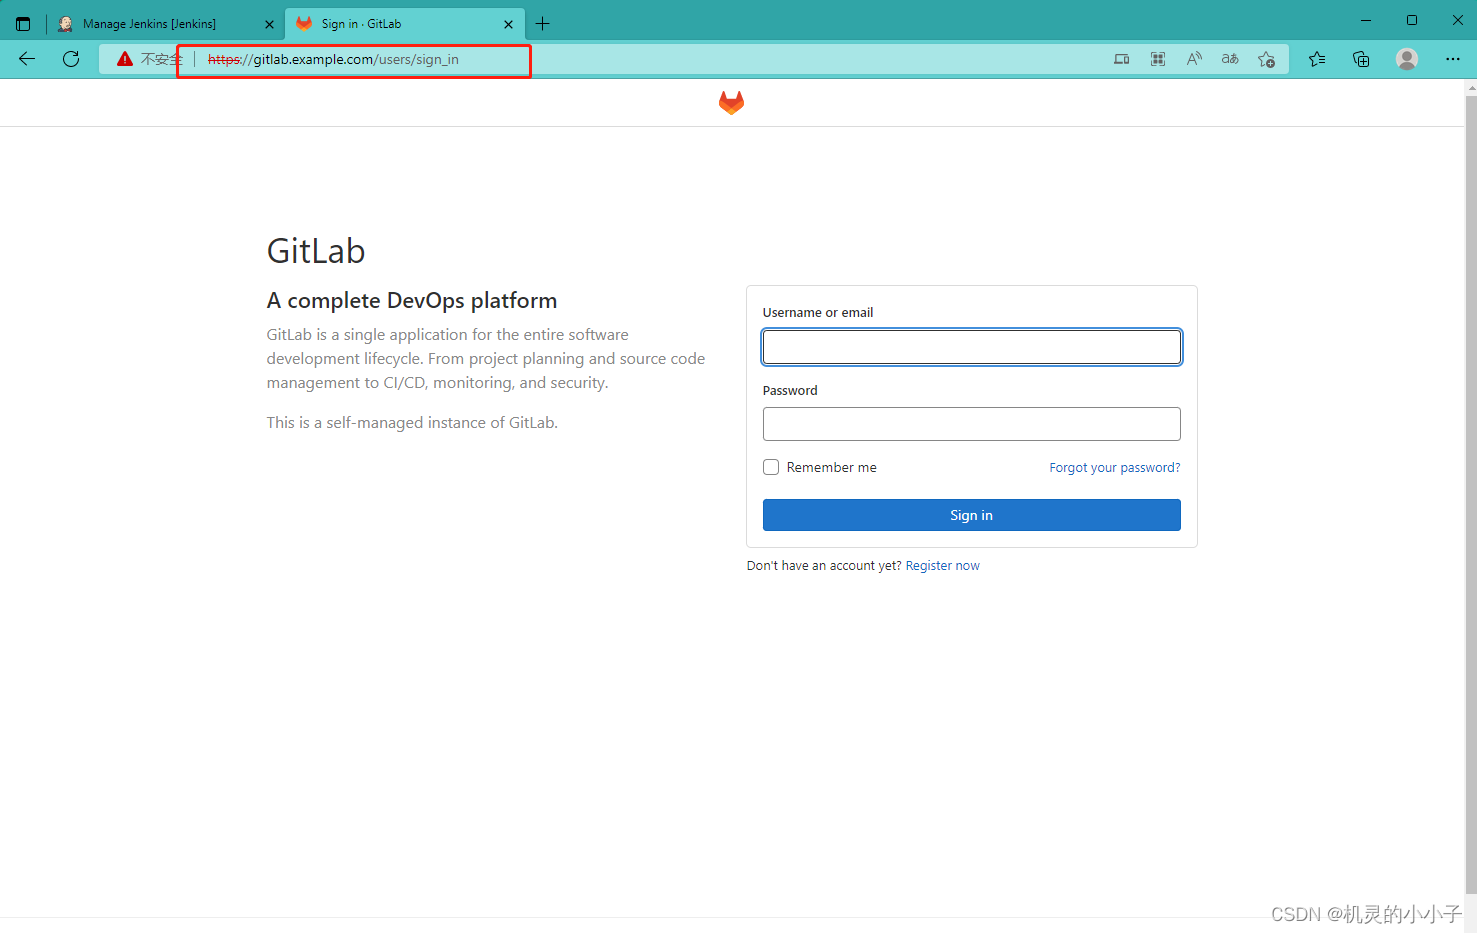
浏览器登录 gitlab https://gitlab.example.com/
查看初始密码
[root@gitlab ~]# cat /etc/gitlab/initial_root_password
# WARNING: This value is valid only in the following conditions
#          1. If provided manually (either via `GITLAB_ROOT_PASSWORD` environment variable or via `gitlab_rails['initial_root_password']` setting in `gitlab.rb`, it was provided before database was seeded for the first time (usually, the first reconfigure run).
#          2. Password hasn't been changed manually, either via UI or via command line.
#
#          If the password shown here doesn't work, you must reset the admin password following https://docs.gitlab.com/ee/security/reset_user_password.html#reset-your-root-password.

Password: hms9K6+y9yBlIj1UgLcjmbQ5c1mFF/EHMaFQALPjNHQ=       为初始密码

# NOTE: This file will be automatically deleted in the first reconfigure run after 24 hours.
[root@gitlab ~]#
gitlab切换中文模式

更改初始密码

开始使用gitlab创建项目
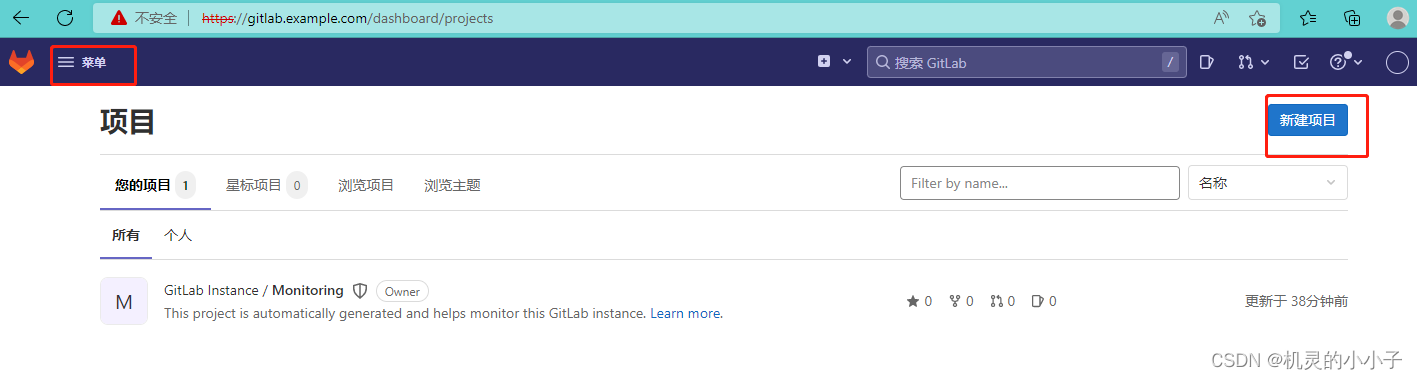
1,创建一个测试项目

2,复制仓库地址

生成公钥私钥对出来,命令:ssh-keygen
进入密钥目录:cd .ssh/
[root@gitlab ~]# ssh-keygen Generating public/private rsa key pair. Enter file in which to save the key (/root/.ssh/id_rsa): Created directory '/root/.ssh'. Enter passphrase (empty for no passphrase): Enter same passphrase again: Your identification has been saved in /root/.ssh/id_rsa. Your public key has been saved in /root/.ssh/id_rsa.pub. The key fingerprint is: SHA256:tfCPmmz4NkdfloxsUjyfkO1eS6t7b81iqGw0KQKR26E The key's randomart image is: +---[RSA 2048]----+ | . | | o . | | = .. .. o | | E . + .* . | | . S o+ B o | | . . *o+ O..| | o +.=.=.o+| | ..++o o +++| | +=+o. ++oo| +----[SHA256]-----+ [root@gitlab ~]# cd .ssh/ [root@gitlab .ssh]# ll 总用量 8 -rw------- 1 root root 1675 8月 10 09:44 id_rsa -rw-r--r-- 1 root root 405 8月 10 09:44 id_rsa.pub [root@gitlab .ssh]# cat id_rsa.pub ssh-rsa AAAAB3NzaC1yc2EAAAADAQABAAABAQDFJIIh+4WbYDsmSr+ZdY1DTo9DHhpIuBjRghEGagYVWg3KgnjhC3Ic7nt9opH2AHHAnVqg84FIkBpzbeb0zAwaam0I6fEeXC2h2r7XEWrfDWt81N6QwV6hujG3tzL3hggFTVa3SWU8tVCQbjC9qUYrHvj+oU+m4iXjXqPYxo9piBGXvJovte28Izy36hk21jp9c0Qx6eAAFGX1t762s4DZyAXD5UH3EQwz6y9hMvbn7o+P2uNb8QDbcR4Luhl0TO89SISftBI81ABd+9ej+K9SsQNO1vk6yV2EAqKr662ErM76lktmyZPuofBtoLOpH2pL0xPx5d2xIplhzt5Tfrk1 [root@gitlab .ssh]# 新建一个SSH密钥


发布者:全栈程序员-站长,转载请注明出处:https://javaforall.net/221683.html原文链接:https://javaforall.net


