
大家好,又见面了,我是你们的朋友全栈君。如果您正在找激活码,请点击查看最新教程,关注关注公众号 “全栈程序员社区” 获取激活教程,可能之前旧版本教程已经失效.最新Idea2022.1教程亲测有效,一键激活。
Jetbrains全家桶1年46,售后保障稳定
url中,#后面的字符串就是hash值。
hash是和浏览器对话的,和服务器没有关系,hash值不会作为url的一部分发送给服务器。
路由器(vue-router)有两种工作模式:hash模式和history模式,默认是hash模式。
hash模式的路由器
路由器默认的工作模式是hash模式。因此我们看到的是
http://localhost:8080/#/
http://localhost:8080/#/about
http://localhost:8080/#/home
- 普通组件components/Banner.vue
<template>
    <div class="col-xs-offset-2 col-xs-8">
        <div class="page-header">
            <h2>Vue Router Demo</h2>
        </div>
    </div>
</template>

<script> export default {
     name:"Banner" } </script>

<style> </style>
- 路由组件pages/Home.vue
<template>
  <div>
    <h2>Home组件内容</h2>
  </div>
</template>

<script> export default {
     name:'Home' } </script>

<style> </style>
- 路由组件pages/About.vue
<template>
  <h2>我是About的内容</h2>
</template>

<script> export default {
     name:'About' } </script>

<style> </style>
- 路由器router/index.js
import VueRouter from "vue-router";
import Home from "../pages/Home";
import About from "../pages/About";

const router = new VueRouter({

    routes:[
        {

            path:"/about",
            component:About
        },
        {

            path:"/home",
            component:Home
        }
    ]
})

export default router;
- App.vue
<template>
  <div>
    <div class="row">
      <Banner/>
    </div>
    <div class="row">
      <div class="col-xs-2 col-xs-offset-2">
        <div class="list-group">
          <router-link to="/about" active-class="active" class="list-group-item">About</router-link>
          <router-link to="/home" active-class="active" class="list-group-item">Home</router-link>
        </div>
      </div>
      <div class="col-xs-6">
        <div class="panel">
          <div class="panel-body">
            <keep-alive>
              <router-view></router-view>
            </keep-alive>
          </div>
        </div>
      </div>
    </div>
  </div>
</template>

<script> import Banner from "./components/Banner.vue"; export default {
     name: 'App', components:{
     Banner } } </script>
- 入口组件main.js
import Vue from 'vue'
import App from './App.vue'
import VueRouter from "vue-router";

import router from "./router/index";

Vue.config.productionTip = false;

Vue.use(VueRouter);

new Vue({

  render: h => h(App),
  router:router
}).$mount('#app')
- 启动应用,测试效果。


history模式的路由器
路由器工作模式为history模式时,我们看到的是
http://localhost:8080/
http://localhost:8080/about
http://localhost:8080/home
- 修改路由器router/index.js
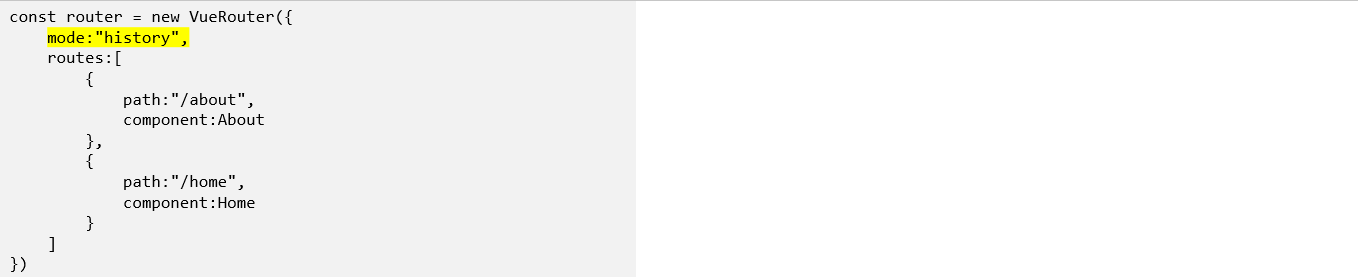
要将路由器的工作模式从默认的hash模式修改为history模式,只需要修改router/index.js,将mode设置为history。
import VueRouter from "vue-router";
import Home from "../pages/Home";
import About from "../pages/About";

const router = new VueRouter({

    mode:"history",
    routes:[
        {

            path:"/about",
            component:About
        },
        {

            path:"/home",
            component:Home
        }
    ]
})

export default router;
- 重启应用,测试效果。

history模式下的404问题及其解决方法
打包前端项目
history模式下,npm run build打包项目,得到dist目录。

express构建小型服务器
- 初始化项目,npm init -y
- 安装express,npm install –save express
- 项目根目录下新建文件server.js
const express = require("express");

const app = express();

app.use(express.static(__dirname+"/static"));

app.get("/person",(request,response) => {

    response.send({

        name:"Nicholas",
        gender:'Male'
    })
})

app.listen(3000,(err) =>{

    if(!err) console.log("服务器启动了!");
})
- 项目根目录下新建子目录static,static下新建文件index.html
<!DOCTYPE html>
<html lang="en">
<head>
    <meta charset="UTF-8">
    <meta http-equiv="X-UA-Compatible" content="IE=edge">
    <meta name="viewport" content="width=device-width, initial-scale=1.0">
    <title>index</title>
</head>
<body>
    <h2>hello</h2>
</body>
</html>
- 启动服务器,node server
D:\vue\vue_server>node server
服务器启动了!
- 打开浏览器,访问localhost:3000。

前端打包文件部署至服务器
所谓“前端打包文件部署至服务器”,就是将前面得到的dist整个目录(及其子目录中的所有文件)放入服务器的static目录下。放好后,访问localhost:3000。

可以看到,history模式下的dist部署到服务器后,路由切换访问/home或/about时,没有问题。但在/home时刷新页面,显示无法找到,报404。
hash模式下的dist部署到服务器后,就不会出现以上问题。
解决404报错问题
刷新时报404的问题,需要后端程序员的帮助。本篇使用node示范下。
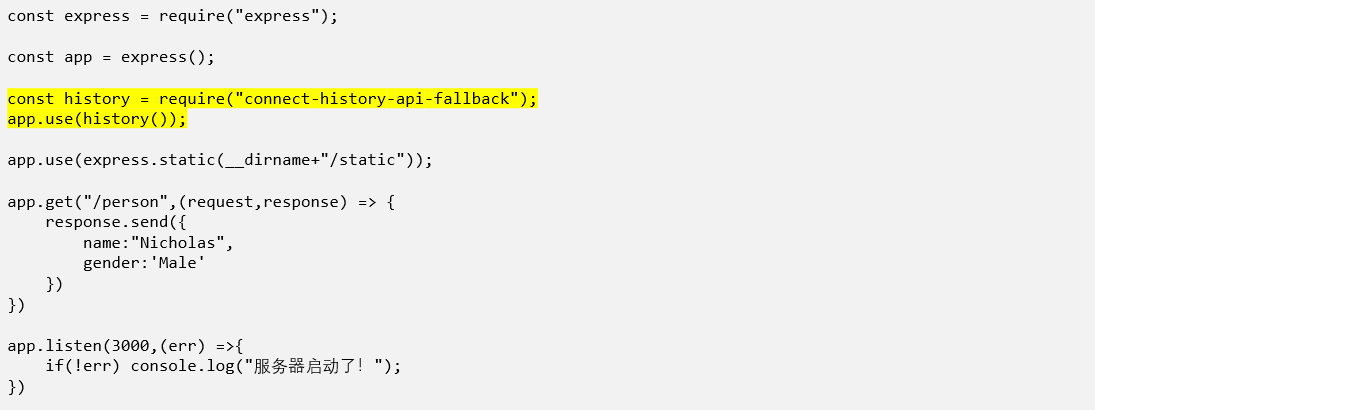
- 安装第三方包,npm install –save connect-history-api-fallback。
- 使用第三方包,修改server.js,如下。
const express = require("express");

const app = express();

const history = require("connect-history-api-fallback");
app.use(history());

app.use(express.static(__dirname+"/static"));

app.get("/person",(request,response) => {

    response.send({

        name:"Nicholas",
        gender:'Male'
    })
})

app.listen(3000,(err) =>{

    if(!err) console.log("服务器启动了!");
})
- 重启服务器,node server。

发布者:全栈程序员-站长,转载请注明出处:https://javaforall.net/234265.html原文链接:https://javaforall.net


