
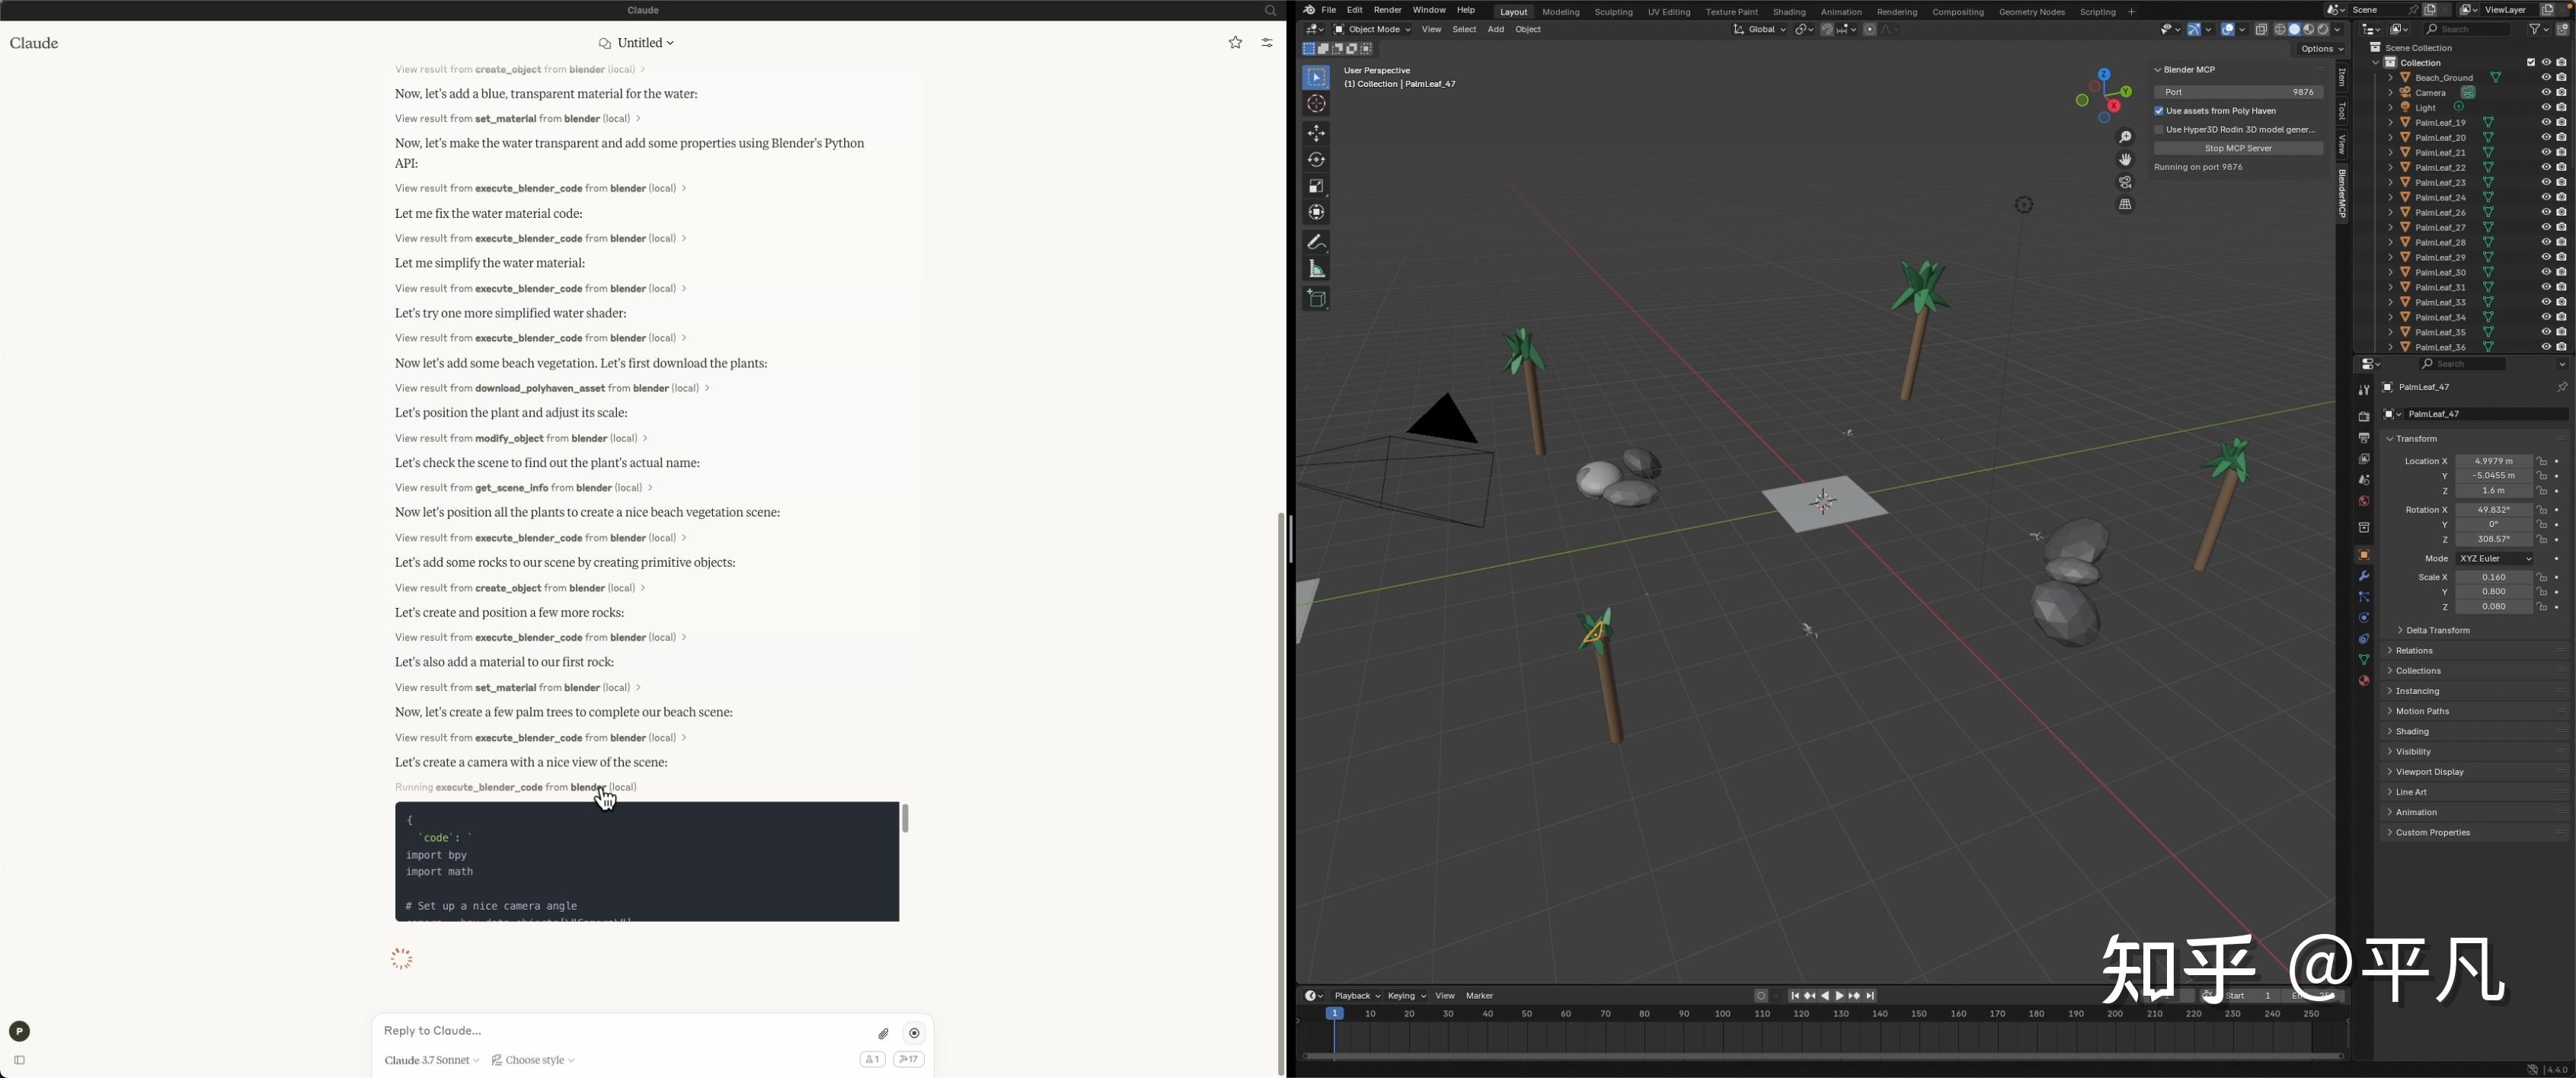
今天测试了下Blender + Claude Desktop通过MCP联动的应用,下面视频记录了生成全过程,视频已加速。


https://www.zhihu.com/video/
最后的成品并不复杂,就是一个3D模拟出来的沙滩,但要知道现在只是starting point,随着不断的迭代,最后面AI直接做3D建模是完全可行的。
总体方法很简单,就三步:
1 软件下载安装
2 软件配置
3 连接并使用
需要安装四个软件/应用:
- Blender 3.0及以上版本
- Python 3.10及以上版本
- Claude Desktop
- uv包
前三个官网下载即可,第4个uv包是一个 Python 包安装器和解析器,它被设计成比 pip 和 pip-tools 更快。
简单来说,uv 可以帮助你更快速地安装和管理你的 Python 项目所需要的各种依赖包。
Mac安装,打开terminal输入
brew install uvWindows安装分两步
powershell -c "irm https://astral.sh/uv/install.ps1 | iex" 然后
set Path=C:\Users\nntra\.local\bin;%Path%claude code 教程
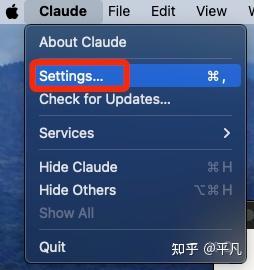
1 打开Desktop,选择Settings设置
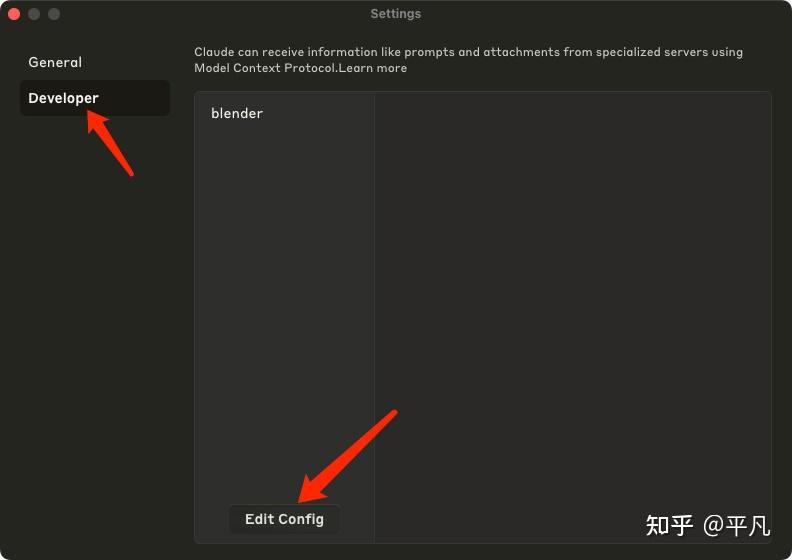
2 选择Developer开发者模式,然后选择Edit Config
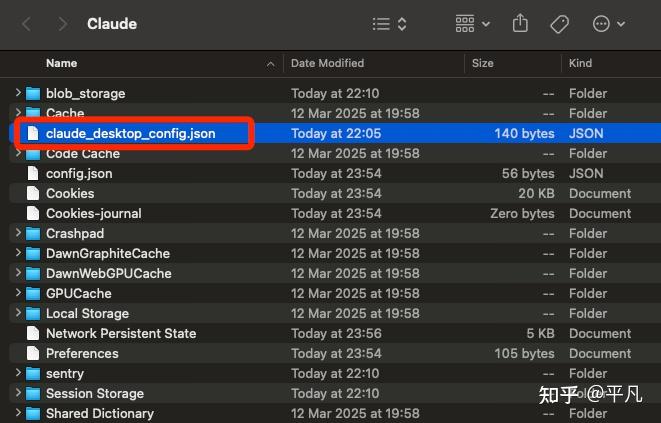
3 之后会定位到本地的配置文件,json格式。
4 修改成如下配置
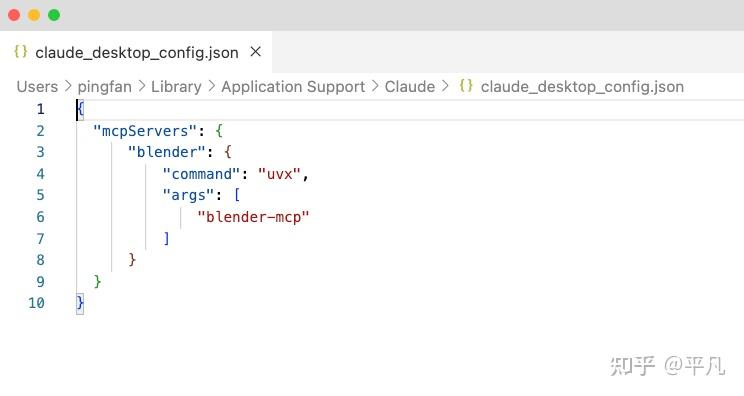
可以直接复制粘贴这个
{ "mcpServers": { "blender": { "command": "uvx", "args": [ "blender-mcp" ] } } }1 下载addon.py 文件,链接如下
https://github.com/ahujasid/blender-mcp/blob/main/addon.py
2 打开Blender,点击edit,然后preference
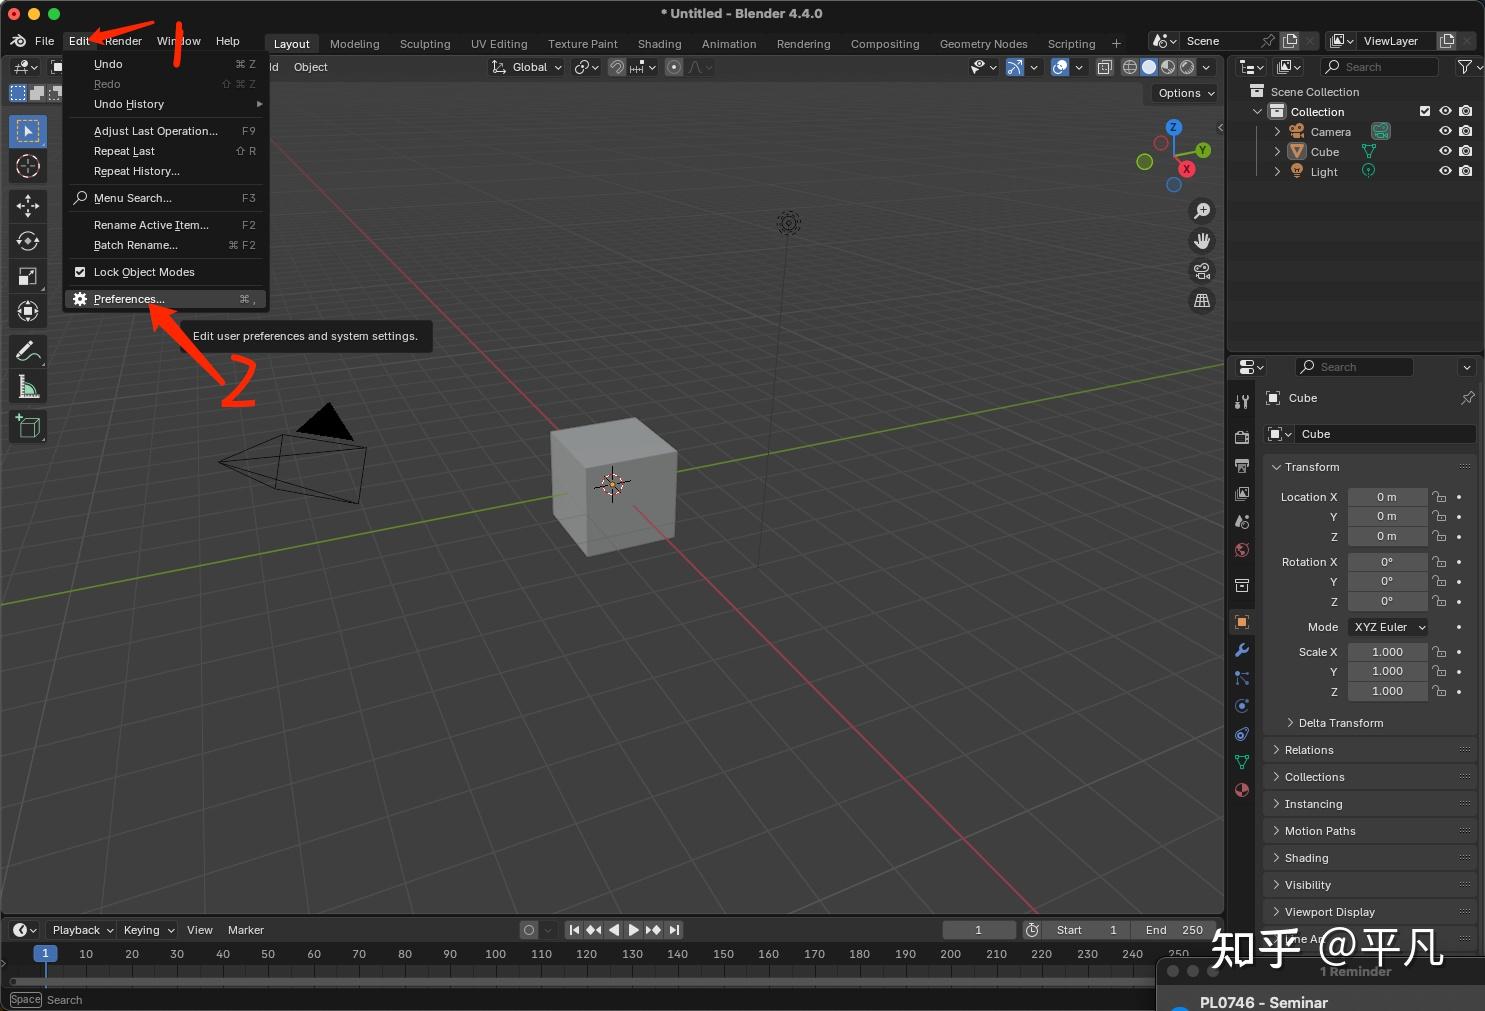
3 点击向下箭头,然后点击install from disk,也就是从本地文件安装意思。

4找到你刚下载好的addon.py进行安装
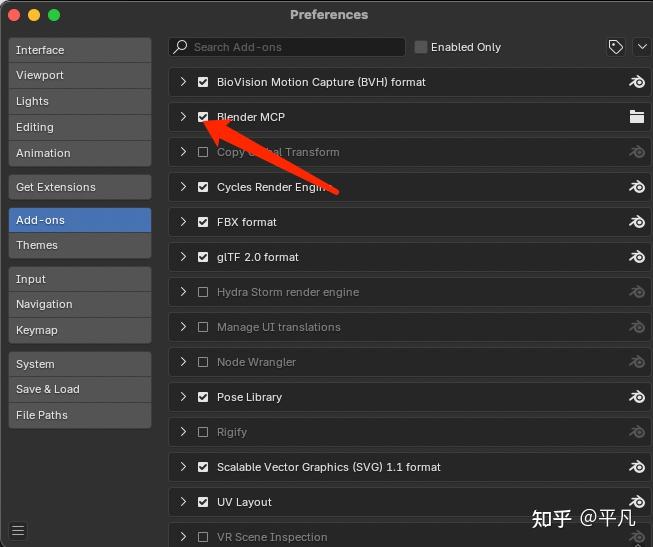
5 确保Blender MCP前面的箭头已打上,表明功能已开启。
1 打开Blender的3D视角(快捷键是N)
然后如下顺序BlenderMCP,然后Start MCP Server开始连接

⚠️注意:Use Assets From Ploy Haven和User Hyper3D Rodin最好开启,有些场景需要用到
2 查看Claude Desktop是否已连接
如果看到这个锤子标志,就差不多成功了
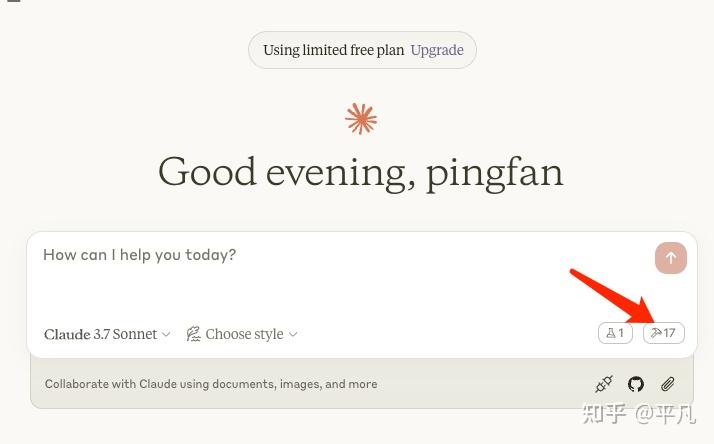
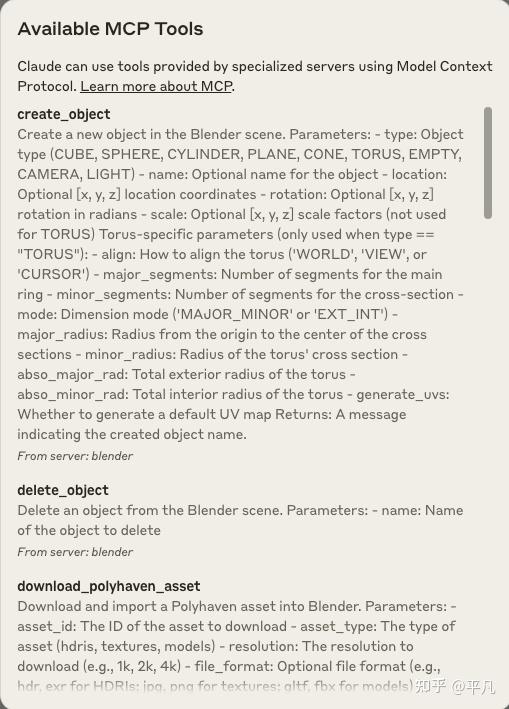
点开看到这些MCP Tools就可以确定成功了。
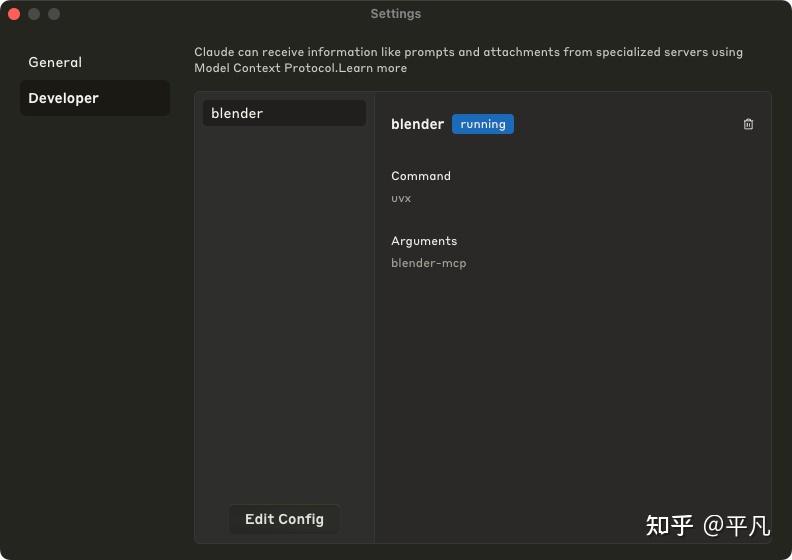
在Settings里面也可以看到Blender的MCP server正在运行中。
只需要输入最简单的Prompt即可,剩下的几乎是全自动的

遇到这种需求权限的时候,直接无脑给给就行。

Prompt示例[1]
- “Create a low poly scene in a dungeon, with a dragon guarding a pot of gold”
- “Create a beach vibe using HDRIs, textures, and models like rocks and vegetation from Poly Haven”
- Give a reference image, and create a Blender scene out of it
- “Generate a 3D model of a garden gnome through Hyper3D”
- “Get information about the current scene, and make a threejs sketch from it”
- “Make this car red and metallic”
- “Create a sphere and place it above the cube”
- “Make the lighting like a studio”
- “Point the camera at the scene, and make it isometric”
发布者:Ai探索者,转载请注明出处:https://javaforall.net/244162.html原文链接:https://javaforall.net


