
大家好,又见面了,我是你们的朋友全栈君。
准备两台虚拟机
zabbix-server(服务端 ip:192.168.176.138)
zabbix-agent(客户端 ip:192.168.176.139)
两台分别上传zabbix.repo到/etc/yum.repos.d下面
安装前工作
// 关闭防火墙
systemctl stop firewalld
setenforce 0
// 时间同步
yum -y install ntpdate
ntpdate pool.ntp.org
服务端
[root@localhost ~]# yum -y install zabbix-server-mysql zabbix-web-mysql zabbix-agent mariadb mariadb-server
[root@localhost ~]# systemctl start mariadb
[root@localhost ~]# mysql
MariaDB [(none)]> create database zabbix character set utf8 collate utf8_bin;
MariaDB [(none)]> grant all on zabbix.* to zabbix@localhost identified by 'zabbix';
MariaDB [(none)]> flush privileges;
MariaDB [(none)]> Ctrl-C -- exit!
[root@localhost ~]# zcat /usr/share/doc/zabbix-server-mysql-4.4.10/create.sql.gz |mysql -uzabbix -pzabbix zabbix
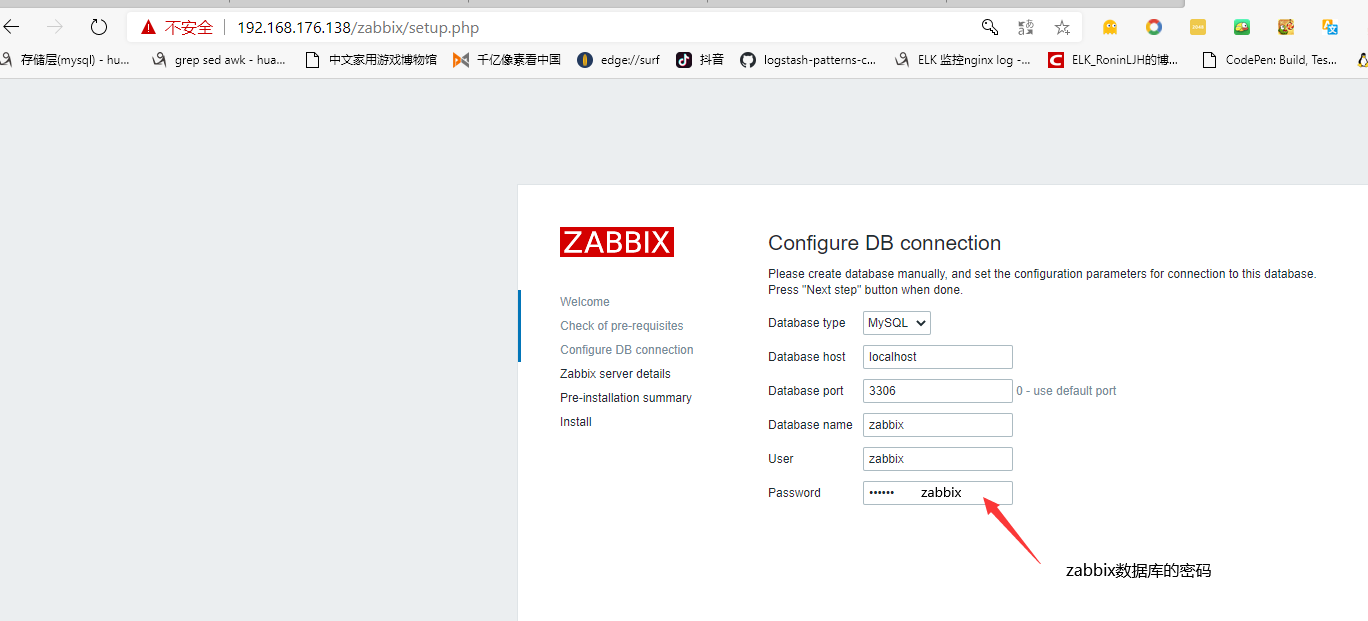
[root@localhost ~]# vim /etc/zabbix/zabbix_server.conf
[root@localhost ~]# cat /etc/zabbix/zabbix_server.conf |grep -v "^#"|sed '/^$/d'|grep DB
DBName=zabbix
DBUser=zabbix
DBPassword=zabbix
[root@localhost ~]# systemctl start httpd zabbix-server zabbix-agent
[root@localhost ~]# netstat -lptnu|egrep "80|10050|10051"
tcp 0 0 0.0.0.0:10050 0.0.0.0:* LISTEN 2710/zabbix_agentd
tcp6 0 0 :::10050 :::* LISTEN 2710/zabbix_agentd
tcp6 0 0 :::80 :::* LISTEN 2704/httpd
[root@localhost ~]# vim /etc/php.ini
date.timezone =Asia/Shanghai //修改时区,tips:前面的分号去掉
[root@localhost ~]# systemctl restart httpd //修改完时区一定重启httpd
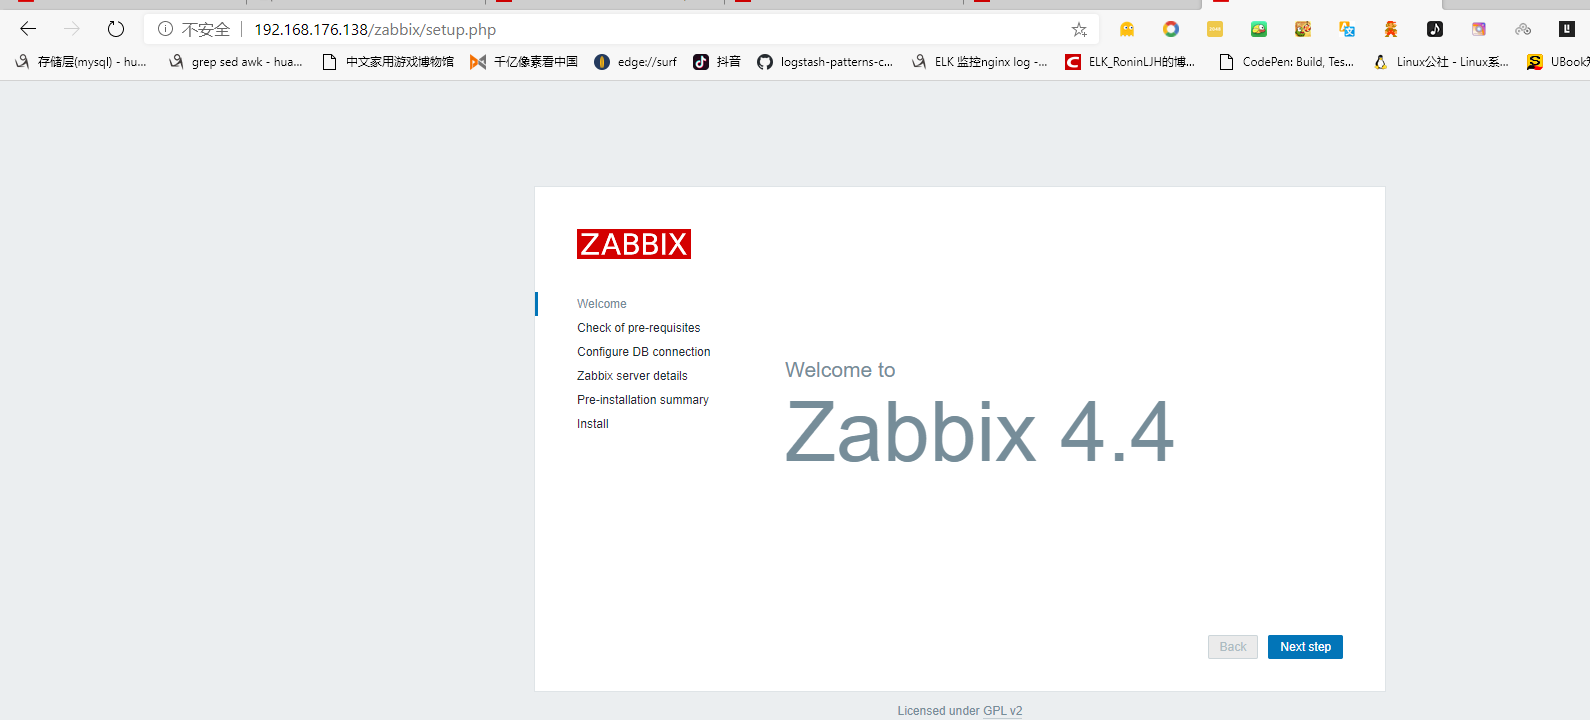
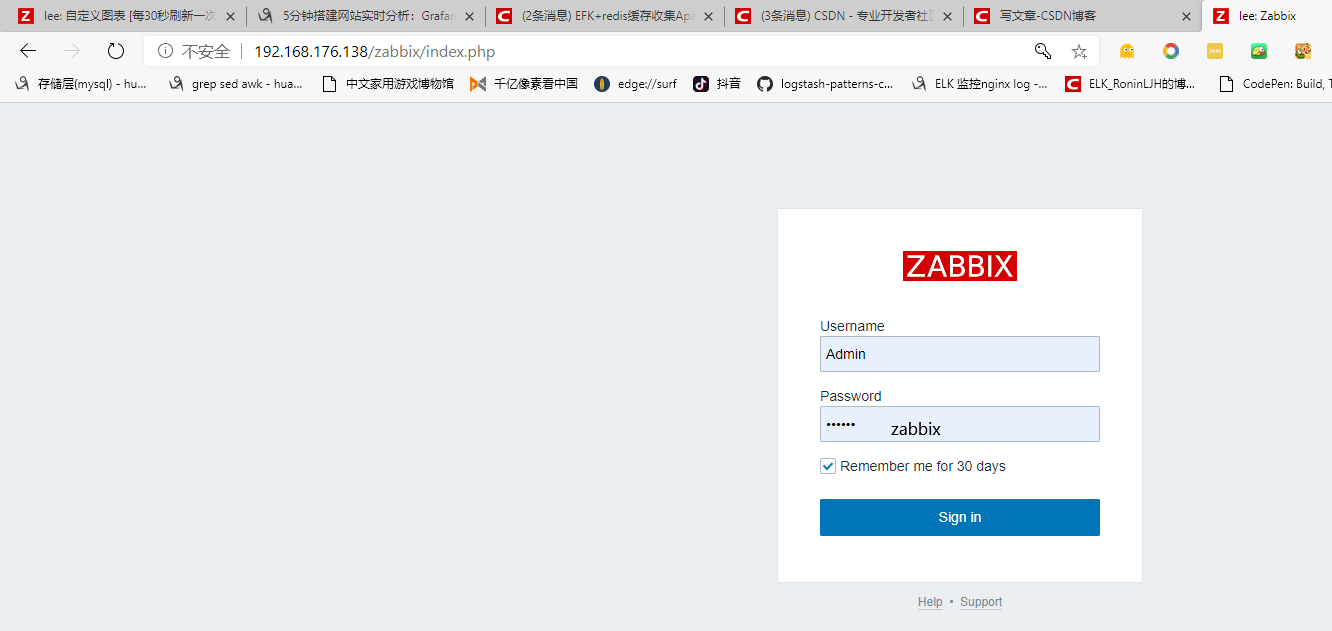
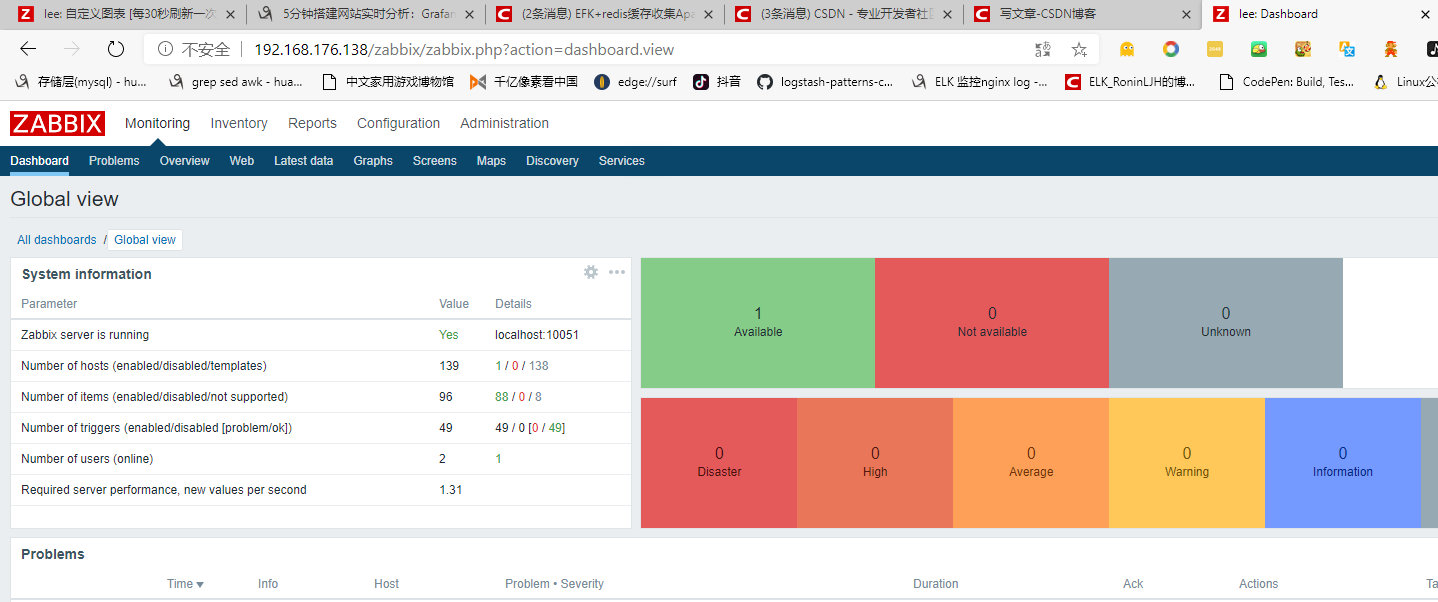
http;//192.168.176.137/zabbix 访问

客户端
[root@localhost ~]# yum -y install zabbix-agent mariadb mariadb-server httpd bc
[root@localhost ~]# vim /etc/zabbix/zabbix_agentd.conf
[root@localhost ~]# cat /etc/zabbix/zabbix_agentd.conf |grep -v "^#"|sed '/^$/d'
PidFile=/var/run/zabbix/zabbix_agentd.pid
LogFile=/var/log/zabbix/zabbix_agentd.log
LogFileSize=0
Server=192.168.176.138 //改为服务端ip
ServerActive=192.168.176.138 //改为服务端ip
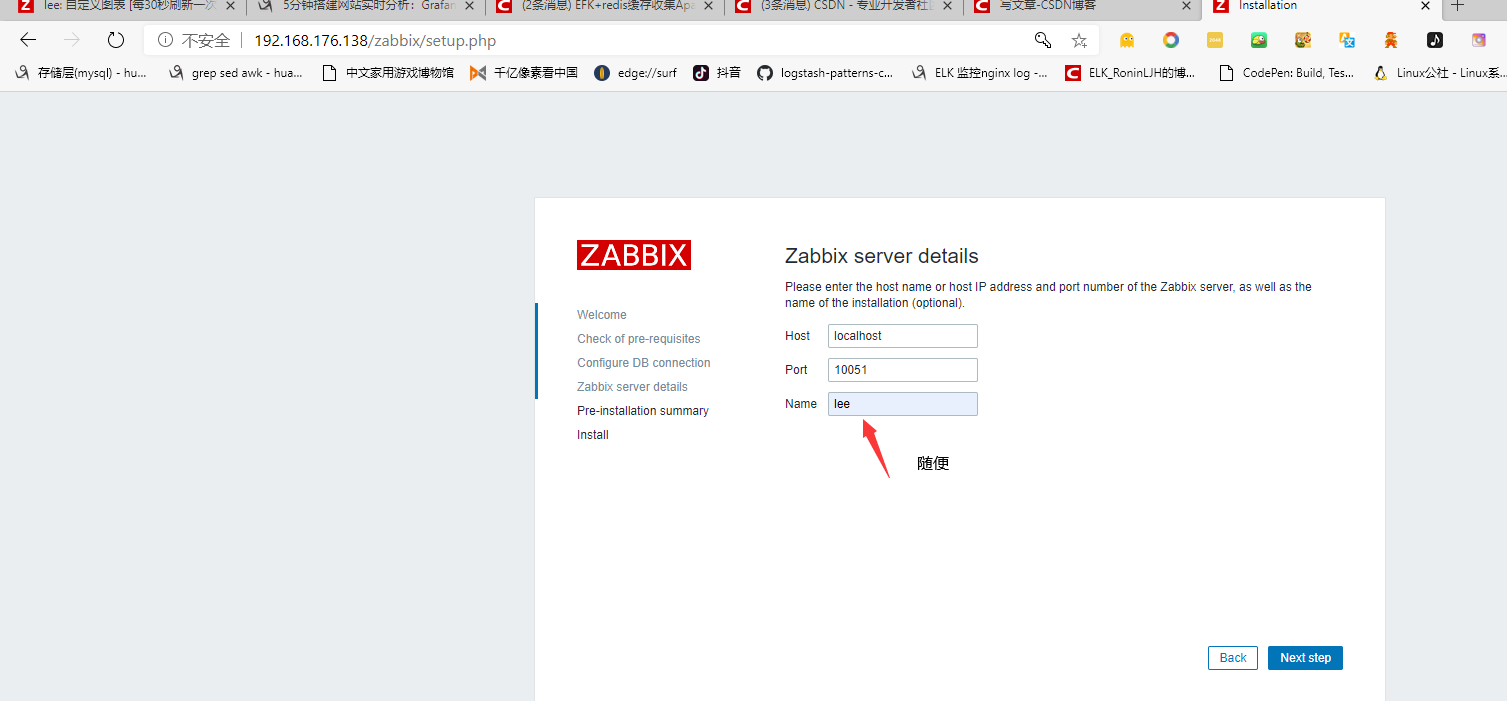
Hostname=Zabbix server
[root@localhost ~]# systemctl start zabbix-agent mariadb httpd
[root@localhost ~]# mkdir -p /etc/zabbix/scripts
[root@localhost ~]# cd /etc/zabbix/scripts/
[root@localhost scripts]# vim mysql_byte.sh
[root@localhost scripts]# cat mysql_byte.sh
#!/bin/bash
case $1 in
byte_sent)
mysqladmin extended-status|grep -w "Bytes_sent"|awk '{print $4}'
;;
byte_recv)
mysqladmin extended-status|grep -w "Bytes_received"|awk '{print $4}'
;;
esac
[root@localhost scripts]# vim mysql_in_r.sh
[root@localhost scripts]# cat mysql_in_r.sh
#!/bin/bash
mysql -e "show global status like 'innodb%read%';" | grep Innodb_buffer_pool_read_requests | awk '{print $2}'
[root@localhost scripts]# vim pv_uv.sh
[root@localhost scripts]# cat pv_uv.sh
#!/bin/bash
case $1 in
uv|UV)
cat /var/log/httpd/access_log |awk '{print $1}'|sort|uniq|wc -l
;;
pv|PV)
cat /var/log/httpd/access_log |awk '{print $1}' |wc -l
;;
esac
[root@localhost scripts]# vim mysql_qps.sh
[root@localhost scripts]# cat mysql_qps.sh
#!/bin/bash
q1=`mysql -s -e 'show global status like "Question%";'|awk '{print $NF}'`
t1=`uptime |awk '{print $5}'|sed "s/,//g"|awk -F ":" '{print $1*3600+$2*60}'`
n=`echo "scale=4;$q1/$t1"|bc`
echo $n
[root@localhost scripts]# vim mysql_tps.sh
[root@localhost scripts]# cat mysql_tps.sh
#!/bin/bash
c1=`mysql -s -e "show global status like 'Com_commit';"|awk '{print $NF}'`
r1=`mysql -s -e "show global status like 'Com_rollback';"|awk '{print $NF}'`
t1=`uptime |awk '{print $5}'|sed "s/,//g"|awk -F ":" '{print $1*3600+$2*60}'`
n1=$(($c1+$r1))
n=`echo "scale=4;$n1/$t1"|bc`
echo $n
[root@localhost scripts]# vim /etc/zabbix/zabbix_agentd.d/mysql.conf
[root@localhost scripts]# cat /etc/zabbix/zabbix_agentd.d/mysql.conf
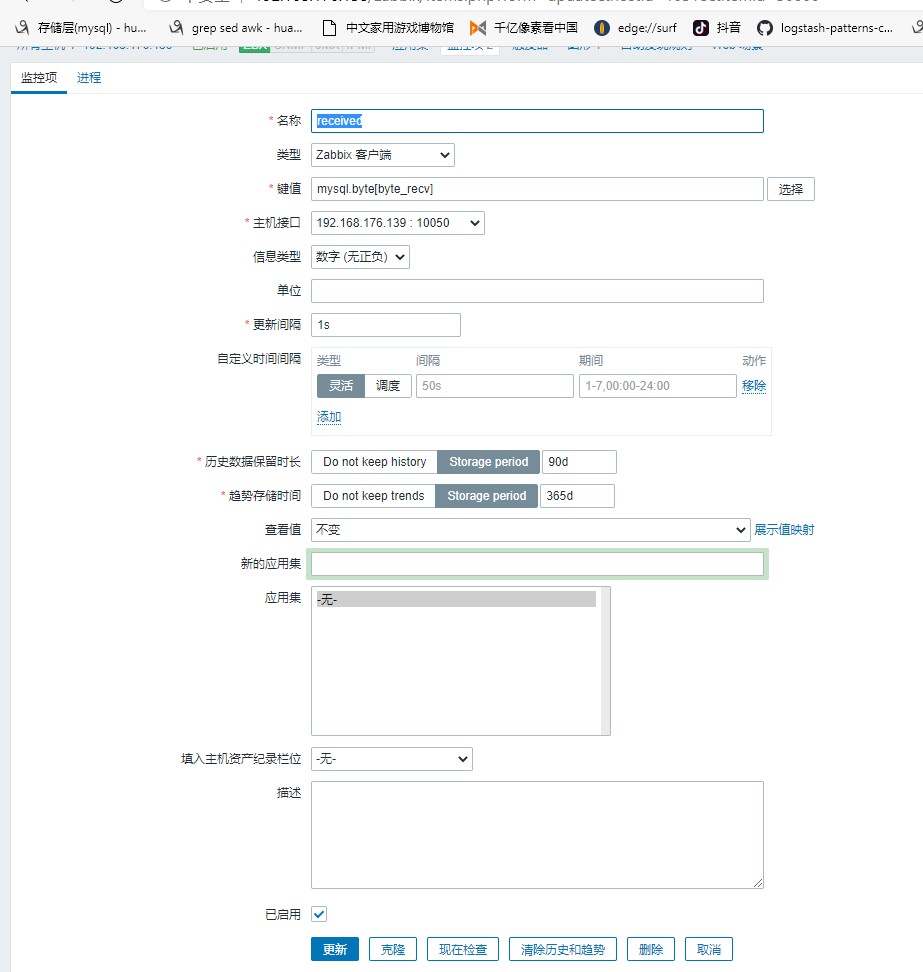
UserParameter=mysql.byte[*],/bin/bash /etc/zabbix/scripts/mysql_byte.sh $1
UserParameter=mysql.in.r,/bin/bash /etc/zabbix/scripts/mysql_in_r.sh $1
UserParameter=pv_uv[*],/bin/bash /etc/zabbix/scripts/pv_uv.sh $1
UserParameter=qps,/bin/bash /etc/zabbix/scripts/mysql_qps.sh $1
UserParameter=tps,/bin/bash /etc/zabbix/scripts/mysql_tps.sh $1
//服务端安装zabbix-get
[root@localhost ~]# yum -y install zabbix-get
[root@localhost ~]# zabbix_get -s 192.168.176.139 -k mysql.byte[byte_sent]
ZBX_NOTSUPPORTED: Unsupported item key. //出错
//出错解决 客户端上操作
[root@localhost scripts]# chmod -R 777 /etc/zabbix/scripts/
[root@localhost scripts]# systemctl restart zabbix-agent
//服务端
[root@localhost ~]# zabbix_get -s 192.168.176.139 -k mysql.byte[byte_sent]
40258
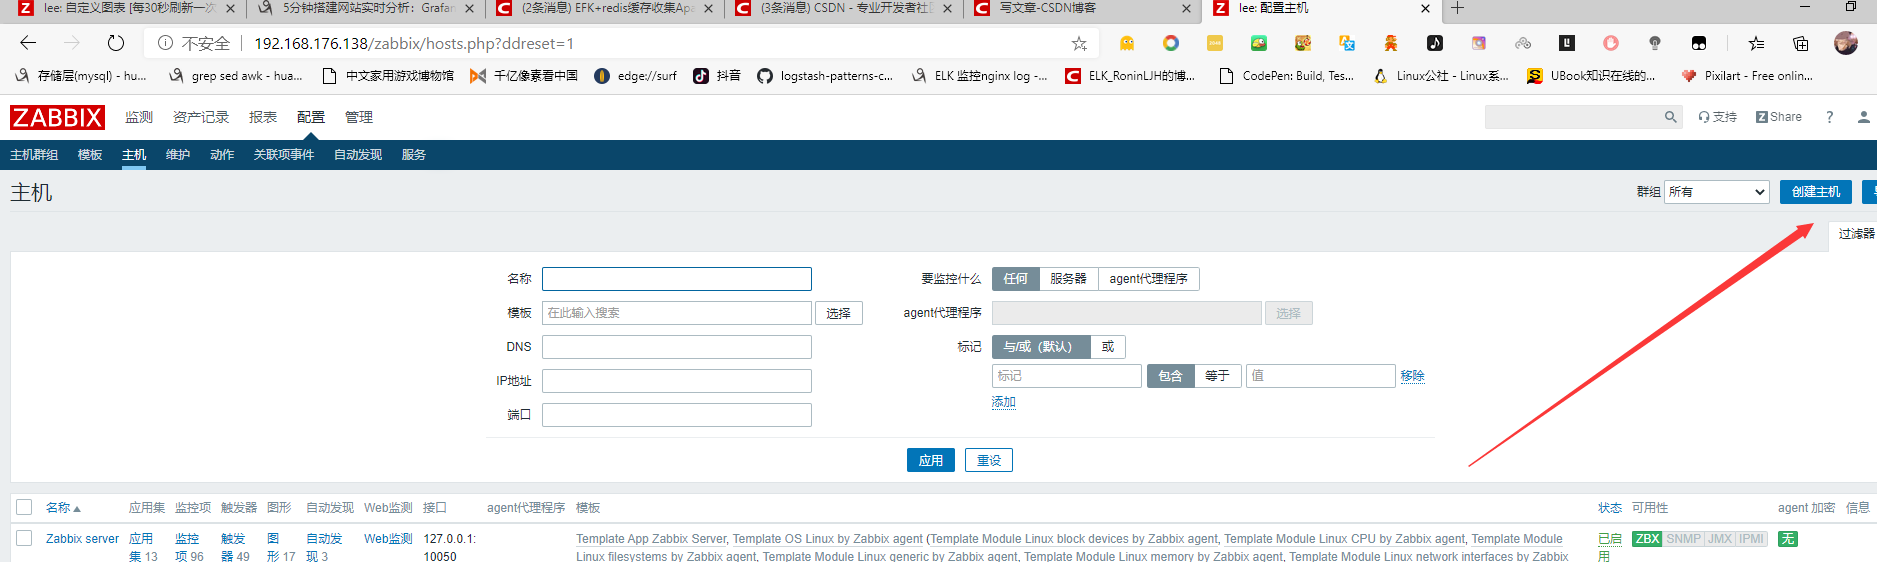
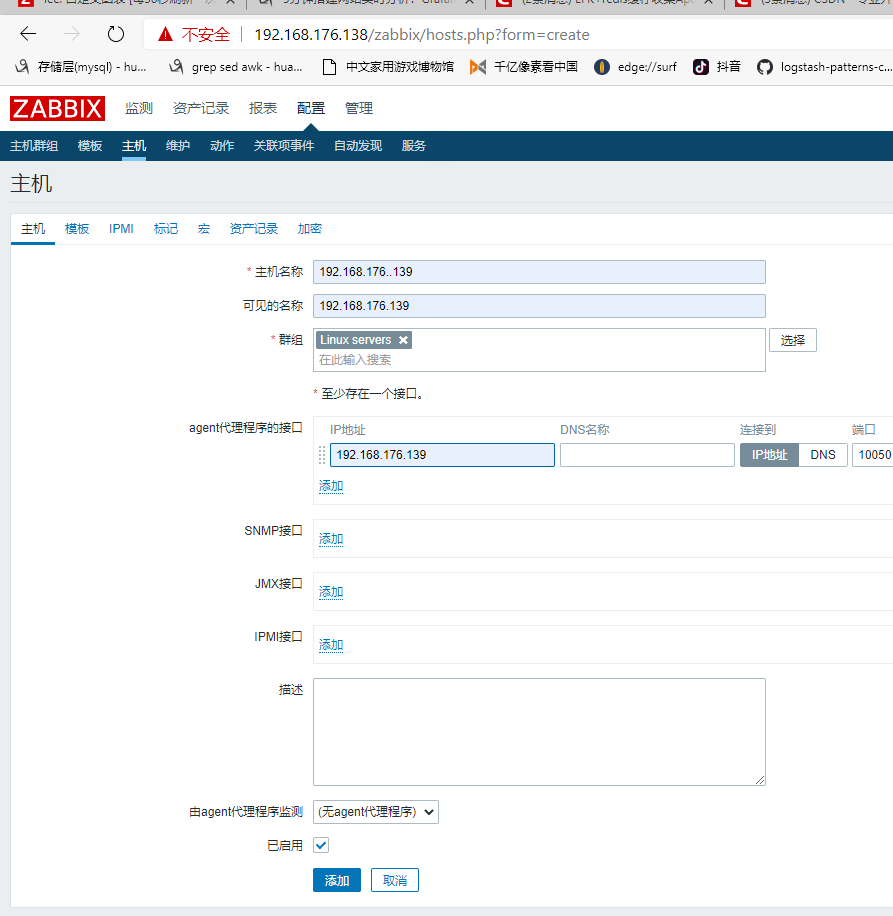
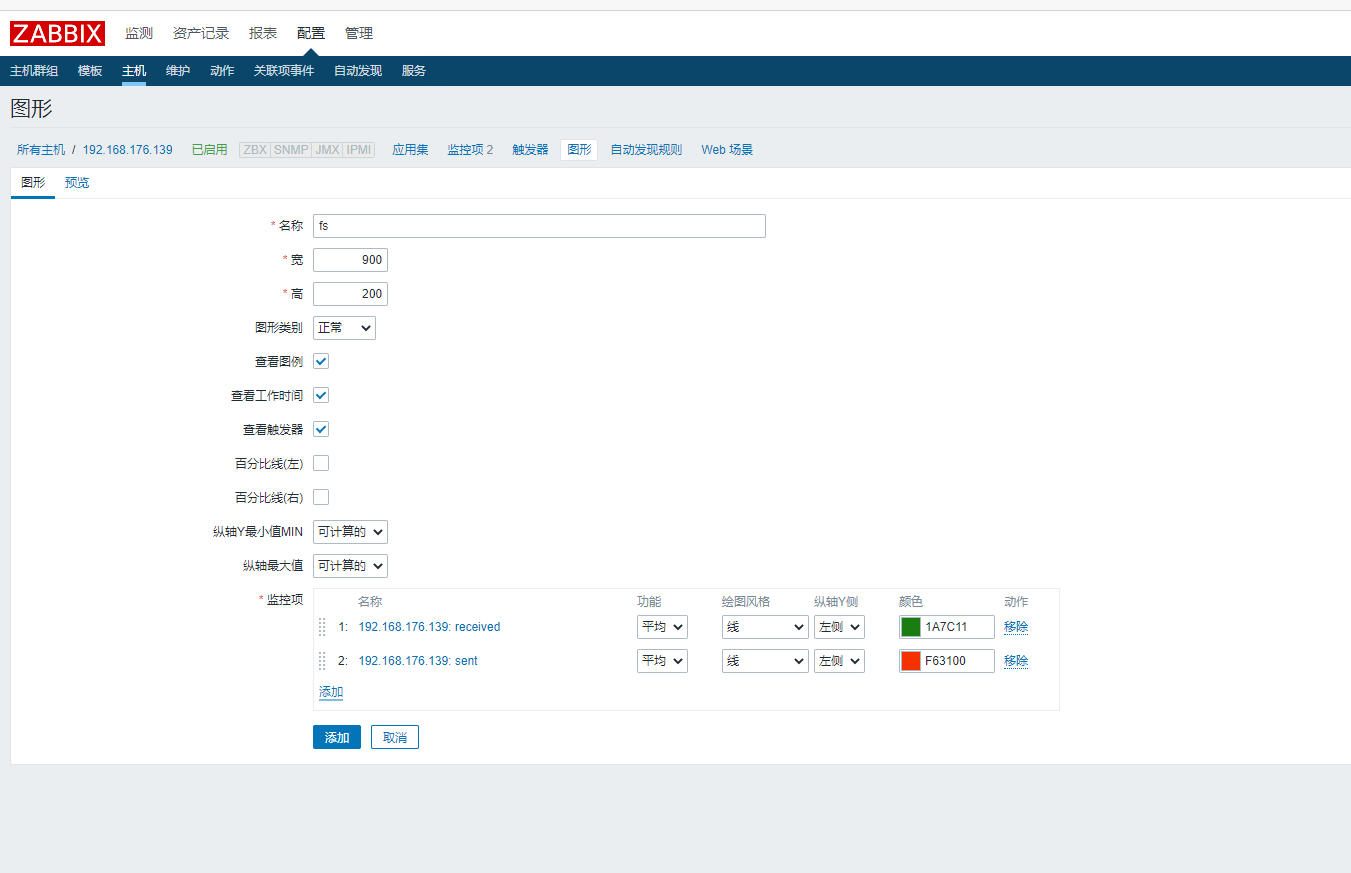
zabbix网页监控数据


版权声明:本文内容由互联网用户自发贡献,该文观点仅代表作者本人。本站仅提供信息存储空间服务,不拥有所有权,不承担相关法律责任。如发现本站有涉嫌侵权/违法违规的内容, 请联系我们举报,一经查实,本站将立刻删除。
发布者:全栈程序员-站长,转载请注明出处:https://javaforall.net/132440.html原文链接:https://javaforall.net


