
大家好,又见面了,我是你们的朋友全栈君。
1、什么是yum仓库?
yum仓库就是使用yum命令下载软件的镜像地址。
我们通常使用 yum install 命令来在线安装 linux系统的软件, 这种方式可以自动处理依赖性关系,并且一次安装所有依赖的软件包。众所周知,从国外下载软件速度非常慢,很多情况下都无法下载。国内一些大公司做镜像同步国外的软件, 那么我们可能使用国内的下载地址,就能下载我们需要的软件。
yum的配置文件
yum 的配置文件在 /etc/yum.repos.d 目录下, 其中有多个配置文件,每一个配置文件中都可以配置一个或多个repository, 但是最终会被合并为一个交给系统,所以多个文件只是为了方便管理。
2、yum仓库配置
下面提供了 阿里 和 清华大学 两个镜像仓库配置操作说明,实际使用时,选择其中一个配置即可
2.1、配置 阿里镜像仓库
进入 阿里巴巴开源镜像站
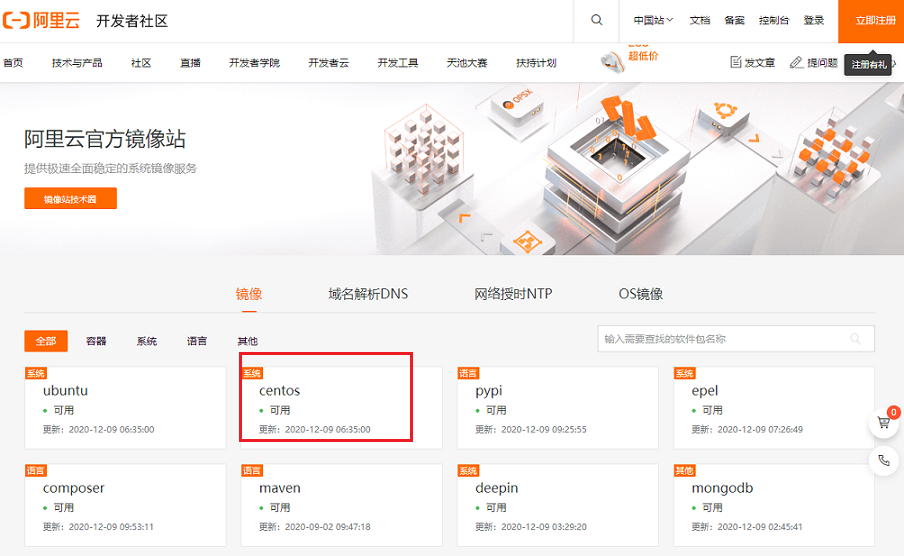

点击 centos ,进行配置说明页面,如下图所示:
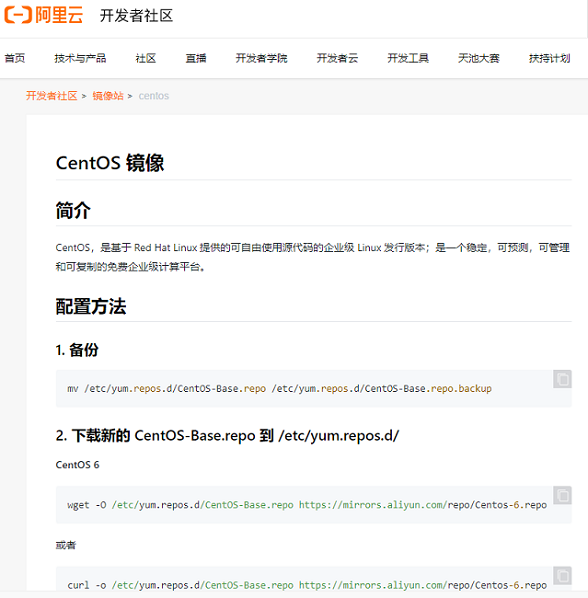
2.1.1、配置步骤
根据官网的说明,分别有 CentOS 6、CentOS 7、CentOS 8等配置操作步骤。
(1)、备份,将 CentOS-Base.repo 为CentOS-Base.repo.backup
cp /etc/yum.repos.d/CentOS-Base.repo /etc/yum.repos.d/CentOS-Base.repo.backup
(2)、下载新的 http://mirrors.aliyun.com/repo/Centos-7.repo,并命名为CentOS-Base.repo
wget -O /etc/yum.repos.d/CentOS-Base.repo http://mirrors.aliyun.com/repo/Centos-7.repo
或者
curl -o /etc/yum.repos.d/CentOS-Base.repo http://mirrors.aliyun.com/repo/Centos-7.repo
(3)、清除缓存
yum clean all     # 清除系统所有的yum缓存
yum makecache     # 生成yum缓存
2.2、配置 清华大学镜像仓库(推荐)
地址: https://mirrors.cnnic.cn/
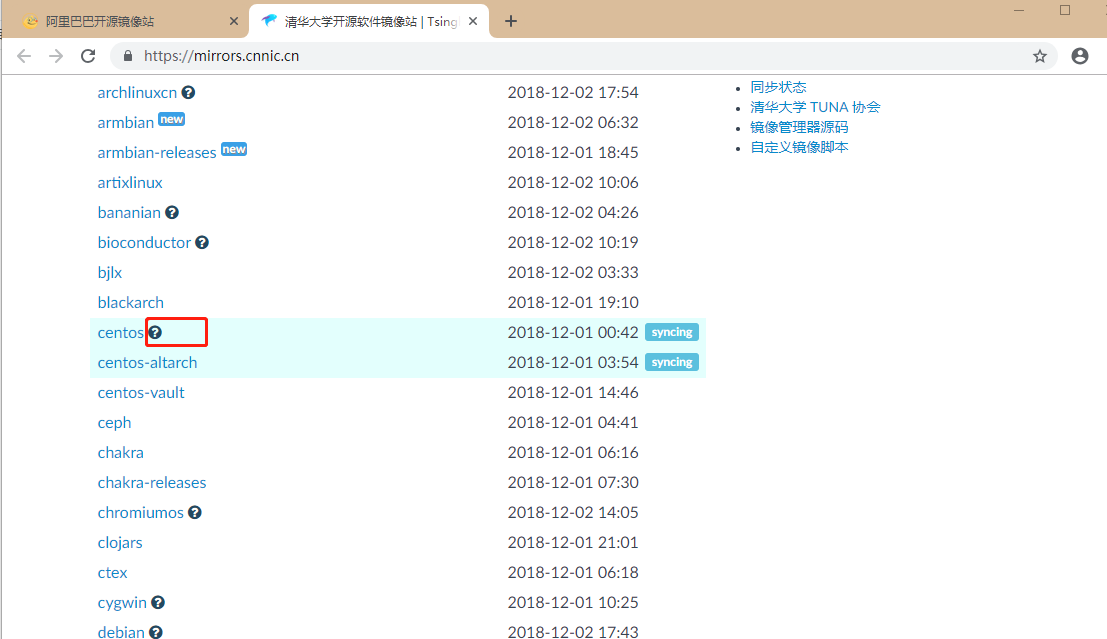
点击 ? 进入帮助说明页面 https://mirrors.cnnic.cn/help/centos/。
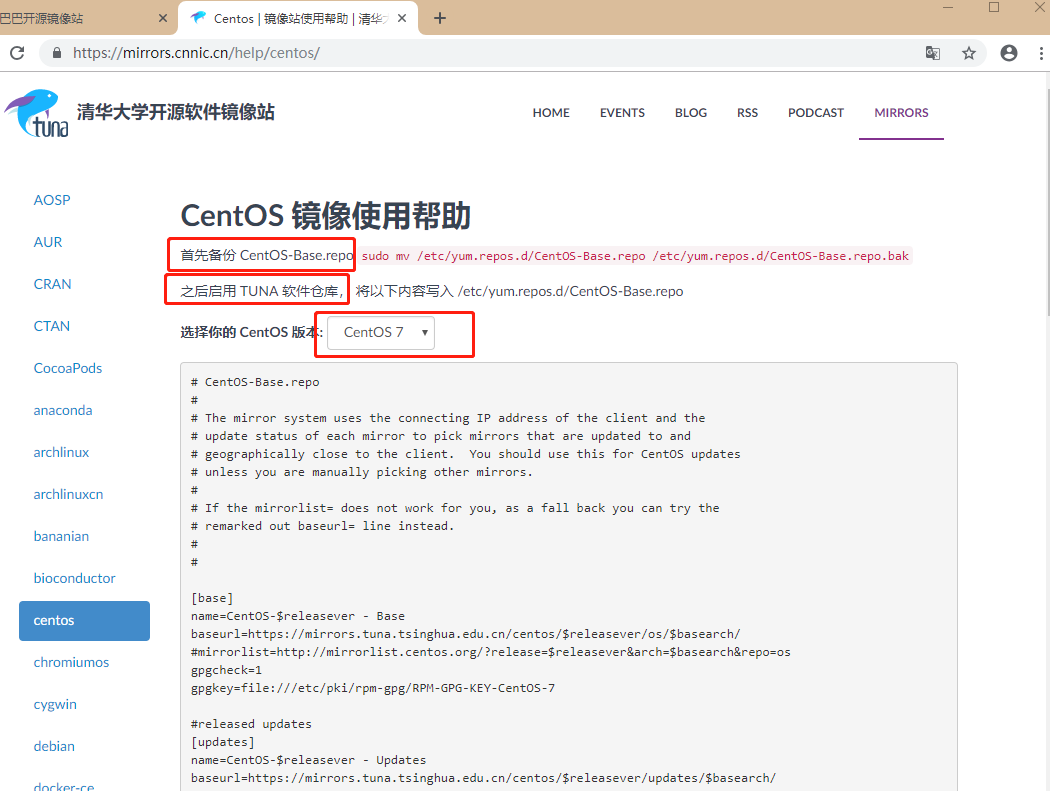
页面提供了 CentOS5,CentOS6、CentOS7 的镜像仓库配置,下面列出的是CentOS7的配置。
(1)、首先备份 CentOS-Base.repo
cp /etc/yum.repos.d/CentOS-Base.repo /etc/yum.repos.d/CentOS-Base.repo.bak
(2)、之后启用 TUNA 软件仓库, 将清华大学镜像仓库信息写入 /etc/yum.repos.d/CentOS-Base.repo
vim /etc/yum.repos.d/CentOS-Base.repo
将 CentOS-Base.repo 中的内容 更新为 下面的内容:
# CentOS-Base.repo
#
# The mirror system uses the connecting IP address of the client and the
# update status of each mirror to pick mirrors that are updated to and
# geographically close to the client.  You should use this for CentOS updates
# unless you are manually picking other mirrors.
#
# If the mirrorlist= does not work for you, as a fall back you can try the
# remarked out baseurl= line instead.
#
#

[base]
name=CentOS-$releasever - Base
baseurl=https://mirrors.tuna.tsinghua.edu.cn/centos/$releasever/os/$basearch/
#mirrorlist=http://mirrorlist.centos.org/?release=$releasever&arch=$basearch&repo=os
gpgcheck=1
gpgkey=file:///etc/pki/rpm-gpg/RPM-GPG-KEY-CentOS-7

#released updates
[updates]
name=CentOS-$releasever - Updates
baseurl=https://mirrors.tuna.tsinghua.edu.cn/centos/$releasever/updates/$basearch/
#mirrorlist=http://mirrorlist.centos.org/?release=$releasever&arch=$basearch&repo=updates
gpgcheck=1
gpgkey=file:///etc/pki/rpm-gpg/RPM-GPG-KEY-CentOS-7

#additional packages that may be useful
[extras]
name=CentOS-$releasever - Extras
baseurl=https://mirrors.tuna.tsinghua.edu.cn/centos/$releasever/extras/$basearch/
#mirrorlist=http://mirrorlist.centos.org/?release=$releasever&arch=$basearch&repo=extras
gpgcheck=1
gpgkey=file:///etc/pki/rpm-gpg/RPM-GPG-KEY-CentOS-7

#additional packages that extend functionality of existing packages
[centosplus]
name=CentOS-$releasever - Plus
baseurl=https://mirrors.tuna.tsinghua.edu.cn/centos/$releasever/centosplus/$basearch/
#mirrorlist=http://mirrorlist.centos.org/?release=$releasever&arch=$basearch&repo=centosplus
gpgcheck=1
enabled=0
gpgkey=file:///etc/pki/rpm-gpg/RPM-GPG-KEY-CentOS-7
(3)、清除缓存
yum clean all     # 清除系统所有的yum缓存
yum makecache     # 生成yum缓存
3、epel源 安装和配置
(1)、查看可用的epel源
[java@localhost yum.repos.d]$ yum list | grep epel-release
epel-release.noarch                         7-11                       extras
[java@localhost yum.repos.d]$
(2)、安装 epel
[java@localhost yum.repos.d]$ yum install -y epel-release
......省略.....
(3)、配置阿里镜像提供的epel源
wget -O /etc/yum.repos.d/epel-7.repo http://mirrors.aliyun.com/repo/epel-7.repo
(4)、清除缓存
yum clean all     # 清除系统所有的yum缓存
yum makecache     # 生成yum缓存
3.1、查看yum源
查看所有的yum源:
yum repolist all
查看可用的yum源:
yum repolist enabled
发布者:全栈程序员-站长,转载请注明出处:https://javaforall.net/134412.html原文链接:https://javaforall.net


