
大家好,又见面了,我是你们的朋友全栈君。
1:代码如下:
#include "stdafx.h"
#include "highgui.h"
#include "cv.h"
#include "iostream"
using namespace std;
int main()
{
IplImage* interest_img=cvLoadImage("C:\\horse.jpg");
cvNamedWindow("interest_img");
cvShowImage("interest_img",interest_img);
CvRect interest_rect=cvRect(100,40,100,120);//决定处理后显示图像的大小和位置
IplImage* sub_img=cvCreateImageHeader(cvSize(interest_rect.width,interest_rect.height),//图像的大小取决于矩阵的大小
interest_img->depth,
interest_img->nChannels);
sub_img->origin=interest_img->origin;
sub_img->widthStep=interest_img->widthStep;
//个人理解:imageData是显示图像的的头,即左上角的点,下面的指令,使imageData向下移动了y行,向右移动了x*通道列。
//所以,显示的图像整体移动了。
sub_img->imageData=interest_img->imageData+
interest_rect.y*interest_img->widthStep+
interest_rect.x*interest_img->nChannels;
cvAddS(sub_img,cvScalar(200),sub_img);
cvNamedWindow("sub_img");
cvShowImage("sub_img",sub_img);
cvWaitKey(0);
cvReleaseImage(&interest_img);
cvDestroyWindow("interest_img");
cvReleaseImage(&sub_img);
cvDestroyWindow("sub_img");
cvReleaseImageHeader(&sub_img);
return 0;
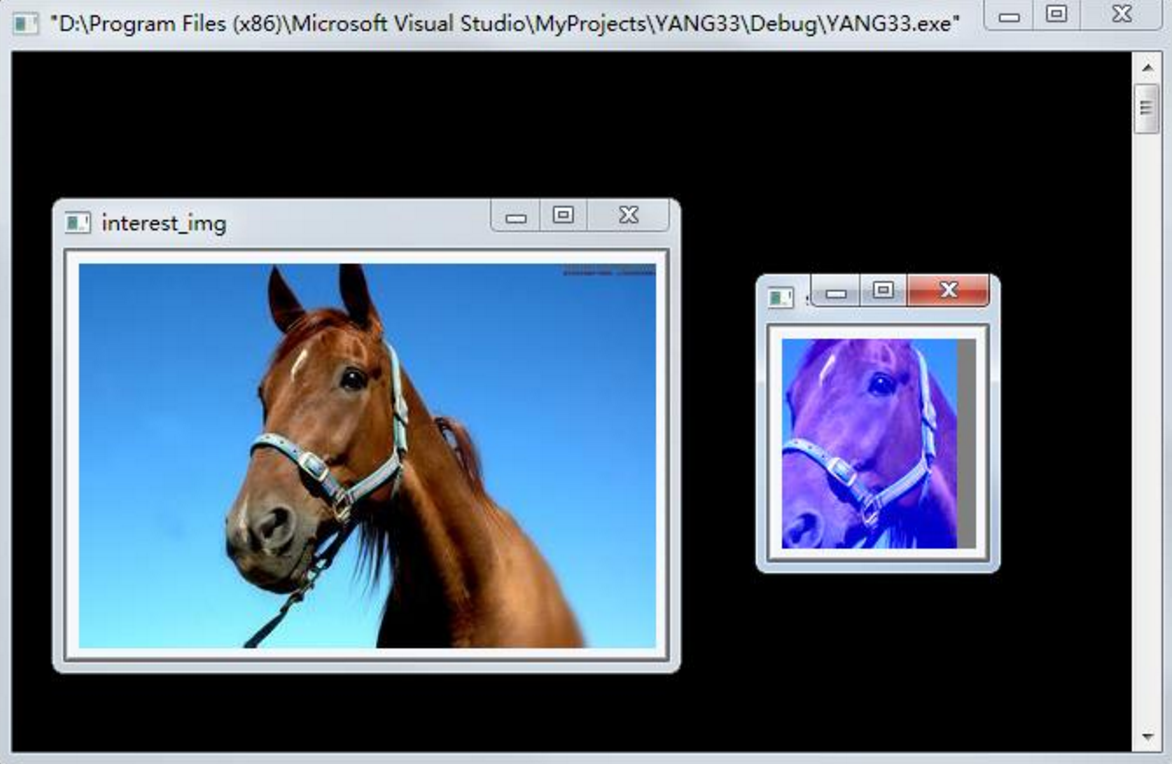
}运行结果:

版权声明:本文内容由互联网用户自发贡献,该文观点仅代表作者本人。本站仅提供信息存储空间服务,不拥有所有权,不承担相关法律责任。如发现本站有涉嫌侵权/违法违规的内容, 请联系我们举报,一经查实,本站将立刻删除。
发布者:全栈程序员-站长,转载请注明出处:https://javaforall.net/140946.html原文链接:https://javaforall.net


