
大家好,又见面了,我是你们的朋友全栈君。
jar打包方式不支持将文件动态写入文件,这时需要通过映射的方式将文件上传到映射某一个文件夹,通过映射获取文件,在页面显示。
1.yml配置
- 配置本地上传地址或者服务器地址,springboot项目可以通过映射获取文件,从而页面显示
- 注意:这里配置的地址一定要加一个”/”在最后面!!!!
file:
  #服务器地址
  uploadurl: "/u01/upload/images/"
  #本地地址
  #localurl: "D:/springbootFile/upload/images/"
2.上传方法
- 获取配置文件中配置的文件存储路径,将图片存储到本地或者服务器,页面通过映射获取。
      @Value("${file.uploadurl}")
    private String uploadPath;

 @PostMapping("/fileUpload")
    @ApiOperation(value = "上传下载图片")
    public JsonResult filesUpload(@RequestParam("filesName") MultipartFile file,
                                             @RequestParam("mmsi") String mmsi) throws IOException {

        JsonResult result = new JsonResult();
        //如果文件夹不存在,创建
        File fileP = new File(uploadPath);

        if (!fileP.isDirectory()) {
            //递归生成文件夹
            fileP.mkdirs();
        }
        String fileName = "";
        if(file.getOriginalFilename().endsWith(".jpg")){
            fileName =String.format("%s.jpg",System.currentTimeMillis());
        }else if(file.getOriginalFilename().endsWith(".png")){
            fileName =String.format("%s.jpg",System.currentTimeMillis());
        }else if(file.getOriginalFilename().endsWith(".jpeg")){
            fileName =String.format("%s.jpeg",System.currentTimeMillis());
        }else if(file.getOriginalFilename().endsWith(".bmp")){
            fileName =String.format("%s.bmp",System.currentTimeMillis());
        }else{
            result.setSuccess(false);
            result.setCode("0");
            result.setMessage("图片格式不正确!,使用.jpg/.png/.bpm/.jpeg后缀的图片");
            return result;
        }
        file.transferTo(new File(fileP,fileName));
        //数据库存入地址
        cxShipDetailService.insertShipPic(mmsi,uploadPath+fileName,fileName);
        result.setSuccess(true);
        result.setCode("1");
        result.setMessage("上传图片成功!");
        return result;
    }
上传功能就到此结束了。那么肯定会问,上传了怎么获取图片呢?很简单,通过地址映射就可以获取了。
3.配置类
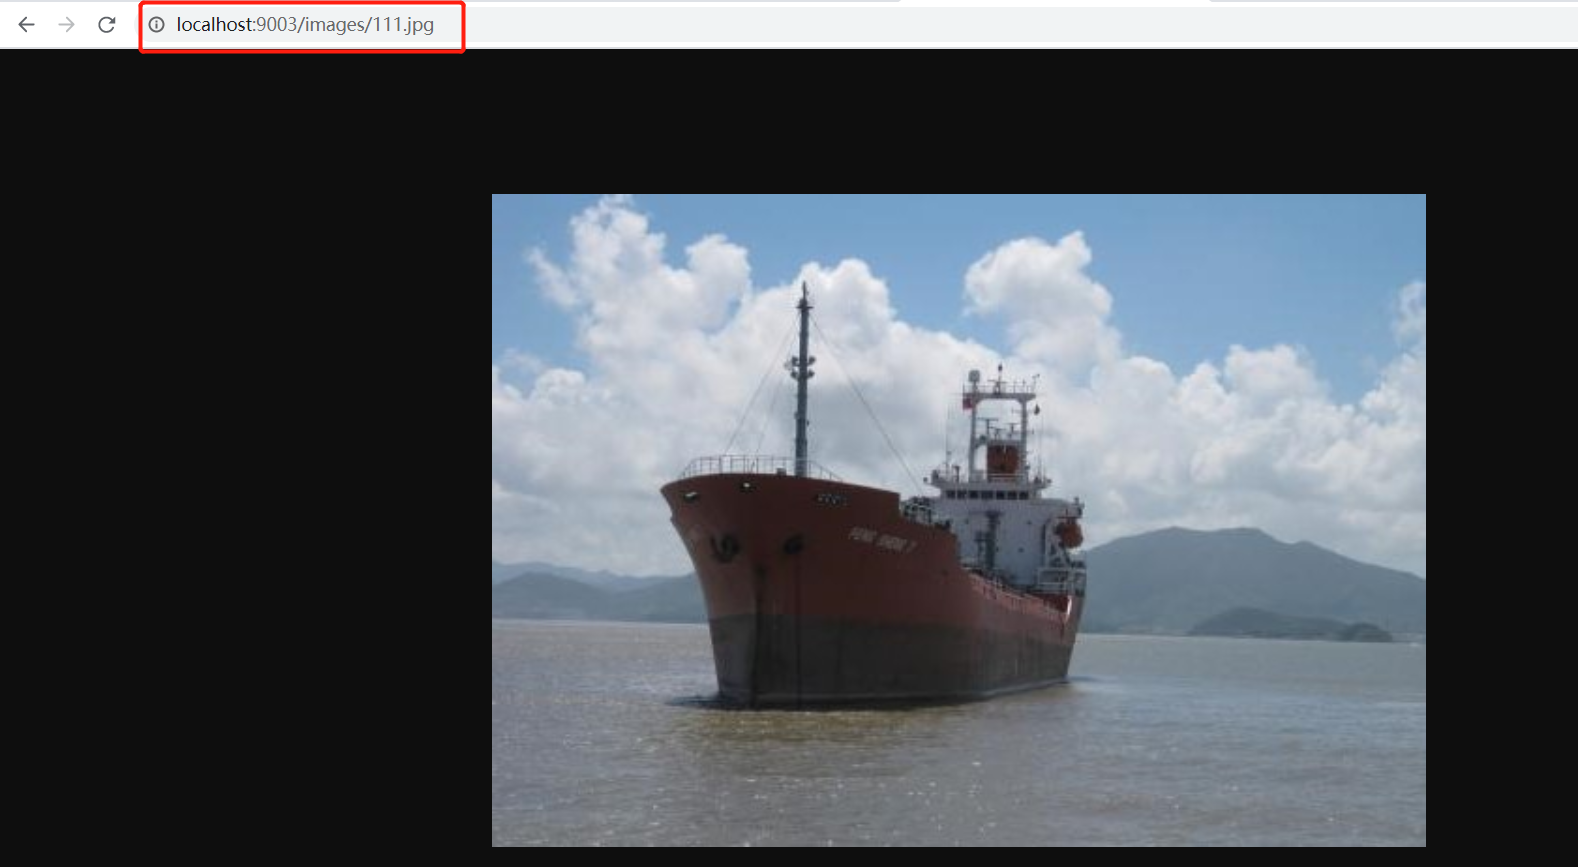
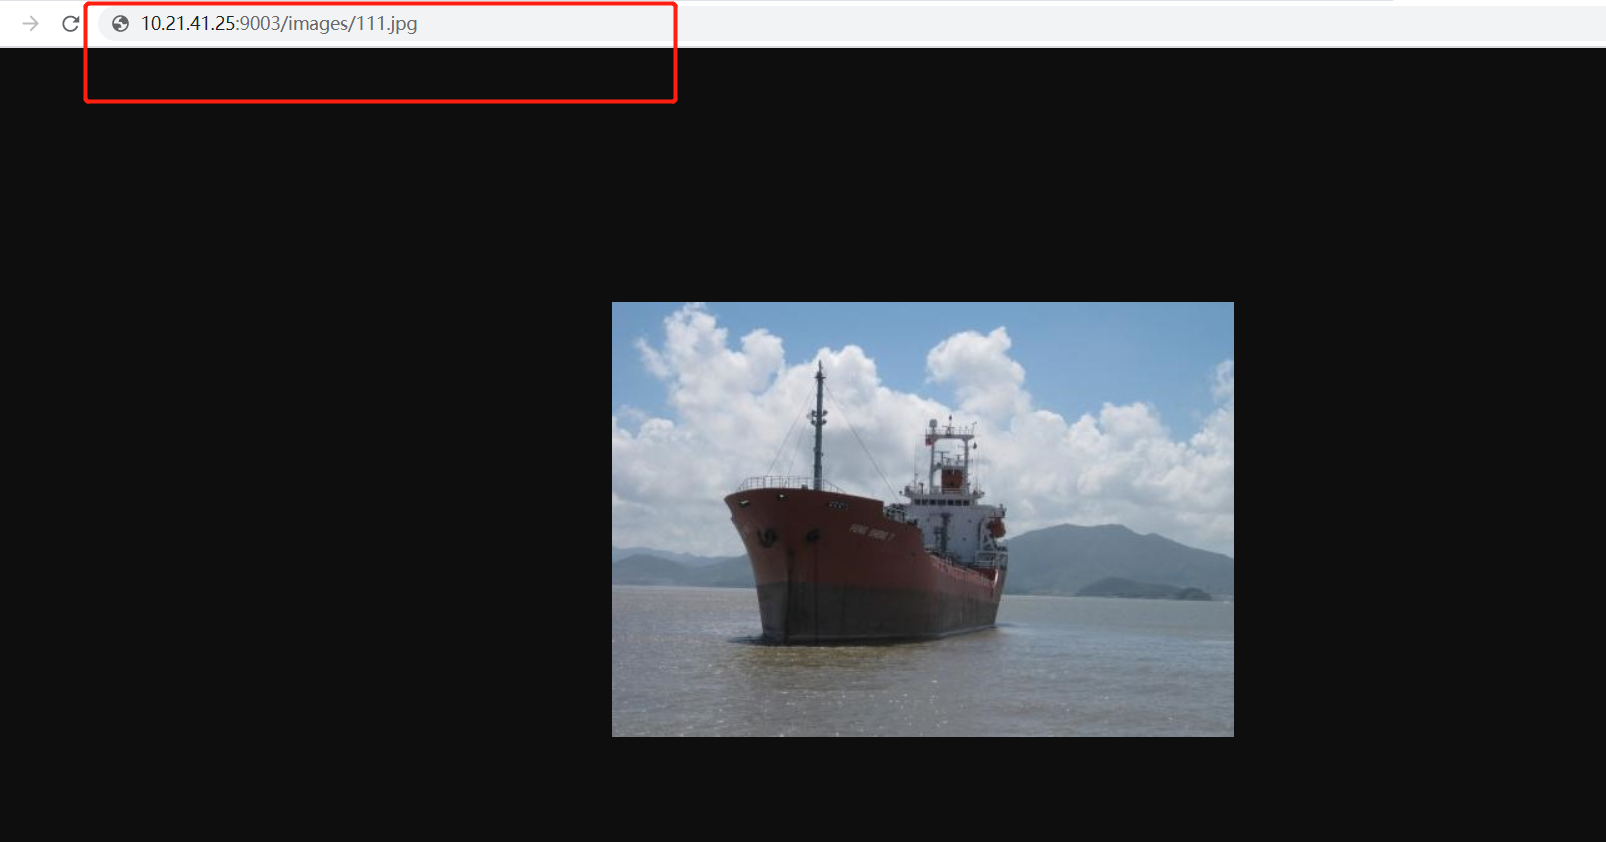
- 配置映射路径,例如:页面请求的图片路径为(默认到static目录下):images/111.jpg,static目录下没有该目录文件,将通过映射的imges到本地或者服务器的存储中获取。
import org.springframework.beans.factory.annotation.Value;
import org.springframework.context.annotation.Configuration;
import org.springframework.web.servlet.config.annotation.ResourceHandlerRegistry;
import org.springframework.web.servlet.config.annotation.WebMvcConfigurer;

@Configuration
public class FileConfig   implements WebMvcConfigurer {

    @Value("${file.uploadurl}")
    private String  fileUrl;

    public void addResourceHandlers(ResourceHandlerRegistry register){
        register.addResourceHandler("/images/**").addResourceLocations("file:"+fileUrl);
    }
}
方式二:除了配置类还有另一种方式,那就是直接在配置文件配置spring的资源文件地址:
spring:
  mvc:
    static-path-pattern: /image/**
  resources:
    #本地地址
    static-locations: file:D://test/
    #linux服务器地址
   #static-locations: file:/u01/upload/images/
但是通过方式二有弊端,如果配置了swagger你会发现不能打开swagger了,是因为默认资源位置已被映射,无法找到, 所以需要通过配置类指定资源位置
import org.springframework.context.annotation.Configuration;
import org.springframework.web.servlet.config.annotation.ResourceHandlerRegistry;
import org.springframework.web.servlet.config.annotation.WebMvcConfigurer;


@Configuration
public class WebMvcConfig implements WebMvcConfigurer  {
    @Override
    public void addResourceHandlers(ResourceHandlerRegistry registry) {
        registry.addResourceHandler("swagger-ui.html")
                .addResourceLocations("classpath:/META-INF/resources/");
        registry.addResourceHandler("/webjars/**")
                .addResourceLocations("classpath:/META-INF/resources/webjars/");

    }

}
建议直接使用第一种方式!
效果:这里的imags对应配置类里面的获取地址。

版权声明:本文内容由互联网用户自发贡献,该文观点仅代表作者本人。本站仅提供信息存储空间服务,不拥有所有权,不承担相关法律责任。如发现本站有涉嫌侵权/违法违规的内容, 请联系我们举报,一经查实,本站将立刻删除。
发布者:全栈程序员-站长,转载请注明出处:https://javaforall.net/145073.html原文链接:https://javaforall.net

![Landsat TM 波段组合[通俗易懂]](https://javaforall.net/wp-content/uploads/2020/11/2020110817443450-480x300.jpg)
