
大家好,又见面了,我是你们的朋友全栈君。如果您正在找激活码,请点击查看最新教程,关注关注公众号 “全栈程序员社区” 获取激活教程,可能之前旧版本教程已经失效.最新Idea2022.1教程亲测有效,一键激活。
Jetbrains全系列IDE使用 1年只要46元 售后保障 童叟无欺
ios事件-触摸事件3(UIButton 和 pointInSide()、hitTest()、touchesBegan()、touchesMoved()、touchesEnded()、touchesCancelled()的关系)
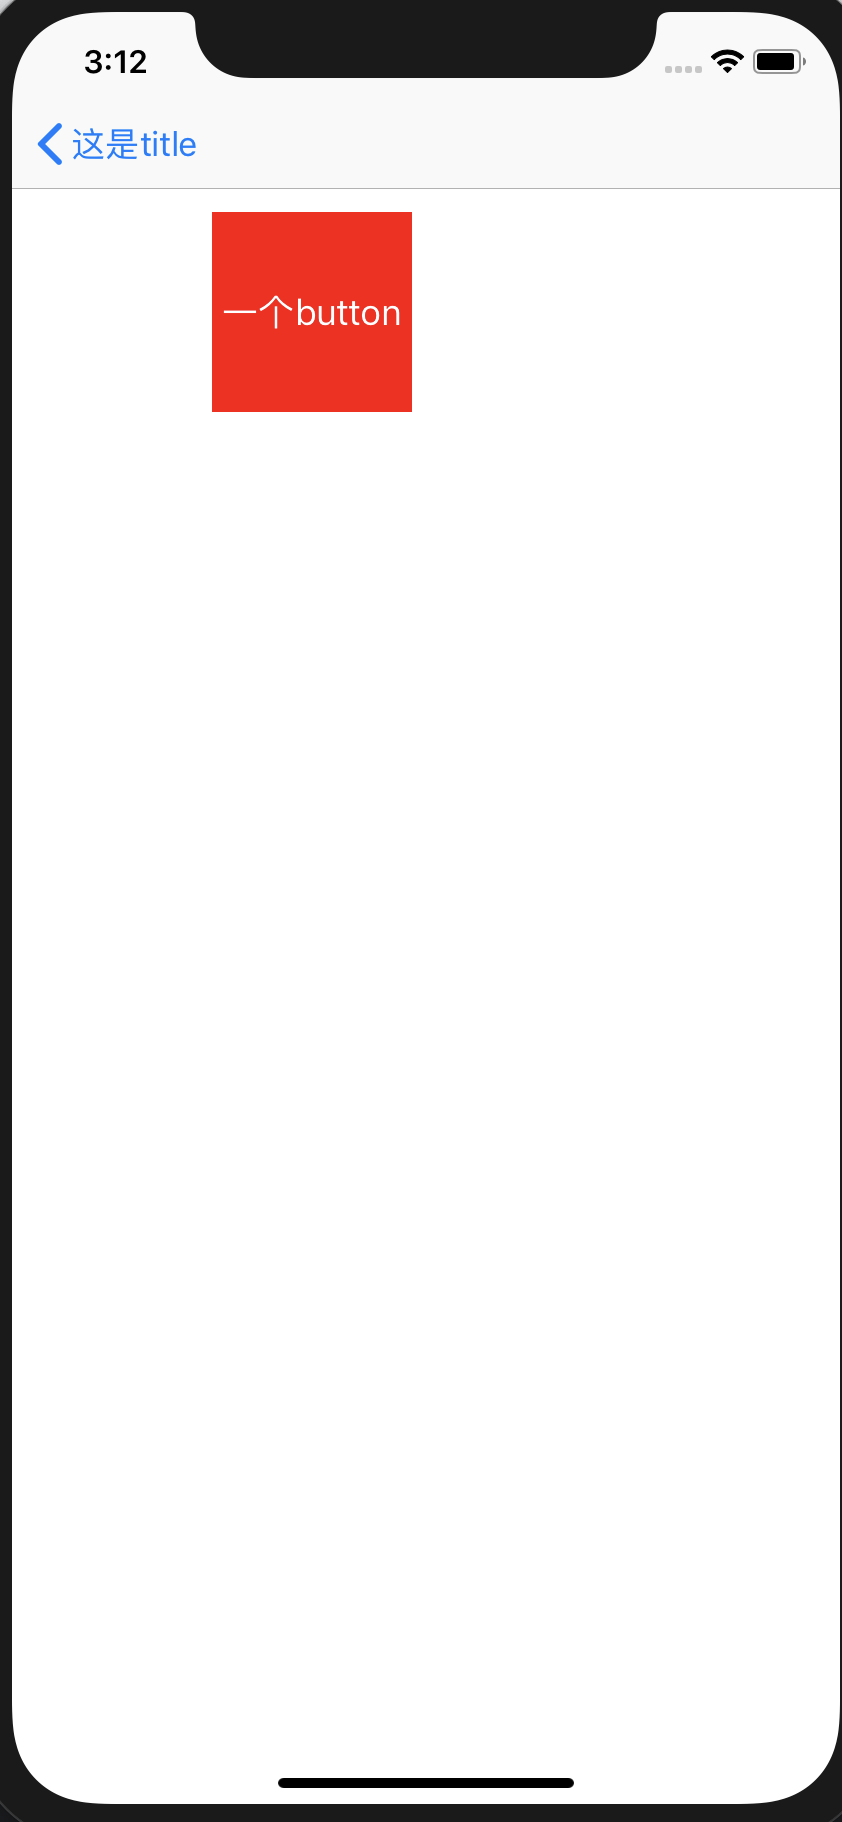
先看效果图

本文中,凡是看到xxx(),即表示xxx是一个函数或者方法!!!事件分为事件传递和事件响应,其中,事件响应又称事件处理。
具体代码
ButtonVC的代码如下:
@interface ButtonVC : UIViewController
@end
//--------分隔符,分隔.h文件和.m文件-------------
#import "ButtonVC.h"
#import "MyButton.h"

@interface ButtonVC ()

@end
//--------分隔符,分隔.h文件和.m文件-------------
@implementation ButtonVC
/**
 1、button的点击和pointInSide()、hitTest()的关系:在button的hitTest()中返回button实例,这个button才能响应事件
 2、button不同事件的识别,也是通过touchesBegan()、touchesMoved()、touchesEnd()和touchesCanceled()来识别,所以如果你在你自定义的button里面的重写的touchesBegan: withEvent:方法中不调用[super touchesBegan:touches withEvent:event];时,button的监听方法(在本例中为clicka:withEvent:方法)就不会被调用!
 3、Button的addTarget:action:forControlEvents方法的forControlEvents的参数有UIControlEventTouchUpInside、UIControlEventTouchDown。
    其中UIControlEventTouchDown表示@selector(clicka:withEvent:)方法在Button的touchesBegan:withEvent:方法之后以及touchesMoved:withEvent:方法之前调用。
    UIControlEventTouchUpInside表示@selector(clicka:withEvent:)方法在Button的touchesEnded:withEvent:方法之后调用。
 */
- (void)viewDidLoad {
    [super viewDidLoad];

    self.view.backgroundColor = UIColor.whiteColor;
    MyButton *button = [MyButton buttonWithType:UIButtonTypeCustom];
    button.frame = CGRectMake(100.f, 100.f, 100.f, 100.f);
    button.backgroundColor = UIColor.redColor;
    [button setTitle:@"一个button" forState:UIControlStateNormal];
    [button addTarget:self action:@selector(clicka:withEvent:) forControlEvents:UIControlEventTouchDown]; //添加监听,监听对象是self,监听策略是UIControlEventTouchDown,监听方法是clicka:withEvent:

    [button sendActionsForControlEvents:UIControlEventTouchDown];//即使没有[self.view addSubview:button], 下面的clicka()也会被调用

    [self.view addSubview:button];

}

- (void)clicka:(MyButton *)button withEvent:(UIEvent *)event {
    NSLog(@"你点击了button");
}

- (void)touchesBegan:(NSSet<UITouch *> *)touches withEvent:(UIEvent *)event {
    NSLog(@"vc, %s",  __func__);
    [super touchesBegan:touches withEvent:event];
}

- (void)touchesMoved:(NSSet<UITouch *> *)touches withEvent:(UIEvent *)event {
    NSLog(@"vc, %s",  __func__);
    [super touchesMoved:touches withEvent:event];
}

- (void)touchesEnded:(NSSet<UITouch *> *)touches withEvent:(UIEvent *)event {
    NSLog(@"vc, %s", __func__);
    [super touchesEnded:touches withEvent:event];
}

- (void)touchesCancelled:(NSSet<UITouch *> *)touches withEvent:(UIEvent *)event {
    NSLog(@"vc, %s", __func__);
    [super touchesCancelled:touches withEvent:event];
}

@end
MyButton的代码如下:
#import <UIKit/UIKit.h>
@interface MyButton : UIButton
@end
//--------分隔符,分隔.h文件和.m文件-------------
@implementation MyButton
- (BOOL)pointInside:(CGPoint)point withEvent:(UIEvent *)event {
    NSLog(@"%s", __func__);
    return [super pointInside:point withEvent:event];
}

- (UIView *)hitTest:(CGPoint)point withEvent:(UIEvent *)event {
    NSLog(@"%s", __func__);

    return [super hitTest:point withEvent:event];
}

- (void)touchesBegan:(NSSet<UITouch *> *)touches withEvent:(UIEvent *)event {
    NSLog(@"%s", __func__);
    [super touchesBegan:touches withEvent:event];
}

- (void)touchesMoved:(NSSet<UITouch *> *)touches withEvent:(UIEvent *)event {
    NSLog(@"%s", __func__);
    [super touchesMoved:touches withEvent:event];
}

- (void)touchesEnded:(NSSet<UITouch *> *)touches withEvent:(UIEvent *)event {
    NSLog(@"%s", __func__);
    [super touchesEnded:touches withEvent:event];
}

- (void)touchesCancelled:(NSSet<UITouch *> *)touches withEvent:(UIEvent *)event {
    NSLog(@"%s", __func__);
    [super touchesCancelled:touches withEvent:event];
}
@end
操作场景
- 进入ButtonVC的界面时,还没有做任何操作,输出结果如下:
2019-08-31 14:58:24.239067+0800 E03事件层次分析[29333:9860811] 你点击了button
分析:在ButtonVC的viewDidLoad()中调用了[button sendActionsForControlEvents:UIControlEventTouchDown]; ,该方法会调用监听策略为UIControlEventTouchDown的监听对象的监听方法,在本例中调用的是ButtonVC(监听对象)的clicka: withEvent:方法(监听方法)。
- 在红色按钮的区域内点击一下,输出结果如下:
2019-08-31 15:04:47.589038+0800 E03事件层次分析[29333:9860811] -[MyButton hitTest:withEvent:]
2019-08-31 15:04:47.589239+0800 E03事件层次分析[29333:9860811] -[MyButton pointInside:withEvent:]
2019-08-31 15:04:47.590528+0800 E03事件层次分析[29333:9860811] -[MyButton touchesBegan:withEvent:]
2019-08-31 15:04:47.590724+0800 E03事件层次分析[29333:9860811] 你点击了button
2019-08-31 15:04:47.723649+0800 E03事件层次分析[29333:9860811] -[MyButton touchesEnded:withEvent:]
分析:button的UIControlEventTouchDown事件的识别,是通过touchesBegan()来识别。
如果把ButtonVC的viewDidLoad()里面的[button addTarget:self action:@selector(clicka:withEvent:) forControlEvents:UIControlEventTouchDown];改为[button addTarget:self action:@selector(clicka:withEvent:) forControlEvents:UIControlEventTouchUpInside];,然后把MyButton中的[super touchesEnded:touches withEvent:event];删掉,那么 在红色按钮的区域内点击一下,输出结果如下:
2019-08-31 15:08:21.163142+0800 E03事件层次分析[29630:9884894] -[MyButton hitTest:withEvent:]
2019-08-31 15:08:21.163395+0800 E03事件层次分析[29630:9884894] -[MyButton pointInside:withEvent:]
2019-08-31 15:08:21.164825+0800 E03事件层次分析[29630:9884894] -[MyButton touchesBegan:withEvent:]
2019-08-31 15:08:21.241352+0800 E03事件层次分析[29630:9884894] -[MyButton touchesEnded:withEvent:]
说明:button的UIControlEventTouchUpInside事件的识别,是通过touchesBegan和touchesEnded()来识别。
发布者:全栈程序员-站长,转载请注明出处:https://javaforall.net/164188.html原文链接:https://javaforall.net


