
Springboot + Swagger3 集成和配置
本文将简单介绍Springboot 集成 Swagger3,
关于Springboot + Swagger2 可以查看: Springboot + Swagger2 集成和配置
基于前文的基础,简单介绍下swagger3,
Swagger3在Swagger2的基础上进行了部分升级, 使用和Swagger2没有多少区别。
一个重要的优化是依赖的引入,由之前的多个依赖变更为一个依赖,跟随springboot-starter风格,同时引入了新的开关注解 @EnableOpenApi 以代替@EnableSwagger2 。
因此,集成工作变得更加的简便了,必要工作只有两个,添加swagger3的starter依赖包,在springboot主程序类添加@EnableOpenApi开关注解。
下面快速介绍以下如何集成和配置
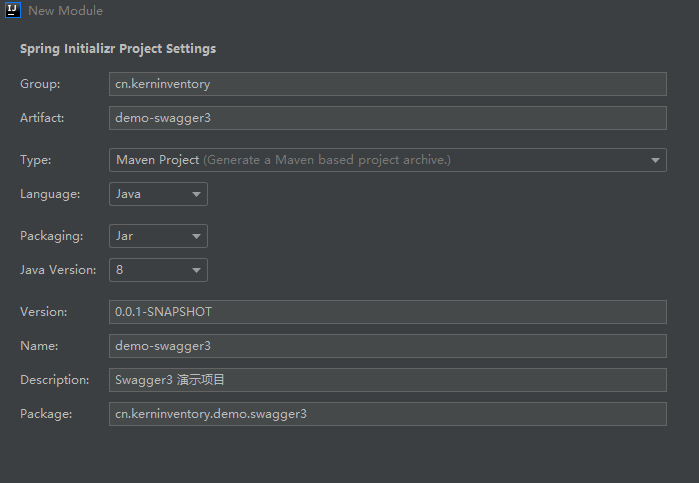
1.创建Springboot项目
IDEA创建springboot项目

Maven依赖
<dependencies> <dependency> <groupId>org.springframework.boot
     groupId> <artifactId>spring-boot-starter-web
      artifactId>
       dependency> <dependency> <groupId>io.springfox
        groupId> <artifactId>springfox-boot-starter
         artifactId> <version>3.0.0
          version>
           dependency>
            dependencies>
2. 配置Swagger
2.1 (必选)添加开关注解@EnableOpenApi
@SpringBootApplication @EnableOpenApi public class DemoSwagger3Application {
    public static void main(String[] args) {
    SpringApplication.run(DemoSwagger3Application.class, args); } }
2.2 (可选)自定义首页属性 Docket配置
@Configuration public class Swagger3 {
    @Bean public Docket docket() {
    return new Docket(DocumentationType.OAS_30).apiInfo( new ApiInfoBuilder() .contact(new Contact("Kern", "", "")) .title("Swagger2测试项目") .build() ); } }
3. 使用第三方UI
添加如下依赖
 <dependency> <groupId>com.github.xiaoymin
     groupId> <artifactId>swagger-bootstrap-ui
      artifactId> <version>1.9.6
       version>
        dependency>
版权声明:本文内容由互联网用户自发贡献,该文观点仅代表作者本人。本站仅提供信息存储空间服务,不拥有所有权,不承担相关法律责任。如发现本站有涉嫌侵权/违法违规的内容, 请联系我们举报,一经查实,本站将立刻删除。
发布者:全栈程序员-站长,转载请注明出处:https://javaforall.net/222186.html原文链接:https://javaforall.net


