
1 使用java.util.Timer
import java.time.LocalDateTime; import java.util.Timer; import java.util.TimerTask; public class Schedule {
    public static void main(String[] args) {
    TimerTask timerTask = new TimerTask() {
    @Override public void run() {
System.out.println("当前线程:" + Thread.currentThread().getName() + " 当前时间" + LocalDateTime.now()); } }; // 在指定延迟0毫秒后开始,随后地执行以2000毫秒间隔执行timerTask new Timer().schedule(timerTask, 0L, 2000L); System.out.println("当前线程:" + Thread.currentThread().getName() + " 当前时间" + LocalDateTime.now()); } } 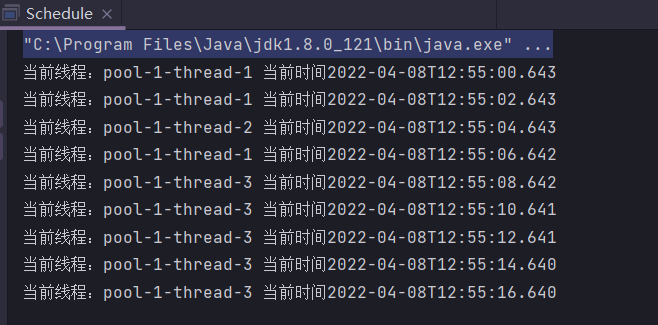

缺点:
- Timer 的背后只有一个线程,不管有多少个任务,都只有一个工作线程串行执行,效率低下
- 受限于单线程,如果第一个任务逻辑上死循环了,后续的任务一个都得不到执行
- 依然是由于单线程,任一任务抛出异常后,整个 Timer 就会结束,后续任务全部都无法执行
2 使用ScheduledExecutorService
ScheduledExecutorService 即是 Timer 的替代者,JDK 1.5 并发包引入,是基于线程池设计的定时任务类。每个调度任务都会分配到线程池中的某一个线程去执行,任务就是并发调度执行的,任务之间互不影响。
Java 5.0引入了java.util.concurrent包,其中的并发实用程序之一是ScheduledThreadPoolExecutor ,它是一个线程池,用于以给定的速率或延迟重复执行任务。它实际上是Timer/TimerTask组合的更通用替代品,因为它允许多个服务线程,接受各种时间单位,并且不需要子类TimerTask (只需实现Runnable)。使用一个线程配置ScheduledThreadPoolExecutor使其等效于Timer 。
代码示例:
import java.time.LocalDateTime; import java.util.concurrent.*; public class Schedule {
    public static void main(String[] args) {
// 创建一个ScheduledThreadPoolExecutor线程池,核心线程数为5 ScheduledExecutorService scheduledExecutorService = new ScheduledThreadPoolExecutor(5); // 创建Runnable打印当前线程和当前时间 Runnable r = () -> System.out.println("当前线程:" + Thread.currentThread().getName() + " 当前时间" + LocalDateTime.now()); / * schedule:只执行一次调度 * scheduleAtFixedRate:一开始就计算间隔时间,如果任务超过间隔时间,那么就直接开始下一个任务 * scheduleWithFixedDelay:任务无论执行多久,都要等待上一轮任务完成之后再间隔指定时间,然后才开始下一个任务 */ // 在指定1秒延迟后执行r,之后每两秒执行一次 scheduledExecutorService.scheduleAtFixedRate(r, 1, 2, TimeUnit.SECONDS); } } 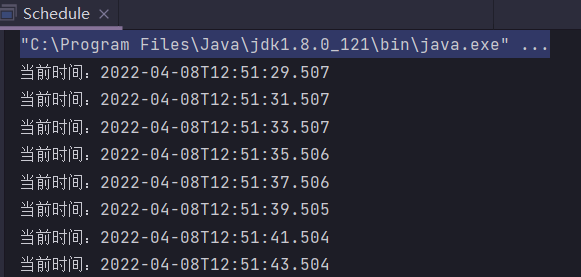
3 使用Spring Task
Spring Task 底层是基于 JDK 的 ScheduledThreadPoolExecutor 线程池来实现的。直接通过Spring 提供的 @Scheduled 注解即可定义定时任务,非常方便。
以Spring Boot来作为示例,步骤为
- 在启动类所在包下创建Schedule 类(在没有配置@ComponentScan的情况下,Spring Boot只会默认扫描启动类所在包的spring组件)
- 在该类上添加@Component和@EnableScheduling注解
- 在方法上添加@Scheduled注解,该注解主要参数如下
String cron() default ""; // 支持cron表达式 long fixedDelay() default -1; // 在最后一次调用结束和下一次调用开始之间的时间间隔,以毫秒为单位 String fixedDelayString() default ""; // 同上,类似ScheduledExecutorService的scheduleWithFixedDelay long fixedRate() default -1; // 在调用之前的时间间隔,以毫秒为单位 String fixedRateString() default ""; // 同上,类似ScheduledExecutorService的scheduleAtFixedRate long initialDelay() default -1; // 在第一次执行fixedRate()或fixedDelay()任务之前要延迟的毫秒数 String initialDelayString() default ""; // 同上 代码示例:
import org.springframework.scheduling.annotation.EnableScheduling; import org.springframework.scheduling.annotation.Scheduled; import org.springframework.stereotype.Component; import java.time.LocalDateTime; @Component @EnableScheduling public class Schedule {
    @Scheduled(fixedRate = 2000L) public void task() {
System.out.println("当前线程:" + Thread.currentThread().getName() + " 当前时间" + LocalDateTime.now()); } } 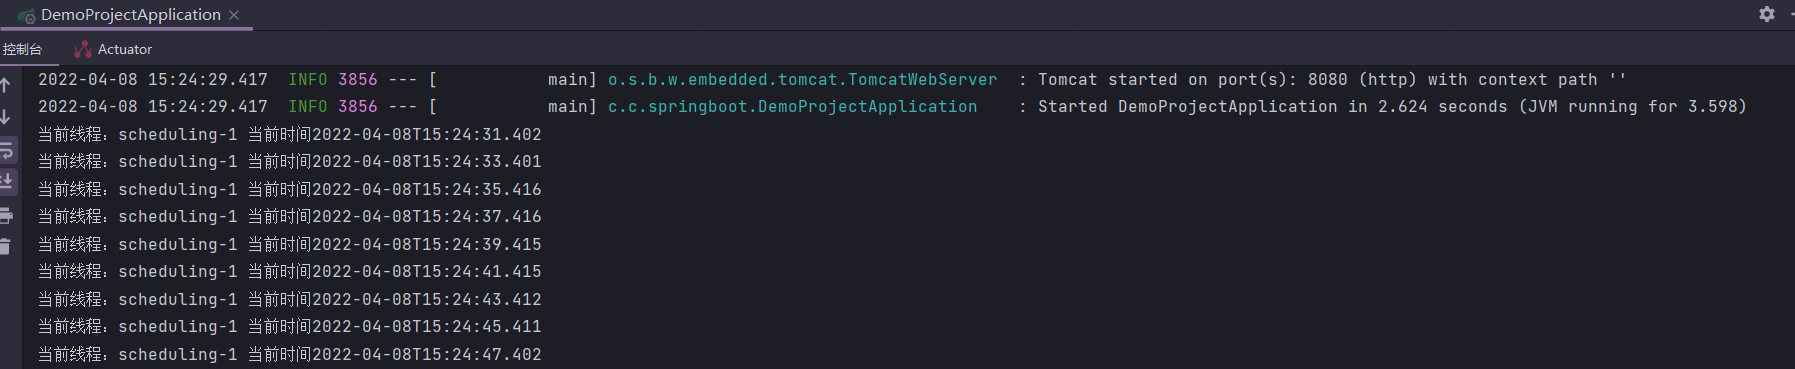
- 优点: 简单,轻量,支持 Cron 表达式
- 缺点 :默认只支持单机,是单线程的,并且提供的功能比较单一
可以通过@EnableAsync和 @Async开启多线程
import org.springframework.scheduling.annotation.Async; import org.springframework.scheduling.annotation.EnableAsync; import org.springframework.scheduling.annotation.EnableScheduling; import org.springframework.scheduling.annotation.Scheduled; import org.springframework.stereotype.Component; import java.time.LocalDateTime; @Component @EnableAsync // 开启异步多线程 @EnableScheduling public class Schedule {
    @Async @Scheduled(fixedRate = 2000L) public void task() {
System.out.println("当前线程:" + Thread.currentThread().getName() + " 当前时间" + LocalDateTime.now()); } } 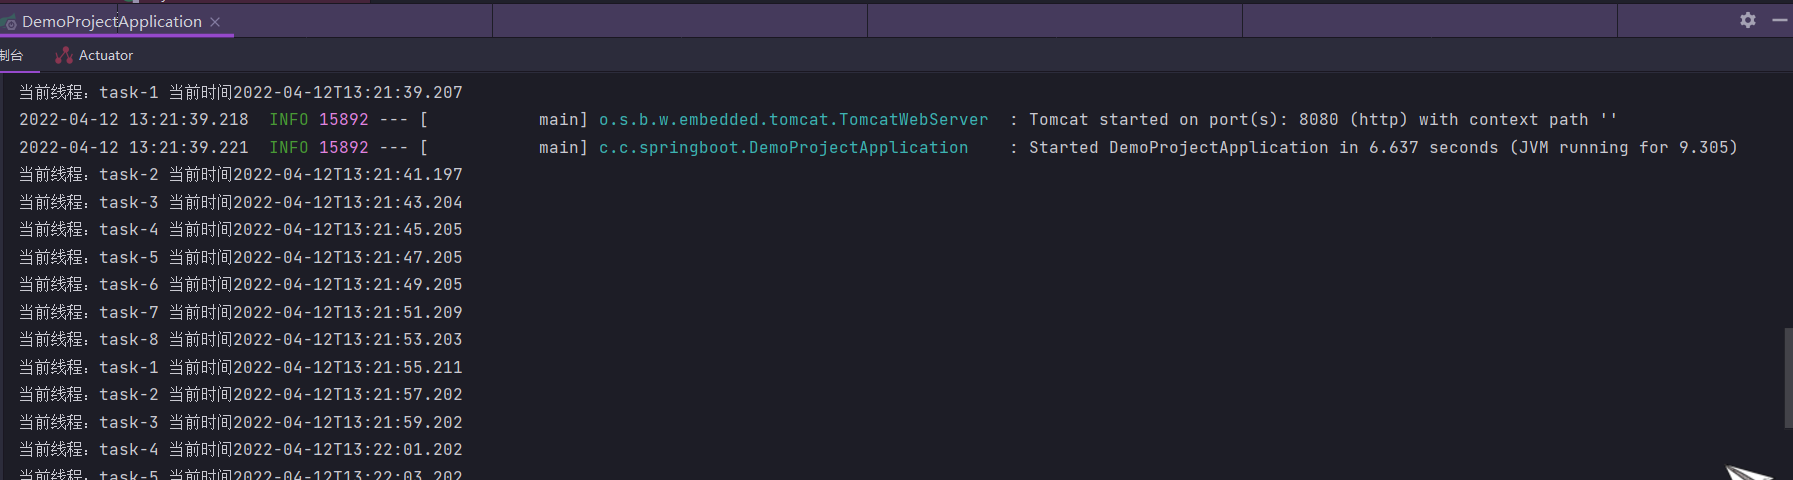
使用@EnableAsync注解后,默认情况下,Spring将搜索关联的线程池定义:上下文中的唯一org.springframework.core.task.TaskExecutor
的bean,或者名为“taskExecutor”的java.util.concurrent.Executor
的bean。如果两者都无法解析,则将使用org.springframework.core.task.SimpleAsyncTaskExecutor来处理异步方法调用。
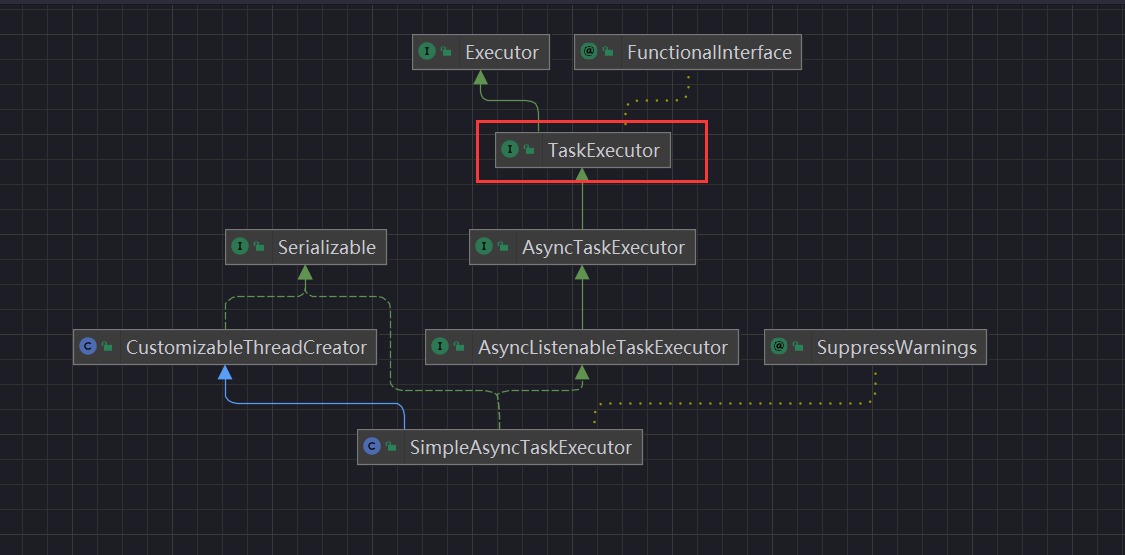
TaskExecutor实现为每个任务启动一个新线程,异步执行它。 支持通过“concurrencyLimit”bean 属性限制并发线程。默认情况下,并发线程数是无限的,所以使用默认的线程池有导致内存溢出的风险。
注意:刚才的运行结果看起来是线程复用的,而实际上此实现不重用线程!应尽量实现一个线程池TaskExecutor ,特别是用于执行大量短期任务。不要使用默认的SimpleAsyncTaskExecutor。
import org.springframework.context.annotation.Bean; import org.springframework.scheduling.annotation.Async; import org.springframework.scheduling.annotation.EnableAsync; import org.springframework.scheduling.annotation.EnableScheduling; import org.springframework.scheduling.annotation.Scheduled; import org.springframework.scheduling.concurrent.ThreadPoolTaskExecutor; import org.springframework.stereotype.Component; import java.time.LocalDateTime; import java.util.concurrent.Executor; @Component @EnableAsync @EnableScheduling public class Schedule {
    @Async @Scheduled(fixedRate = 2000L) public void task() {
    System.out.println("当前线程:" + Thread.currentThread().getName() + " 当前时间" + LocalDateTime.now()); } @Bean("taskExecutor") public Executor taskExecutor() {
ThreadPoolTaskExecutor taskExecutor = new ThreadPoolTaskExecutor(); taskExecutor.setCorePoolSize(10); taskExecutor.setMaxPoolSize(50); taskExecutor.setQueueCapacity(200); taskExecutor.setKeepAliveSeconds(60); taskExecutor.setThreadNamePrefix("自定义-"); taskExecutor.setAwaitTerminationSeconds(60); return taskExecutor; } } 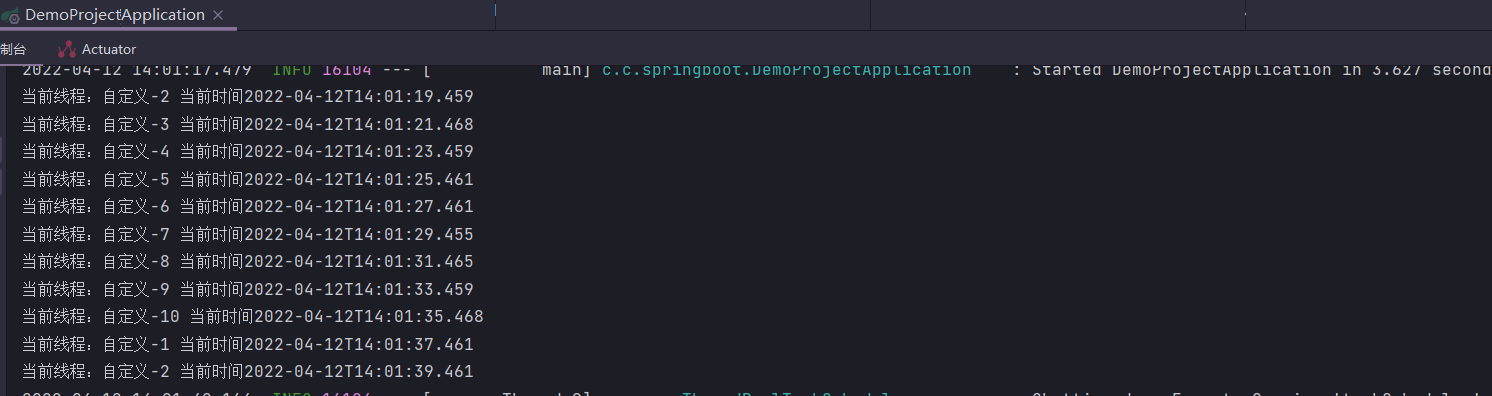
上面提到的一些定时任务的解决方案都是在单机下执行的,适用于比较简单的定时任务场景比如每天凌晨备份一次数据。如果我们需要一些高级特性比如支持任务在分布式场景下的分片和高可用的话,我们就需要用到分布式任务调度框架了,比如Quartz、Elastic-Job、XXL-JOB、PowerJob,本文就不再详细进行介绍了,感兴趣的可以自行查阅相关资料。
发布者:全栈程序员-站长,转载请注明出处:https://javaforall.net/224935.html原文链接:https://javaforall.net


