
大家好,又见面了,我是你们的朋友全栈君。
先看效果图:女神镇楼
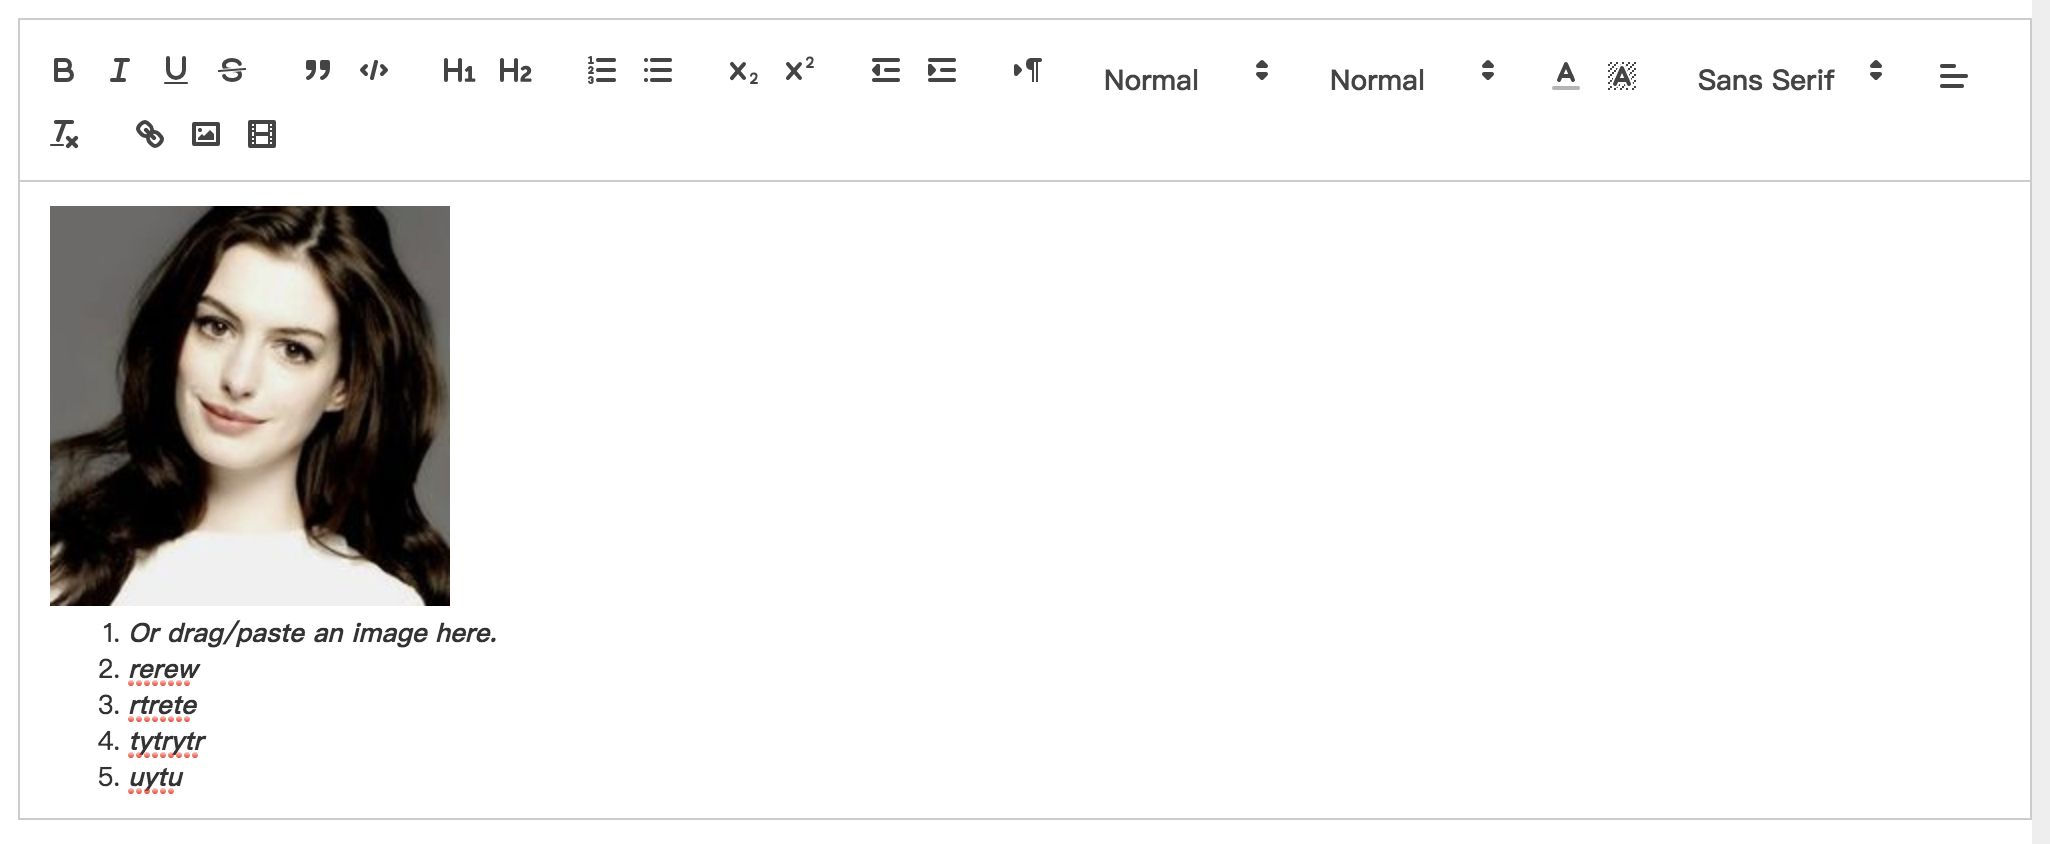

- 下载Vue-Quill-Editor
npm install vue-quill-editor --save - 下载quill(Vue-Quill-Editor需要依赖)
npm install quill --save - 代码
<template> <div class="edit_container"> <quill-editor v-model="content" ref="myQuillEditor" :options="editorOption" @blur="onEditorBlur($event)" @focus="onEditorFocus($event)" @change="onEditorChange($event)"> </quill-editor> </div> </template> <script> import { quillEditor } from "vue-quill-editor"; //调用编辑器 import 'quill/dist/quill.core.css'; import 'quill/dist/quill.snow.css'; import 'quill/dist/quill.bubble.css'; export default { components: { quillEditor }, data() { return { content: `<p></p><p><br></p><ol><li><strong><em>Or drag/paste an image here.</em></strong></li><li><strong><em>rerew</em></strong></li><li><strong><em>rtrete</em></strong></li><li><strong><em>tytrytr</em></strong></li><li><strong><em>uytu</em></strong></li></ol>`, editorOption: {} } }, methods: { onEditorReady(editor) { // 准备编辑器 }, onEditorBlur(){}, // 失去焦点事件 onEditorFocus(){}, // 获得焦点事件 onEditorChange(){}, // 内容改变事件 }, computed: { editor() { return this.$refs.myQuillEditor.quill; }, } } </script>OK,搞定,简洁的富文本编辑器就展现在你眼前了,另外附上API。Vue-Quill-Editor
-
自定义 toolbar 菜单
editorOption: { placeholder: "请在这里输入", modules:{ toolbar:[ ['bold', 'italic', 'underline', 'strike'], //加粗,斜体,下划线,删除线 ['blockquote', 'code-block'], //引用,代码块 [{ 'header': 1 }, { 'header': 2 }], // 标题,键值对的形式;1、2表示字体大小 [{ 'list': 'ordered'}, { 'list': 'bullet' }], //列表 [{ 'script': 'sub'}, { 'script': 'super' }], // 上下标 [{ 'indent': '-1'}, { 'indent': '+1' }], // 缩进 [{ 'direction': 'rtl' }], // 文本方向 [{ 'size': ['small', false, 'large', 'huge'] }], // 字体大小 [{ 'header': [1, 2, 3, 4, 5, 6, false] }], //几级标题 [{ 'color': [] }, { 'background': [] }], // 字体颜色,字体背景颜色 [{ 'font': [] }], //字体 [{ 'align': [] }], //对齐方式 ['clean'], //清除字体样式 ['image','video'] //上传图片、上传视频 ] } }, -
存储及将数据库中的数据反显为HTML字符串
后台接收到数据后会将字符中的标签进行转码,所以我们要先进行一个解码的操作让他变成标签形式的字符串:
例如后台接收的数据如下:”<h1>title<” ,对应解码后就是`<h1>title</h1>`。//把实体格式字符串转义成HTML格式的字符串 escapeStringHTML(str) { str = str.replace(/</g,'<'); str = str.replace(/>/g,'>'); return str; }然后将返回值赋值给对应的参数:
<div v-html="str" class="ql-editor">
    {

    {str}}
</div>
上面的str就是转码函数返回的值,我们要先在data中定义,所以我现在将新增跟展示放在一起,代码如下:
<template> <div class="edit_container"> <!-- 新增时输入 --> <quill-editor v-model="content" ref="myQuillEditor" :options="editorOption" @blur="onEditorBlur($event)" @focus="onEditorFocus($event)" @change="onEditorChange($event)"> </quill-editor> <!-- 从数据库读取展示 --> <div v-html="str" class="ql-editor"> { {str}} </div> </div> </template> <script> import { quillEditor } from "vue-quill-editor"; //调用编辑器 import 'quill/dist/quill.core.css'; import 'quill/dist/quill.snow.css'; import 'quill/dist/quill.bubble.css'; export default { components: { quillEditor }, data() { return { content: `<p></p><p><br></p><ol><li><strong><em>Or drag/paste an image here.</em></strong></li><li><strong><em>rerew</em></strong></li><li><strong><em>rtrete</em></strong></li><li><strong><em>tytrytr</em></strong></li><li><strong><em>uytu</em></strong></li></ol>`, str: '', editorOption: {} } }, methods: { onEditorReady(editor) { // 准备编辑器 }, onEditorBlur(){}, // 失去焦点事件 onEditorFocus(){}, // 获得焦点事件 onEditorChange(){}, // 内容改变事件 // 转码 escapeStringHTML(str) { str = str.replace(/</g,'<'); str = str.replace(/>/g,'>'); return str; } }, computed: { editor() { return this.$refs.myQuillEditor.quill; }, }, mounted() { let content = ''; // 请求后台返回的内容字符串 this.str = this.escapeStringHTML(content); } } </script>最后提醒大家一句,插件只兼容IE10以上,不能向下兼容,如果要向下兼容,只能放弃使用这个插件。
版权声明:本文内容由互联网用户自发贡献,该文观点仅代表作者本人。本站仅提供信息存储空间服务,不拥有所有权,不承担相关法律责任。如发现本站有涉嫌侵权/违法违规的内容, 请发送邮件至 举报,一经查实,本站将立刻删除。
发布者:全栈程序员-站长,转载请注明出处:https://javaforall.net/134605.html原文链接:https://javaforall.net