
大家好,又见面了,我是你们的朋友全栈君。
git的下载安装 (图文教程)
目录
- git的下载
- git的安装步骤
git的下载
如果你还没有下载Git,可直接到git官网进行下载。
如图


直接按下Downloads选项
这是页面会跳转到相应的页面

按下 Windows 或 Download for Windows 选项,页面会自动跳转下载页面,当然其它系统类型根据需要下载相应的版本即可。
git的安装步骤
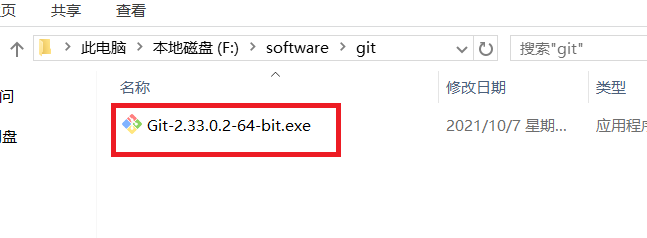
步骤 1. 双击运行安装
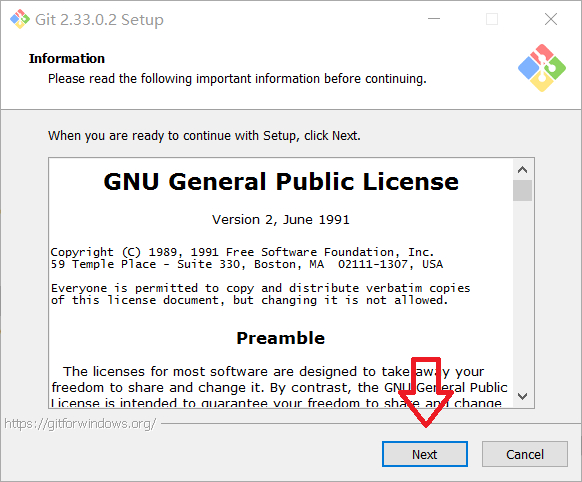
步骤 2. 点击运行

- Information
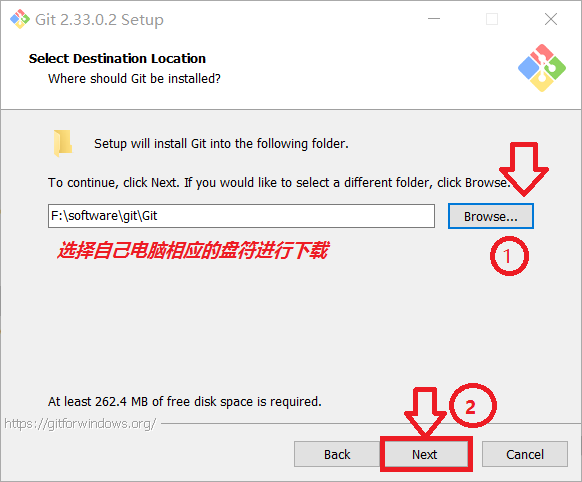
步骤 3. 选择下载路径
- Select Destination Location
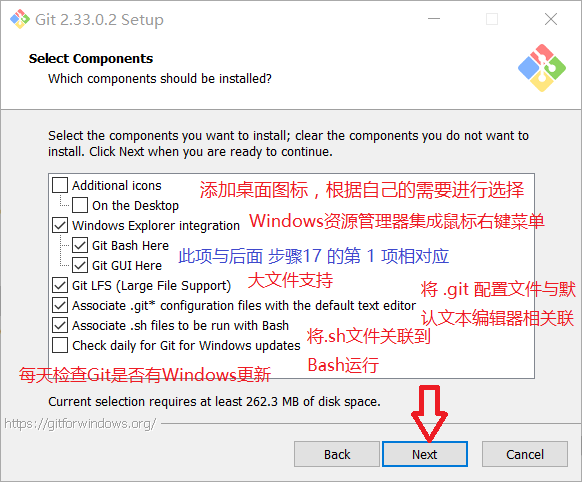
步骤 4. 根据需要选择部件
-
Select Components
-
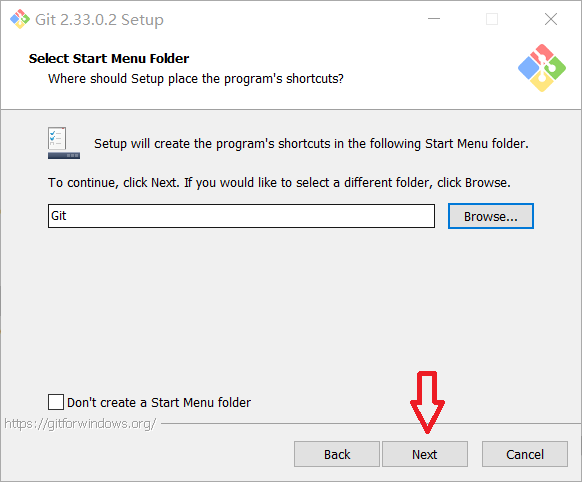
Select Satrt Menu Folder
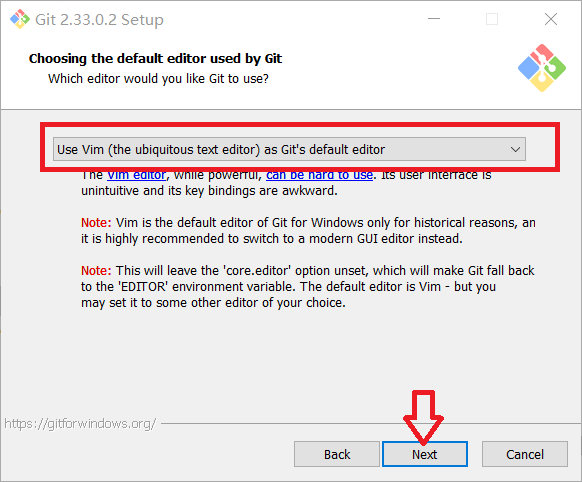
步骤 5. 选择 Git 默认的编辑器
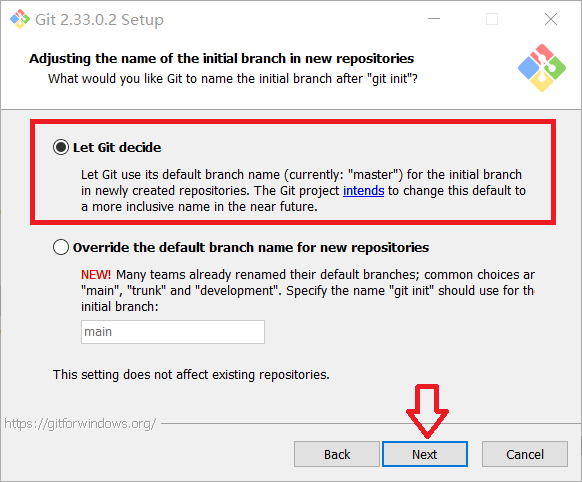
步骤 6. 新存储库中初始分支名称的调整
- adjusting the name of the initial branch in new repositories
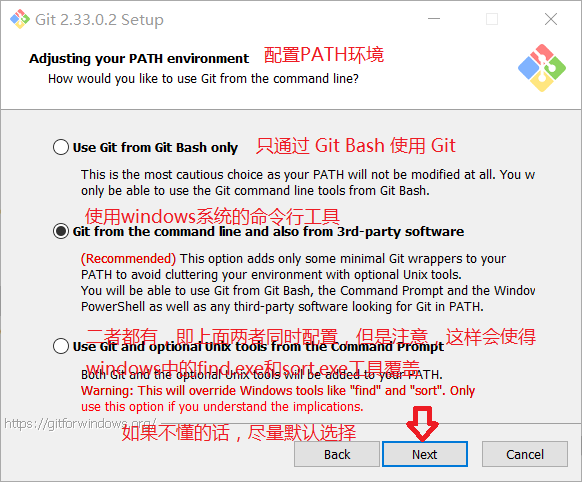
步骤 7. 配置 PATH 环境
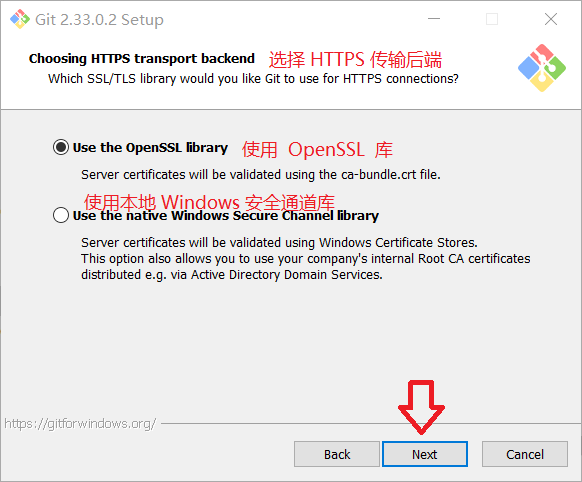
步骤 8. 选择 HTTPS 传输后端
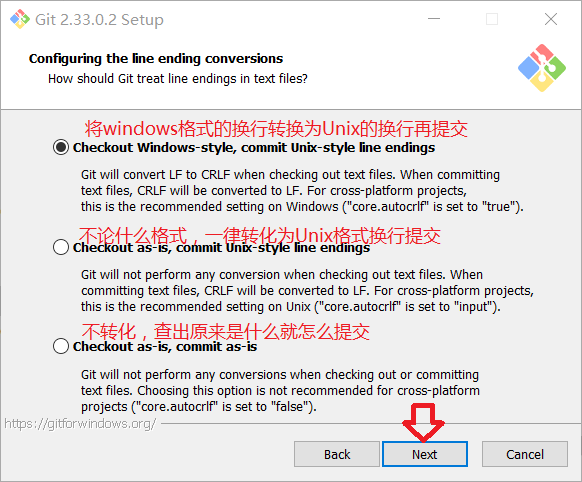
步骤 9. 配置行结束转换
- Configuring the line ending conversions
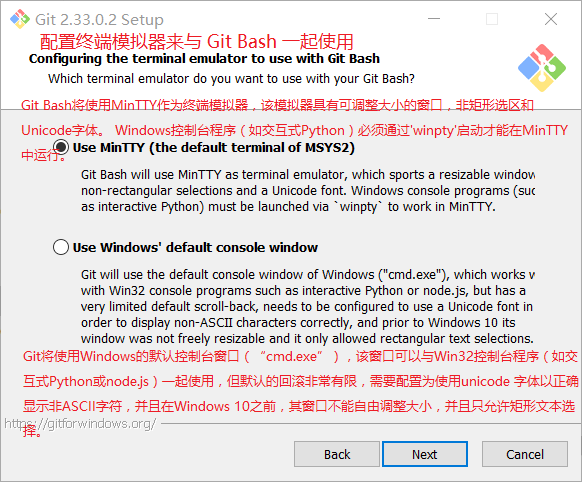
步骤 10. 配置终端模拟器来与 Git Bash 一起使用
- Configuring the terminal emulator to use with Git Bash
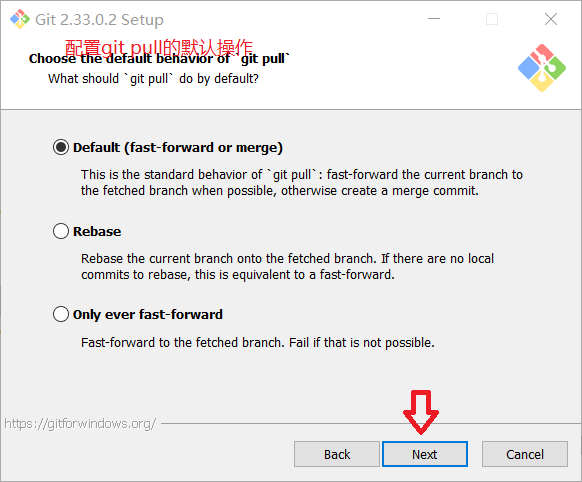
步骤 11. 配置 git pull 的默认操作
- Choose the default behavior of
git pull
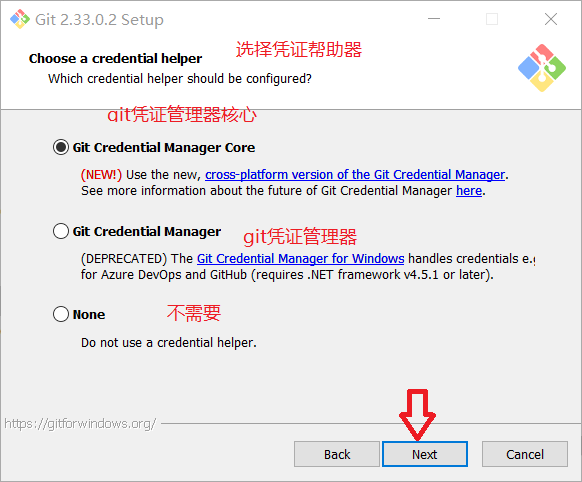
步骤 12. 选择凭证帮助器
- Choose a credential helper
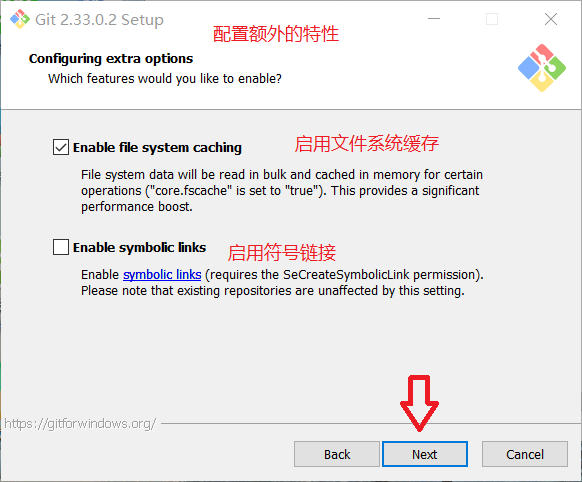
步骤 13. 配置额外的特性
- Configuring extra option
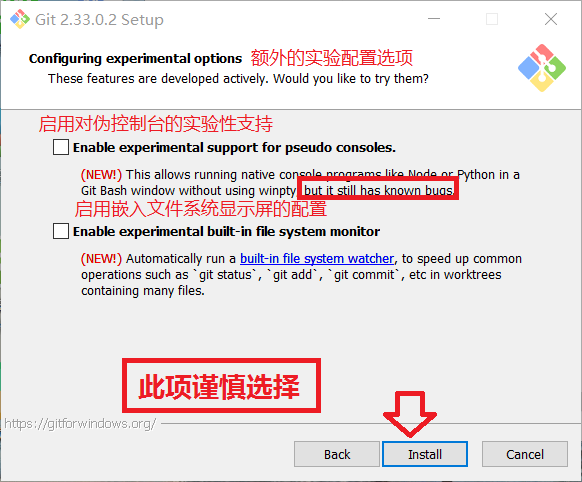
步骤 14. 额外的实验配置选项
- Configuring experimental options
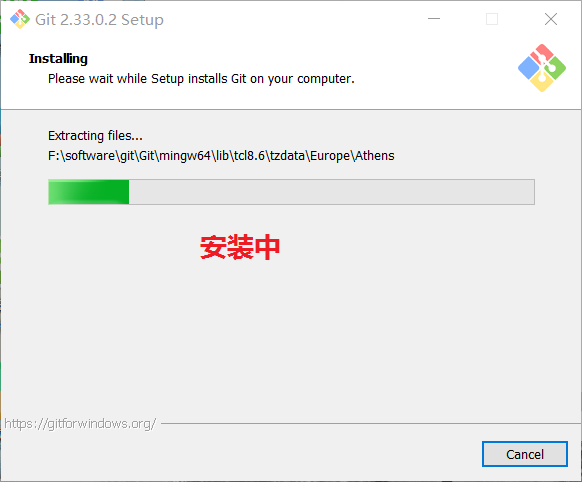
步骤 15. 安装中
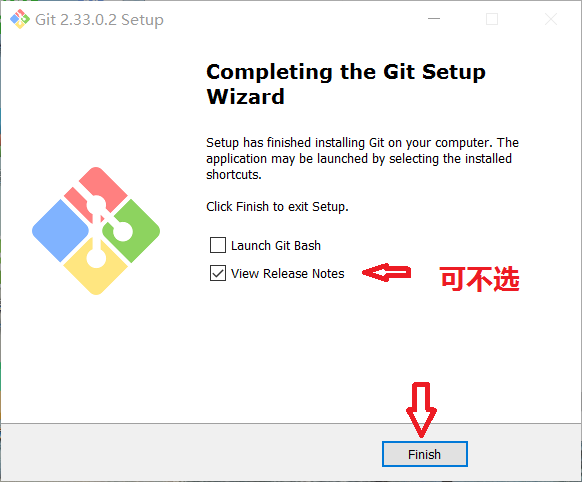
步骤 16. 安装完成
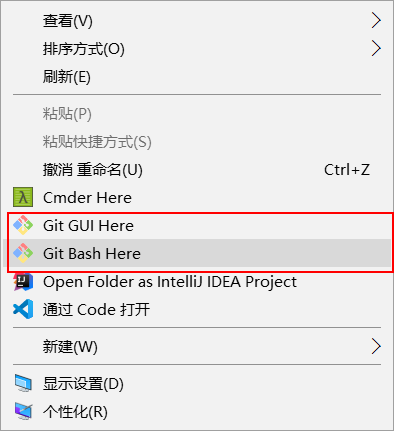
步骤 17. 检查是否安装完成
- 在桌面任意位置按鼠标右键会出现如下图所示 Git GUI Here 和 Git Bash Here 选项
注意:此项与步骤4中是否勾选Windows Explorer integration下的Git GUI Here和Git Bash Here相对应 若之前没有勾选这两个选项,请进行往下的一个步骤进行检测
按下键盘键win+R调出运行框后按cmd调出命令提示符,输入git –version 出现如下图相应版本信息号,则证明Git已安装完成

到底啦^^^
版权声明:本文内容由互联网用户自发贡献,该文观点仅代表作者本人。本站仅提供信息存储空间服务,不拥有所有权,不承担相关法律责任。如发现本站有涉嫌侵权/违法违规的内容, 请联系我们举报,一经查实,本站将立刻删除。
发布者:全栈程序员-站长,转载请注明出处:https://javaforall.net/140778.html原文链接:https://javaforall.net


