
大家好,又见面了,我是你们的朋友全栈君。如果您正在找激活码,请点击查看最新教程,关注关注公众号 “全栈程序员社区” 获取激活教程,可能之前旧版本教程已经失效.最新Idea2022.1教程亲测有效,一键激活。
Jetbrains全家桶1年46,售后保障稳定
jetson nano安装pycuda
JetPack4.4版本
配置cuda的环境
$ sudo nano ~/.bashrc
export PATH=/usr/local/cuda-10.2/bin:$PATH
export LD_LIBRARY_PATH=/usr/local/cuda/lib64:$LD_LIBRARY_PATH
export CUDA_HOME=$CUDA_HOME:/usr/local/cuda-10.2
$ sudo source ~/.bashrc
$ nvcc -V 检测一下是否配置成功
安装pycuda-2019
下载完之后解压
进入解压出来的文件
tar zxvf pycuda-2019.1.2.tar.gz
cd pycuda-2019.1.2/
python3 configure.py --cuda-root=/usr/local/cuda-10.2
sudo python3 setup.py install
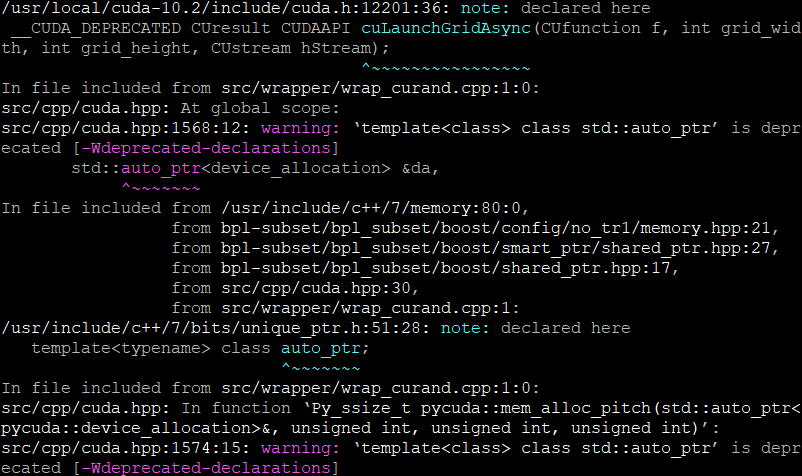
出现这个就说明正在编译文件安装,等待一段时间后即可安装完成。

安装完出现:
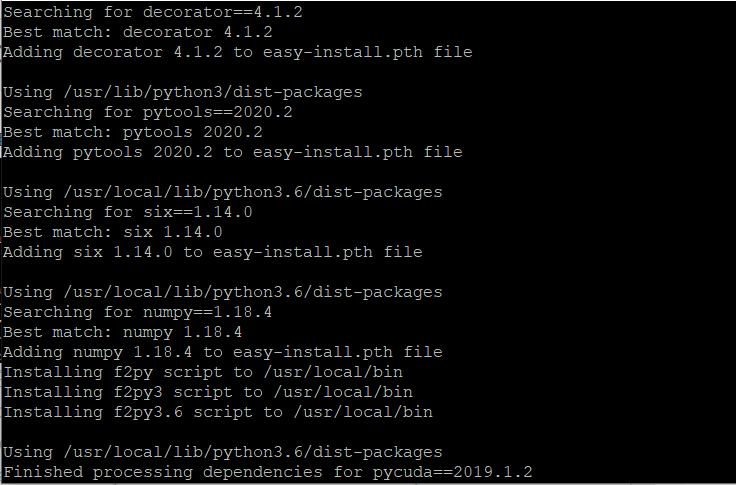
就表明安装成功了。
但是使用的时候还得配置一下一些必要的东西不然会报错:?*
FileNotFoundError: [Errno 2] No such file or directory: ‘nvcc’
将nvcc的完整路径硬编码到Pycuda的compiler.py文件中的compile_plain()
中,大约在第 73 行的位置中加入下面段代码!
nvcc = '/usr/local/cuda/bin/'+nvcc

更新JetPack4.6版本
4.6版本也是cuda10.2版本的,cuda配置环境都一样
安装pycuda-2021
源码也可下载【pycuda-2021】的
这是pycuda的github地址:https://github.com/inducer/pycuda
测试pycuda是否安装正确的时候会报错
Traceback (most recent call last):
  File "test.py", line 2, in <module>
    import pycuda.autoinit
  File "/usr/local/lib/python3.6/dist-packages/pycuda-2021.1-py3.6-linux-aarch64.egg/pycuda/autoinit.py", line 7, in <module>
    from pycuda.tools import make_default_context  # noqa: E402
  File "/usr/local/lib/python3.6/dist-packages/pycuda-2021.1-py3.6-linux-aarch64.egg/pycuda/tools.py", line 33, in <module>
    from pycuda.compyte.dtypes import (  # noqa: F401
ModuleNotFoundError: No module named 'pycuda.compyte'
解决方案
官方解决方案【链接】
不想去看的话,直接下载这个链接的源码,同下步骤进行安装即可
https://pypi.org/project/pycuda/#files
tar zxvf pycuda-2021.1.tar.gz
cd pycuda-2021.1/
python3 configure.py --cuda-root=/usr/local/cuda-10.2
sudo python3 setup.py install
测试dome
接下来写个矩阵运算的小demo来测试是否能真正运行:
import numpy as np
import pycuda.autoinit
import pycuda.driver as cuda
from pycuda.compiler import SourceModule
mod = SourceModule(""" #define BLOCK_SIZE 16 typedef struct { int width; int height; int stride; int __padding; //为了和64位的elements指针对齐 float* elements; } Matrix; // 读取矩阵元素 __device__ float GetElement(const Matrix A, int row, int col) { return A.elements[row * A.stride + col]; } // 赋值矩阵元素 __device__ void SetElement(Matrix A, int row, int col, float value) { A.elements[row * A.stride + col] = value; } // 获取 16x16 的子矩阵 __device__ Matrix GetSubMatrix(Matrix A, int row, int col) { Matrix Asub; Asub.width = BLOCK_SIZE; Asub.height = BLOCK_SIZE; Asub.stride = A.stride; Asub.elements = &A.elements[A.stride * BLOCK_SIZE * row + BLOCK_SIZE * col]; return Asub; } __global__ void matrix_mul(Matrix *A, Matrix *B, Matrix *C) { int blockRow = blockIdx.y; int blockCol = blockIdx.x; int row = threadIdx.y; int col = threadIdx.x; Matrix Csub = GetSubMatrix(*C, blockRow, blockCol); // 每个线程通过累加Cvalue计算Csub的一个值 float Cvalue = 0; // 为了计算Csub遍历所有需要的Asub和Bsub for (int m = 0; m < (A->width / BLOCK_SIZE); ++m) { Matrix Asub = GetSubMatrix(*A, blockRow, m); Matrix Bsub = GetSubMatrix(*B, m, blockCol); __shared__ float As[BLOCK_SIZE][BLOCK_SIZE]; __shared__ float Bs[BLOCK_SIZE][BLOCK_SIZE]; As[row][col] = GetElement(Asub, row, col); Bs[row][col] = GetElement(Bsub, row, col); __syncthreads(); for (int e = 0; e < BLOCK_SIZE; ++e) Cvalue += As[row][e] * Bs[e][col]; __syncthreads(); } SetElement(Csub, row, col, Cvalue); } """)
class MatrixStruct(object):
def __init__(self, array):
self._cptr = None
self.shape, self.dtype = array.shape, array.dtype
self.width = np.int32(self.shape[1])
self.height = np.int32(self.shape[0])
self.stride = self.width
self.elements = cuda.to_device(array) # 分配内存并拷贝数组数据至device,返回其地址
def send_to_gpu(self):
self._cptr = cuda.mem_alloc(self.nbytes()) # 分配一个C结构体所占的内存
cuda.memcpy_htod(int(self._cptr), self.width.tobytes()) # 拷贝数据至device,下同
cuda.memcpy_htod(int(self._cptr)+4, self.height.tobytes())
cuda.memcpy_htod(int(self._cptr)+8, self.stride.tobytes())
cuda.memcpy_htod(int(self._cptr)+16, np.intp(int(self.elements)).tobytes())
def get_from_gpu(self):
return cuda.from_device(self.elements, self.shape, self.dtype) # 从device取回数组数据
def nbytes(self):
return self.width.nbytes * 4 + np.intp(0).nbytes
a = np.random.randn(400,400).astype(np.float32)
b = np.random.randn(400,400).astype(np.float32)
c = np.zeros_like(a)
A = MatrixStruct(a)
B = MatrixStruct(b)
C = MatrixStruct(c)
A.send_to_gpu()
B.send_to_gpu()
C.send_to_gpu()
matrix_mul = mod.get_function("matrix_mul")
matrix_mul(A._cptr, B._cptr, C._cptr, block=(16,16,1), grid=(25,25))
result = C.get_from_gpu()
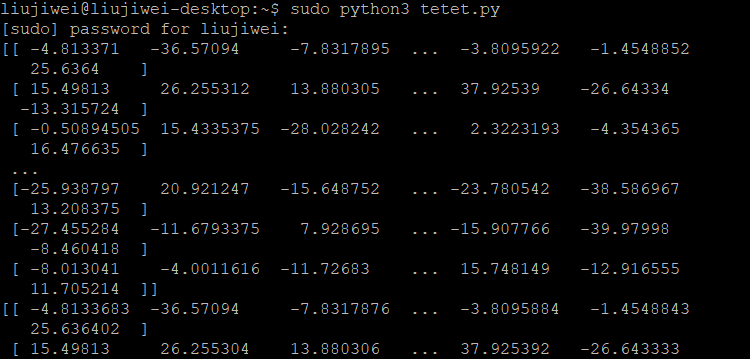
print(np.dot(a,b))
print(result)
出现下面矩阵运算的结果即可说明在jetson nano上安装的pycuda成功了,之后就可以配合tensorrt使用啦!
版权声明:本文内容由互联网用户自发贡献,该文观点仅代表作者本人。本站仅提供信息存储空间服务,不拥有所有权,不承担相关法律责任。如发现本站有涉嫌侵权/违法违规的内容, 请联系我们举报,一经查实,本站将立刻删除。
发布者:全栈程序员-站长,转载请注明出处:https://javaforall.net/203655.html原文链接:https://javaforall.net


