
大家好,又见面了,我是你们的朋友全栈君。
1. Views
A view (an object whose class is UIView or a subclass of UIView) knows how to draw itself into a rectangular area of the interface.
Your app has a visible interface thanks to views.
(eg: you can drag an interface widget, such as a UIButton, into a view in the nib editor;
when the app runs, the button appears, and works properly.
You can also manipulate views in powerful ways, in real time. Your code can do some or all of the
view’s drawing of itself)
A view is also a responder (UIView is a subclass of UIResponder).
This means that a view is subject to user interactions, such as taps and swipes.
A view can have subviews;
If a view is removed from the interface, its subviews are removed;
if a view is hidden (made invisible), its subviews are hidden;
if a view is moved, its subviews move with it; and other changes in a view are likewise
shared with its subviews.
A view may come from a nib, or you can create it in code.
On balance, neither approach is to be preferred over the other; it depends on your needs and inclinations and on the
overall architecture of your app.
2. The Window
The top of the view hierarchy is the app’s window.
It is an instance of UIWindow (or your own subclass), which is a UIView subclass.
Your app should have exactly one main window. It is created at launch time and is never destroyed or replaced.
It occupies the entire screen and forms the background, and is the ultimate superview of, all your other visible views.
The window must fill the device’s screen.
This is done by setting the window’s frame to the screen’s bounds as the window is instantiated.
Objective-C:
UIWindow* w = [[UIWindow alloc] initWithFrame:[[UIScreen mainScreen] bounds]];
Swift(iOS8):
let w = UIWindow(frame: UIScreen.mainScreen().bounds)
Swift(iOS9):
// it’s sufficient to instantiate UIWindow with no frame
let w = UIWindow()
You will typically not put any view content manually and directly inside your main window.
Instead, you’ll obtain a view controller and assign it to the main window’s root ViewController property.
This causes the view controller’s main view (its view) to be made the one and only immediate subview of
your main window, which is the main window’s root view.
All other views in your main window will be subviews of the root view. Thus,
the root view is the highest object in the view hierarchy that the user will usually see.
Your app’s interface is not visible until the window, which contains it, is made the app’s
key window. This is done by calling the UIWindow instance method makeKeyAndVisible.
When addSubview: is called, the view is placed last among its superview’s subviews;
thus it is drawn last, meaning that it appears frontmost.
(最后绘制的,出现在最前面)
// it is legal to cycle through it and remove each subview one at a time
for (UIView* v in view.subviews)
    [v removeFromSuperview];
3. Visibility and Opacity(可见性与不透明度)
A view can be made invisible by setting its hidden property to YES, and visible again
by setting it to NO.
A view can be assigned a background color through its backgroundColor property. A
color is a UIColor;
A view whose background color is nil (the default) has a transparent background.
A view can be made partially or completely transparent through its alpha property: 1.0
means opaque, 0.0 means transparent, and a value may be anywhere between them,
inclusive.
This affects subviews: if a superview has an alpha of 0.5, none of its subviews
can have an apparent opacity of more than 0.5, because whatever alpha value they have
will be drawn relative to 0.5.
A view that is completely transparent (or very close to it) is like a view whose hidden is
YES: it is invisible, along with its subviews, and cannot (normally) be touched.
eg:
if a view displays an image and has a background color and its alpha is less than 1, the background color
will seep through the image (背景色将渗入图像).
4. Frame
A view’s frame property, a CGRect, is the position of its rectangle within its superview.
By default, the superview’s coordinate system will have the origin at its top left,
with the x-coordinate growing positively rightward and the y-coordinate growing positively downward.
(等同于Cocos2d-x中的UI坐标系,原点在左上角)
Setting a view’s frame to a different CGRect value repositions the view, or resizes it, or both.
例: 画3个部分重叠的视图
Objective-C:
UIView* v1 = [[UIView alloc] initWithFrame:CGRectMake(113, 111, 132, 194)];
v1.backgroundColor = [UIColor colorWithRed:1 green:.4 blue:1 alpha:1];
UIView* v2 = [[UIView alloc] initWithFrame:CGRectMake(41, 56, 132, 194)];
v2.backgroundColor = [UIColor colorWithRed:.5 green:1 blue:0 alpha:1];
UIView* v3 = [[UIView alloc] initWithFrame:CGRectMake(43, 197, 160, 230)];
v3.backgroundColor = [UIColor colorWithRed:1 green:0 blue:0 alpha:1];
[mainview addSubview: v1];
[v1 addSubview: v2];
[mainview addSubview: v3];
Swift:
let v1 = UIView(frame:CGRectMake(113, 111, 132, 194))
v1.backgroundColor = UIColor(red: 1, green: 0.4, blue: 1, alpha: 1)
let v2 = UIView(frame:CGRectMake(41, 56, 132, 194))
v2.backgroundColor = UIColor(red: 0.5, green: 1, blue: 0, alpha: 1)
let v3 = UIView(frame:CGRectMake(43, 197, 160, 230))
v3.backgroundColor = UIColor(red: 1, green: 0, blue: 0, alpha: 1)
mainview.addSubview(v1)
v1.addSubview(v2)
mainview.addSubview(v3)
效果:


5. Bounds and Center(边框和中心)
CGRectInset函数,画出视图边框
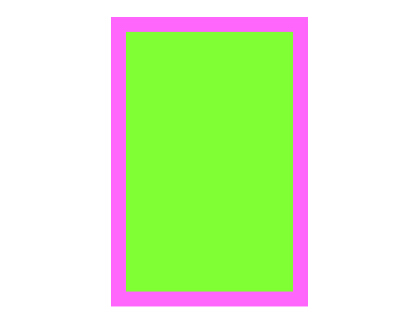
例1: 画一个带有粗边框的视图
UIView* v1 = [[UIView alloc] initWithFrame:CGRectMake(113, 111, 132, 194)];
v1.backgroundColor = [UIColor colorWithRed:1 green:.4 blue:1 alpha:1];
UIView* v2 = [[UIView alloc] initWithFrame:CGRectInset(v1.bounds, 10, 10)];
v2.backgroundColor = [UIColor colorWithRed:.5 green:1 blue:0 alpha:1];
[mainview addSubview: v1];
[v1 addSubview: v2];
效果:
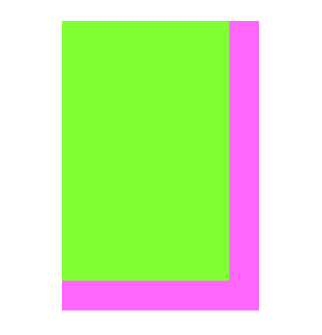
例2: 移动超视图(spuerview)的原点导致子视图(subview)位置发生变化
(本例中子视图向左上移动)
UIView* v1 = [[UIView alloc] initWithFrame:CGRectMake(113, 111, 132, 194)];
v1.backgroundColor = [UIColor colorWithRed:1 green:.4 blue:1 alpha:1];
UIView* v2 = [[UIView alloc] initWithFrame:CGRectInset(v1.bounds, 10, 10)];
v2.backgroundColor = [UIColor colorWithRed:.5 green:1 blue:0 alpha:1];
[mainview addSubview: v1]
[v1 addSubview: v2];
CGRect r = v1.bounds;
r.origin.x += 10;
r.origin.y += 10;
v1.bounds = r;
效果:
6. Transform(变换)
旋转(rotation), 缩放(scaling), 平移(translation)
例1: 视图顺时针旋转45度角
UIView* v1 = [[UIView alloc] initWithFrame:CGRectMake(113, 111, 132, 194)];
v1.backgroundColor = [UIColor colorWithRed:1 green:.4 blue:1 alpha:1];
UIView* v2 = [[UIView alloc] initWithFrame:CGRectInset(v1.bounds, 10, 10)];
v2.backgroundColor = [UIColor colorWithRed:.5 green:1 blue:0 alpha:1];
[mainview addSubview: v1];
[v1 addSubview: v2];
v1.transform = CGAffineTransformMakeRotation(45 * M_PI/180.0);
效果: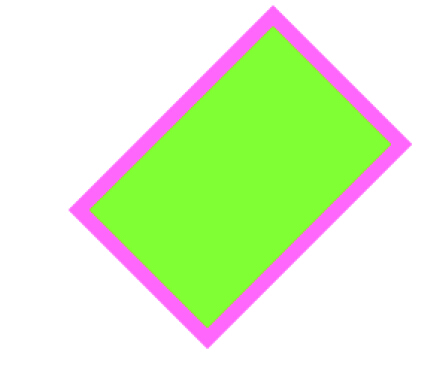
例2: 缩放变换
v1.transform = CGAffineTransformMakeScale(1.8, 1);
效果: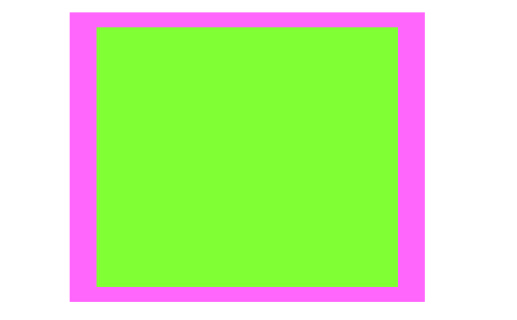
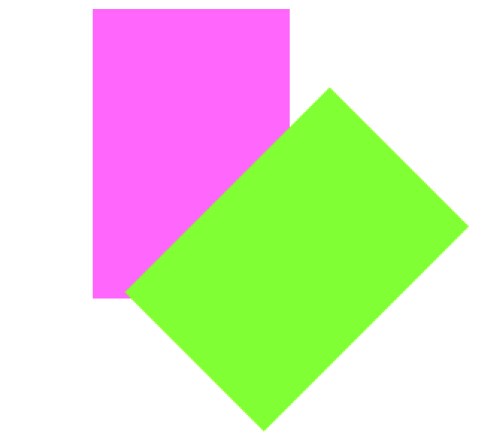
例3: 子视图先平移后旋转
UIView* v1 = [[UIView alloc] initWithFrame:CGRectMake(20, 111, 132, 194)];
v1.backgroundColor = [UIColor colorWithRed:1 green:.4 blue:1 alpha:1];
UIView* v2 = [[UIView alloc] initWithFrame:v1.bounds];
v2.backgroundColor = [UIColor colorWithRed:.5 green:1 blue:0 alpha:1];
[mainview addSubview: v1];
[v1 addSubview: v2];
v2.transform = CGAffineTransformMakeTranslation(100, 0);
v2.transform = CGAffineTransformRotate(v2.transform, 45 * M_PI/180.0);
效果: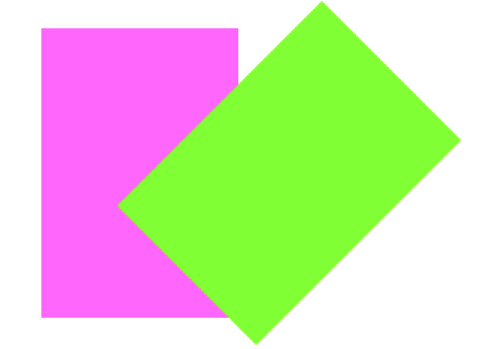
例4: 子视图先旋转后平移
v2.transform = CGAffineTransformMakeRotation(45 * M_PI/180.0);
v2.transform = CGAffineTransformTranslate(v2.transform, 100, 0);
效果:
例5: 旋转平移后再反转(删除旋转)
CGAffineTransformConcat – 合并两个变换动作
CGAffineTransform r = CGAffineTransformMakeRotation(45 * M_PI/180.0);
CGAffineTransform t = CGAffineTransformMakeTranslation(100, 0);
v2.transform = CGAffineTransformConcat(t,r);
v2.transform =
CGAffineTransformConcat(CGAffineTransformInvert(r), v2.transform);
效果: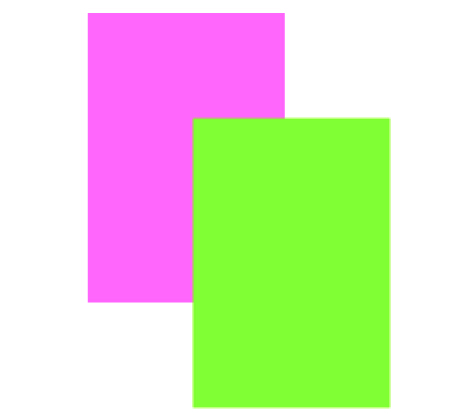
例6: 倾斜
v1.transform = CGAffineTransformMake(1, 0, -0.2, 1, 0, 0);
效果: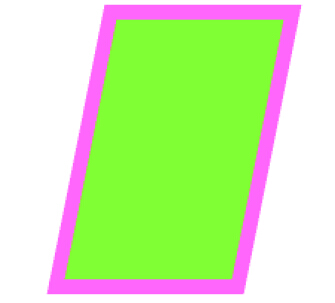
发布者:全栈程序员-站长,转载请注明出处:https://javaforall.net/107063.html原文链接:https://javaforall.net


